EnGenius SPR-922U1 User Manual Download Page 18


~35~

Making a Telephone Call 
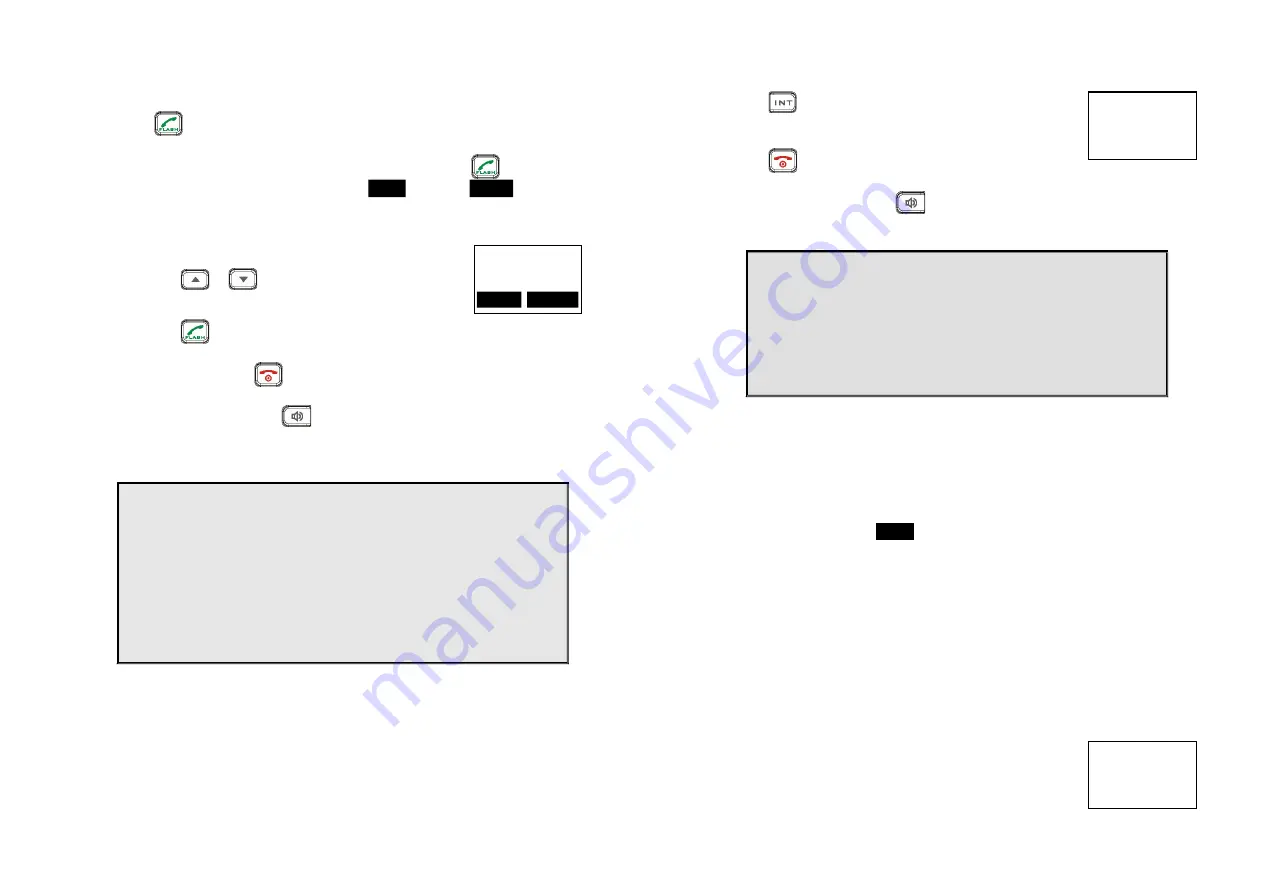
 

1.  Press 

, wait for dial tone, and then enter phone number. 


2.  Alternatively, you can enter phone number first then press 

 key. 


When using this method, you can use the 

CLEAR

 (Left) and 

DELETE

 (Right) soft 

keys to edit the number entered.  “Delete” erases the last digit entered.  

“Clear” erases the entire line but remains in the dialing mode. 

 
3. 

Speed dial

 by access the entries in the phone book  


a.  Press 

 or 

 scrolling key to enter the phone 

book 


b.  Press 

 to dial out the number 


4.  To abort dialing, press 

 key. 


5. 

During the call, press  the 

 key to activate the 

speakerphone. 


Notes:


1. After a link established, the Base ID will appear on the upper-right 

corner. If no Base ID shown up, it applied that you are approaching 

the boundary of the coverage. 

2. If the line is occupied, the LCD shows “No Line Available” and handset 

returns to standby mode. 

3. If a link cannot be established, the LCD will show “No Base” after a 12-

second time out. 

4. A call duration timer will start displaying the length of the call after 

link is established. 


Making an 2-Way/ Intercom Call 


The EnGenius Industrial Cordless Phone System offers private, Intercom/ 2-way 

radio calls independence of base station.  Intercom/ 2-way communication can be 
placed from or to base stations and handsets. 
 

 10             

EnGenius 

8884328668 

ADD       


   OPTION     


~36~

A. Handset to Handset Calls 

1.  Press 

 key followed by a two-digit handset ID or 

Group ID. 


2.  Press 

 key to end the call. 


3. 

During the call, press  the 

 key, the speakerphone 

is active. 


Notes:


8.


Intercom calls can be made regardless if the Base Station is 
present. 

9.


If a Group ID is entered, the first handset (belonging to 
that group) that answers will establish a link with the 

caller.  See Handset Group Subscription. 

10.


If a link cannot be established, the LCD shows “No 
Connection” after a 12-second time out. 


Making a Broadcast via 900MHz 


A.  Handset to Handset Calls 

1.  Since the SPR-922U1 is able to broadcast the handsets via 900MHz (as 

PRO did) or UHF band, you have to choose the desired frequency for 

walkie-talkie operation before doing a broadcast.  

Enter the key sequence

 MENU

 - 5 - # - 1, then select “OFF” to enable the 

WT mode in digital 900MHz band. 

After press “End” to back idle mode. You can see the display without 

walkie icon. 


a.  Press and hold  “PTT” key from one handset 


b.  Hear bi-bi-beep while the initiating handset broadcast all handsets 

within communication coverage 


c.  Start to speak the message to be broadcasted once you hear the 

“beep” sound; the speakerphone of destination handsets will be 

opened up 


d.  Release “PTT” key to end the broadcasting 

 
2.  Broadcasting a group of handsets 


a.  Enter the Group ID and then press  “PTT” key  


b.  Hear bi-bi-beep while the initiating handset 

broadcast all handsets within communication 

coverage 

 10             

Please enter 
Ext. #: 12 


 10             

PA paging 
to Ext. # 02 


Summary of Contents for SPR-922U1

Page 1: ...16 Administrator Features Register to PRO base 18 Charger Illustration 22 Charger Features 27 Getting Started 28 Handset and Charger Installation 31 Basic Operations 28 Operation Modes 32 A Base Opera...

Page 2: ...O base only 48 Call Waiting Register to PRO base only Auto Attendant AA Register to PRO base only AA Configuration by Administrator Register to PRO base only Change AA Parameters Register to PRO base...

Page 3: ...hone near water Never spill liquid of any kind on this product 5 Unplug the product from the wall telephone jack and power outlet before cleaning Do not use liquid or aerosol cleaners Use damp cloth f...

Page 4: ...s or skin The electrolyte may be toxic if swallowed 8 During charging the battery heats up This is normal and is not dangerous 8 Regulatory Information SPR 922U1 FCC ID A8J 922PSLBU Base A8J SPR922U1...

Page 5: ...io or television reception which can be determined by turning the equipment off and on the user is encouraged to try to correct the interference by one of the following measures 10 Reorient or relocat...

Page 6: ...s 12 Equipment Checklist In DuraFon USL it includes one base DuraFon PSL BU and one handset package DuraFon PRO UHF HC as the following a Base Station x 1Handset x 1 b Base Antenna x 1 c Base AC DC Ad...

Page 7: ...llustration Soft key Display Mode Scan End Dialing key Intercom Antenna Receiver Earpiece Talk Flash Speakerphone Monitor Soft key Microphone Up Down Knob Power Volume USB Connector Walkie LED 14 Earp...

Page 8: ...merical characters e The last line displays the left and right soft keys 2 Ringer a Rings to an incoming call b Distinctive alert sounds indicating various events 1 Single Beep successful key entry 2...

Page 9: ...incoming call phone number and name on the LCD needs Caller ID service from local telephone company 5 Call waiting with caller ID Displays 2 nd incoming call information on the same phone line when 1...

Page 10: ...range performance for handset to handset calls intercom and broadcast install a repeater and make the calls via repeater is able to extend the range of handset to handset calls Administrator Features...

Page 11: ...ED a Power it indicates base station has power b In Use it indicates an active telephone line c Intercom it indicates Intercom taking place d Broadcast it indicates Broadcast taking place 3 Reset Butt...

Page 12: ...wer adaptor 9 Voice Volume 24 Additional Base Station Features Broadcast A Broadcasting from Base to Handset 1 Broadcast to all handsets a Press key on the base station to intercom all registered hand...

Page 13: ...ve the same authority to perform base station administrative functions from their handset menu selections No password is required 1 Supports both DTMF and Pulse dialing For DuraFon PRO only a From an...

Page 14: ...2 Fully Charged battery status bar stands still and the LCD screen would display Fully Charged 3 Charge Fail Should there be any error occurred during charging mode the LCD screen would display Charge...

Page 15: ...into a radio or audio player and plug the other 3 5 mm end into the MOH jack on back of the base Multi base setups EnGenius DuraFon PRO has the capability to expand the coverage or capacity Re For bes...

Page 16: ...ters Legacy PBX 1 Base 1 Base 2 Base 3 2 3 4 1 2 3 4 1 2 3 4 10 Select Mode 1 Add Base 10 Added Base Number CANCEL 32 Handset and Charger Installation 1 Plug the transformer end of the Charger AC DC a...

Page 17: ...eep tone and see LCD and backlight to indicate it is ON To turn the handset off the On Off Volume knob counterclockwise c The idle screen display custom name can be edited d The 2 dight number represe...

Page 18: ...8668 ADD OPTION 36 A Handset to Handset Calls 1 Press key followed by a two digit handset ID or Group ID 2 Press key to end the call 3 During the call press the key the speakerphone is active Notes 8...

Page 19: ...esired to scan in walkie programming mode You can scan up to 5 channels as settings When the radio detects activity it stops scanning and locks it on the active channel 11 PA paging to Ext 12 10 PA pa...

Page 20: ...ne company Receiving an Intercom Call 1 When an intercom call arrives the ringer will ring or vibrate unless the ringer has been turned off Press to answer the intercom call 40 2 If the handset is on...

Page 21: ...oft key 10 1 You have a Call on hold UNHOLD OPTION 10 Sounds 1 Ring Volume 2 Ring Tone 10 Ring Volume Off SAVE 42 Key Guard 1 To prevent accidental dialing you can press MENU Right soft key then press...

Page 22: ...nel 1 5 Up Down or numbers To select Frequency number 1 56 Up Down or numbers To select Code 0 121 MODE MODE 2 10 End PTT To save and exit Mic Gain 2 1 3 MODE MODE Up Down or number To select micropho...

Page 23: ...s End or PTT key to store and exit the Walkie Talkie programming mode 46 Advanced Operations Handset Registration Register to PRO base only 1 When 1 st time using the handset you need to register the...

Page 24: ...again g If the handset ID is already in use by another handset the administrator will be alerted In that case the administrator can choose another ID or asks the handset having the desired ID to vacat...

Page 25: ...a selection default off and press SAVE Left softkey Re When turns on the Base Select you must enter 2 digit Base ID after press key Notes 1 Because this setting allows handset manually select the base...

Page 26: ...l tone to be either Tone or Pulse Press 1 to choose Tone or press 2 to choose Pulse b Flash time 52 Press 2 to set up the flash time from 100ms 200ms to 900 ms 9 levels to choose from For example pres...

Page 27: ...Entering pause twice PP will result in 5 6 seconds pause in the dialing 4 The entries are alphabetically sorted and stored as a list in an ascending order A to Z from the top of the list a If the pho...

Page 28: ...e only 1 When DuraFon PRO base unit installed behind the PBX system it is feasible to pre program some PBX features along with their feature codes into the system 2 Up to 9 most frequently used PBX fe...

Page 29: ...press SAVE Left softkey to confirm the selection Re When setting to Repeater mode the handset to handset calls will always via repeater 5 Enter the base number 00 07 which assigned the base to be a r...

Page 30: ...36 466 0875 37 466 1125 38 466 1375 Display Number Frequency MHz 39 466 1625 40 466 1875 41 466 2125 42 466 2375 43 466 2625 44 466 2875 45 466 3125 46 466 3375 47 466 3625 48 467 7875 49 467 8375 50...

Page 31: ...99 503 100 506 101 516 102 532 103 546 104 565 105 606 106 612 107 624 108 627 109 631 110 632 111 654 112 662 113 664 114 703 115 712 116 723 117 731 118 732 119 734 120 743 121 754 62 Menu Operation...

Page 32: ...corded 64 2 Caller ID service is required from your local phone company in order to receive phone numbers names and time stamps on incoming calls The Received and Missed Call Logs will register no inc...

Page 33: ...tions mode you can edit the PBX option v Press OPTION and 3 following by entering PBX options mode you can transfer the PBX options to other handset s Re To transfer PBX Options both parties have to e...

Page 34: ...Setting 68 Technical Specifications General Specifications Base Station Portable Handset Phone Mode Walkie Talkie Mode Frequency Range 902 928 MHz 902 928 MHz 461 469 5 MHz Channel Number Capacity 50...

Page 35: ...Silent Ring 40 DTMF 19 E electric shock 5 Equipment Checklist 11 Expanding coverage 28 F FCC 7 8 9 70 FDA 4 Flash time 19 50 FCC 67 G group ID 15 49 50 54 65 H Handset and Charger Installation 31 Hand...

Page 36: ...e g 02 is a REN of 0 2 If this SPR922U1 causes harm to the telephone network the telephone company will notify you in advance that temporary discontinuance of service may be required But if advance no...

Page 37: ...be kept as far as possible from the user body or set the device to lower output power if such function is available D claration d exposition aux radiations Le produit est conforme aux limites d expos...

Reviews: