


Configuration
[44]
The calibration procedure requires an online connection to the converter.
3.
Save the configuration (
Configuration editor
>
File
>
Save as
).
When you connect to the EZ 1000, load the saved configuration file to the
converter, and complete the calibration process (see
Send a saved configuration file to the EZ 1000
Send a saved configuration file to the EZ 1000
1.
Switch on the power supply of the converter, if not already done.
2.
Connect the converter to the configuration computer by using the USB connection
(see
3.
Start Machine Studio.
The EZ 1000 is automatically detected by Machine Studio.
4.
Select the converter to be configured, and click
Configure
.
5.
Open the saved configuration file (window
File
, menu item
Open
).
6.
Check the configuration – does the configuration meet the requirements of the
measurement?
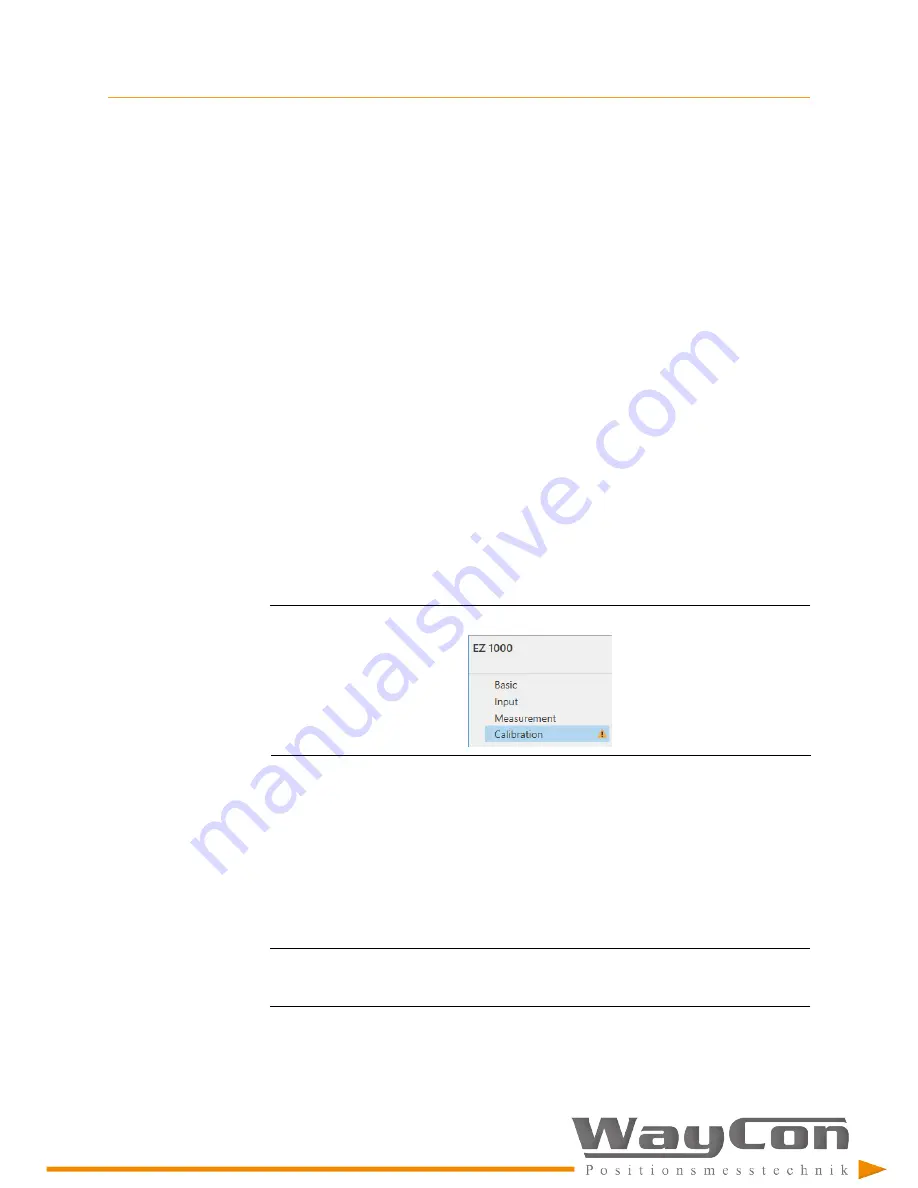
7.
The calibration data is not always included in the saved configuration file. If the
Calibration
tab is marked with the yellow warning triangle, start the calibration
process, and select a calibration method (see
Figure 8-1: Calibration required
The configuration is sent to the converter during the calibration process.
The configuration is automatically saved to the current project.
8.
If a single file is needed, save the configuration (
Configuration editor
>
File
>
Save as
).
The data of the calibration is saved with the configuration file. The data of the
Automatic calibration
and the
Offline calibration
(Easy calibration – calibration process
without Machine Studio) is saved as
Manual calibration
data.
Note
Before saving the configuration, reload the configuration including the calibration data from
the EZ 1000 converter. See
9.
Close Machine Studio, and disconnect from the converter.
After these steps, the converter is ready for operation.
Summary of Contents for AMS EZ1000
Page 39: ... 35 6 7 Control drawings ...
Page 40: ... 36 ...


