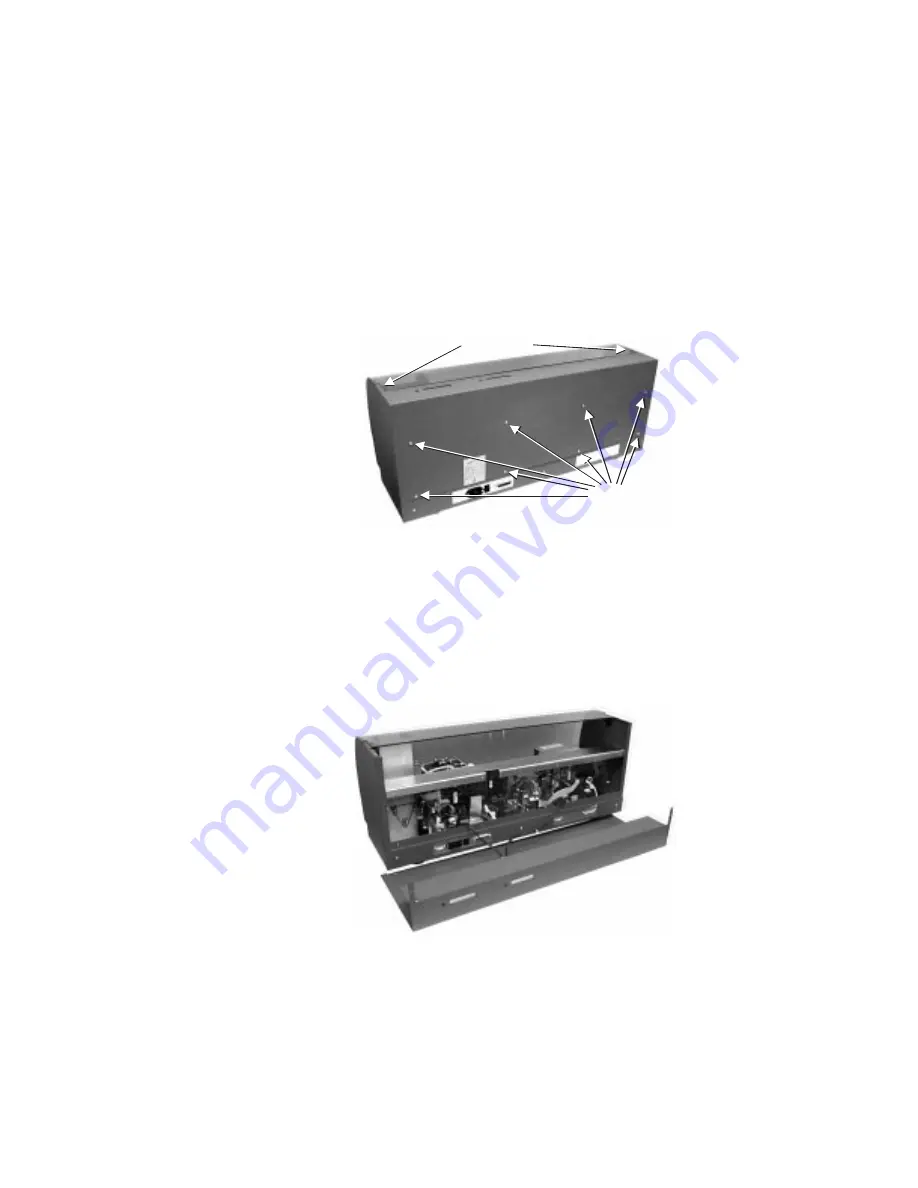
Case Removal
Step
Using a one-millimeter Allen wrench, remove
the two screws holding the top of the case.
Then, using a medium Phillips screwdriver, re-
move the eight screws that secure the back of
the case.
Case Removal
Step
·
Without letting the rear case move backward
from its position while secured, lift the rear case
straight up. Wires attached to the switches and
LCDs restrict how far the rear case can sepa-
rate from the printer. Therefore, after freeing
the rear case from the printer, rest the rear case
at a position that does not stress the wires.
14
980179-001 Rev. A
Getting Started
Figure 1-6
Screws Holding Rear
Case
Remove
Philips
Screws
Remove
Philips
Screws
Remove Allen
Screws
Remove Allen
Screws
Figure 1-7
Rear Case Removed


