


9
Installation and start-up
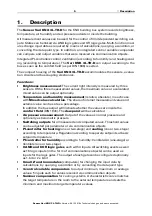
Sensor Vari KNX 3L-TH-D
• Version: 08.12.2016 • Technical changes and errors excepted.
must be corrected in the ETS in order to ensure the specified accuracy of the sensor
(temperature offset).
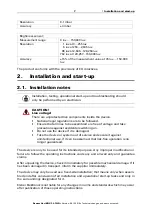
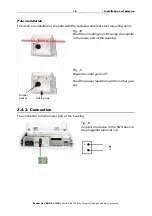
2.3. Device design
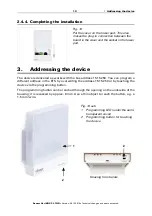
2.4. Installing the device
ATTENTION!
Even a few drops of water can damage the device electronics.
•
Do not open the device if water (e.g. rain) can get into it.
3
Fig. 4
1
Position of the brightness sen-
sors 1-3. With alignment of the
device to the south
Sensor 1 = East
Sensor 2 = South
Sensor 3 = West
2
Semi-transparent cover
(pressure sensor below)
3
Position of the Signal LED (un-
der the cover). LED is freely con-
trolled via two objects
4
Position of the programming
LED (under the cover)
5
Lower part of housing
6
Temperature and humidity sen-
sor
7
Programming key on the bottom
of the housing (recessed),
see
8
Wall/Pole holder
4
8
7
1
5
2
6
3
1
2
Summary of Contents for Vari KNX 3L-TH-D
Page 5: ...4 Clarification of signs ...


