


84
Changing Satin
properties
Selecting a Fill pattern for
Satin stitches
You can select a pattern for Satin stitches on
the Satin property page. You can choose
from any of the standard Fill patterns that are
installed with Xpressive. Embroidery text
lettering uses Satin stitches.
To select a pattern for satin stitches:
1
Create your lettering, select an existing
lettering or Satin segment.
2
Press Ctrl+E on your keyboard and
choose Properties from the menu.
You see the Segment Settings property
pages.
3
Click the Satin property page.
4
In the Fill Pattern Type list, select the
Standard or Carved Tile pattern type.
5
If you selected a Standard Pattern type,
complete the following:
In the Standard Pattern list, select the
Standard pattern you want to use.
6
If you selected a Carved Tile Pattern type,
complete the following:
In the Carved Tile Pattern list, select
the Carved Tile pattern you want to
use.
7
Click OK.
You see the lettering altered accordingly.
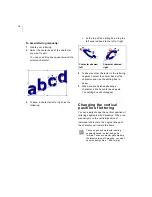
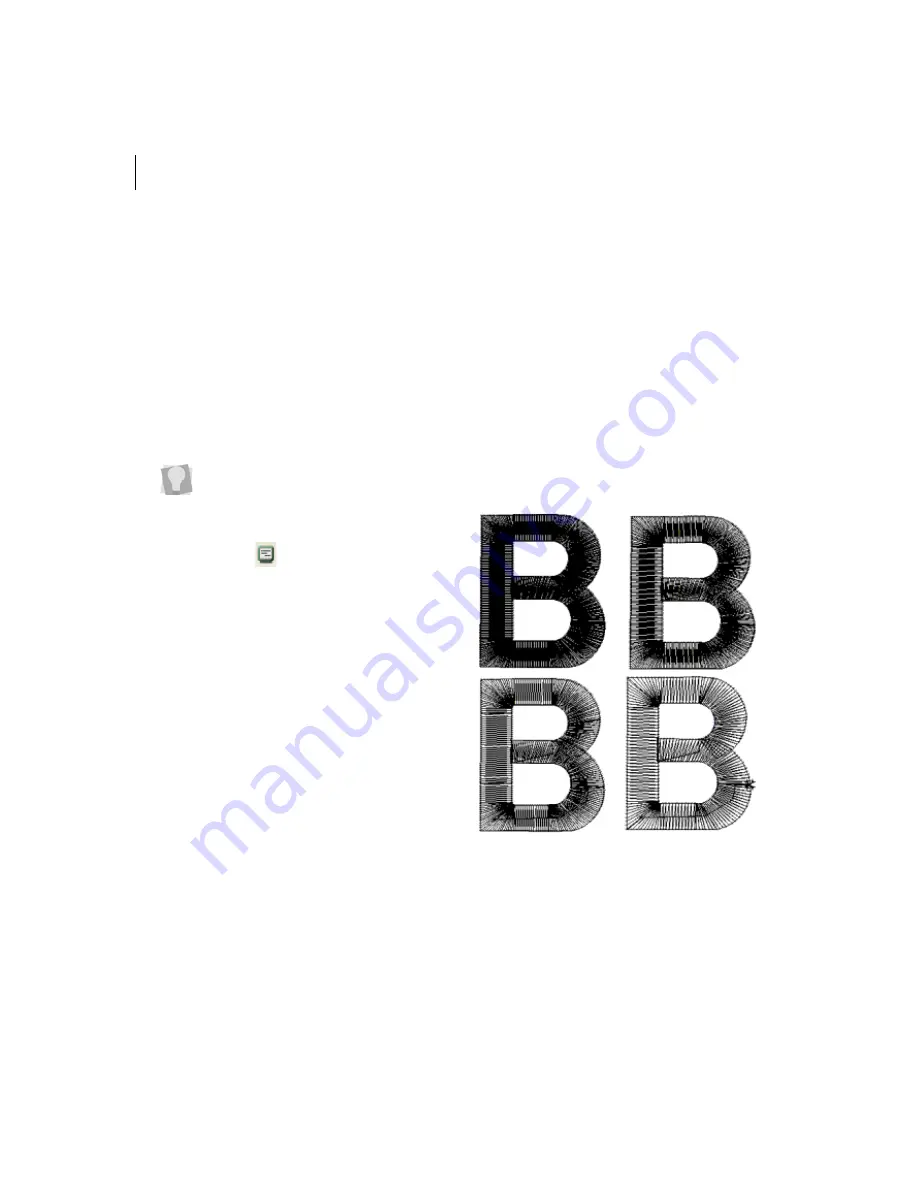
Setting the density for
Satin stitches
You adjust density according to the design’s
size and the fabric you are using. Lighter
fabrics and smaller designs require less
density.
Various densities—tight density to loose density
To change the properties for your
embroidery lettering using the Segment
Settings property pages, you can use
one of three methods after selecting the
segment. You can click the Segment
Settings
tool on the ribbon, press
Ctrl+E on your keyboard and choose
Properties from the menu or double-click
the segment. To change any of the
settings, click the appropriate property
page.
Summary of Contents for XPRESSIVE 2
Page 1: ...Xpressive II User sGuide...
Page 10: ...8 Glossary 195 Index 221...
Page 22: ...20...
Page 48: ...46...
Page 62: ...60...
Page 148: ...146...
Page 184: ...182...
Page 190: ...188...
Page 196: ...194...
Page 230: ...228...


