57
14.
Apply a quantity of heat conducting adhesive to the sensor with the red wire and,
likewise, fill the hole with a quantity of adhesive and push the sensor back into
the hole. Replace and press the insulation securely around both wires right up to
the black sensor casing (no direct contact should be made between the wire and
the heat exchanger shell or the earth wires and/or the earth screw). Both wires
should not be allowed to move around (short circuit).
15.
Collect all earth connections using the short insulation band into the earth screw
and screw firmly into place. The sensor should be in a secure position and fixed
so that it is insulated. Next, lay the red wires in the direction of the electronic
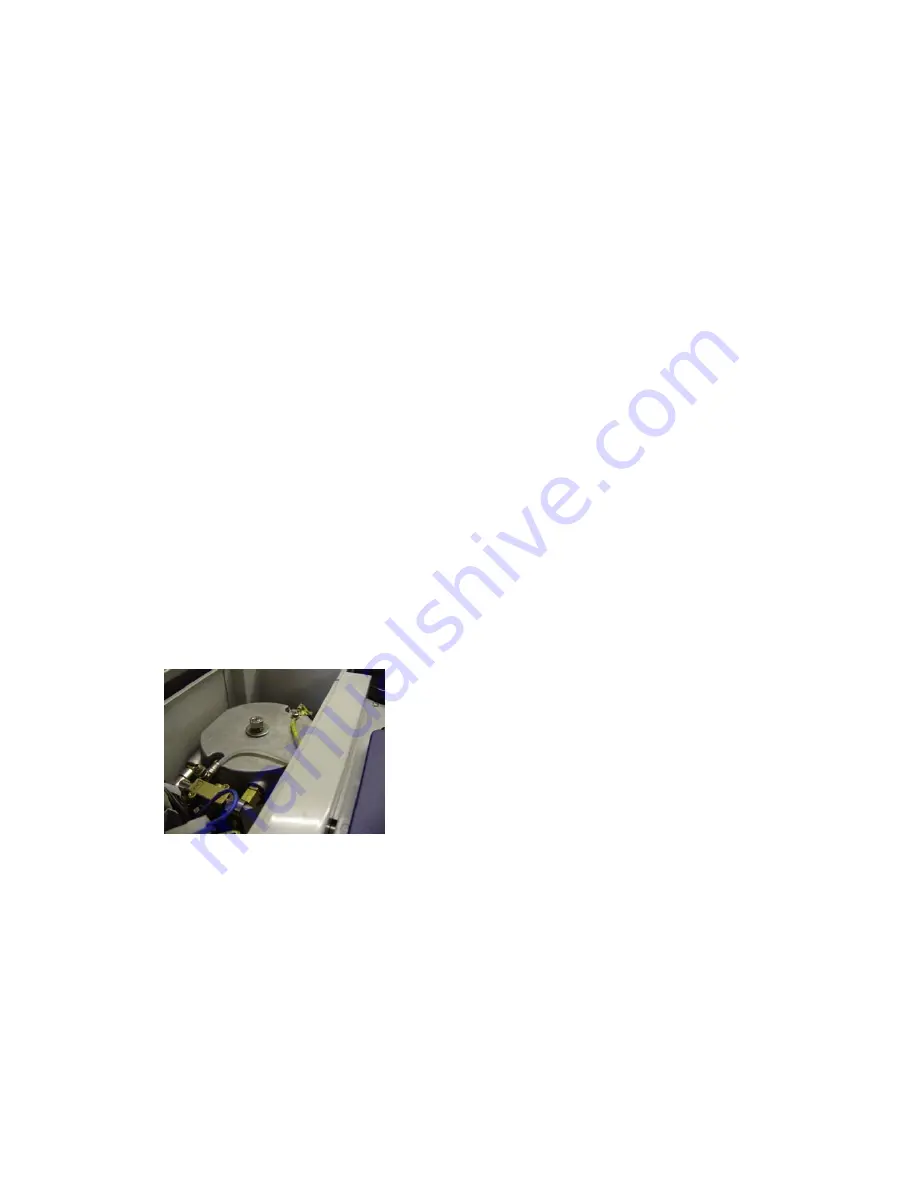
circuit board and plug the AMP- plug into third plug slot (see photo).
Now check whether the reverse button is engaged on the bottom reversible safety
thermostat.
16.
Next you need to completely reassemble the top heat exchanger. Follow this
procedure:-
a.
Place the heat exchanger in the correct position and position both inbus
screws and screw up tight.
b.
Reconnect water connections. Tighten well so that afterwards the pressure
connections are also sealed.
c.
Replace the central tube with upper filter holder (check gasket and
carefully clean off any dried coffee deposits that may be on the filter and
in the gasket groove. Insert the rod with the threaded part at the top up
through the filter holder group head. Next, replace under plate and top
plate and tighten the M8 nut by hand. The secure, using the correct size
spanner secure.
Next, with the aid of >>Loctite 542<< sealant,
carefully place the elbow union on the inner thread
of the pipe and turn 1-1/2 times by hand. Then apply
a little >>Loctite 542<< and give it a few seconds to
take, then using a spanner carefully, >>gently<<
tighten. Do not force the thread!
Re-insert the tube in the elbow union. It will automatically be clasped in place by a
mechanical clipping mechanism.
Summary of Contents for SUPREME DED400XP1
Page 1: ...EXPRESSO DED400XP1 ...


