53
Creating a movie
2
In the photo list, click to select the place where you want to import the photo
material. Then click [LOAD].
• If you click on an empty area (where no photo material is shown)
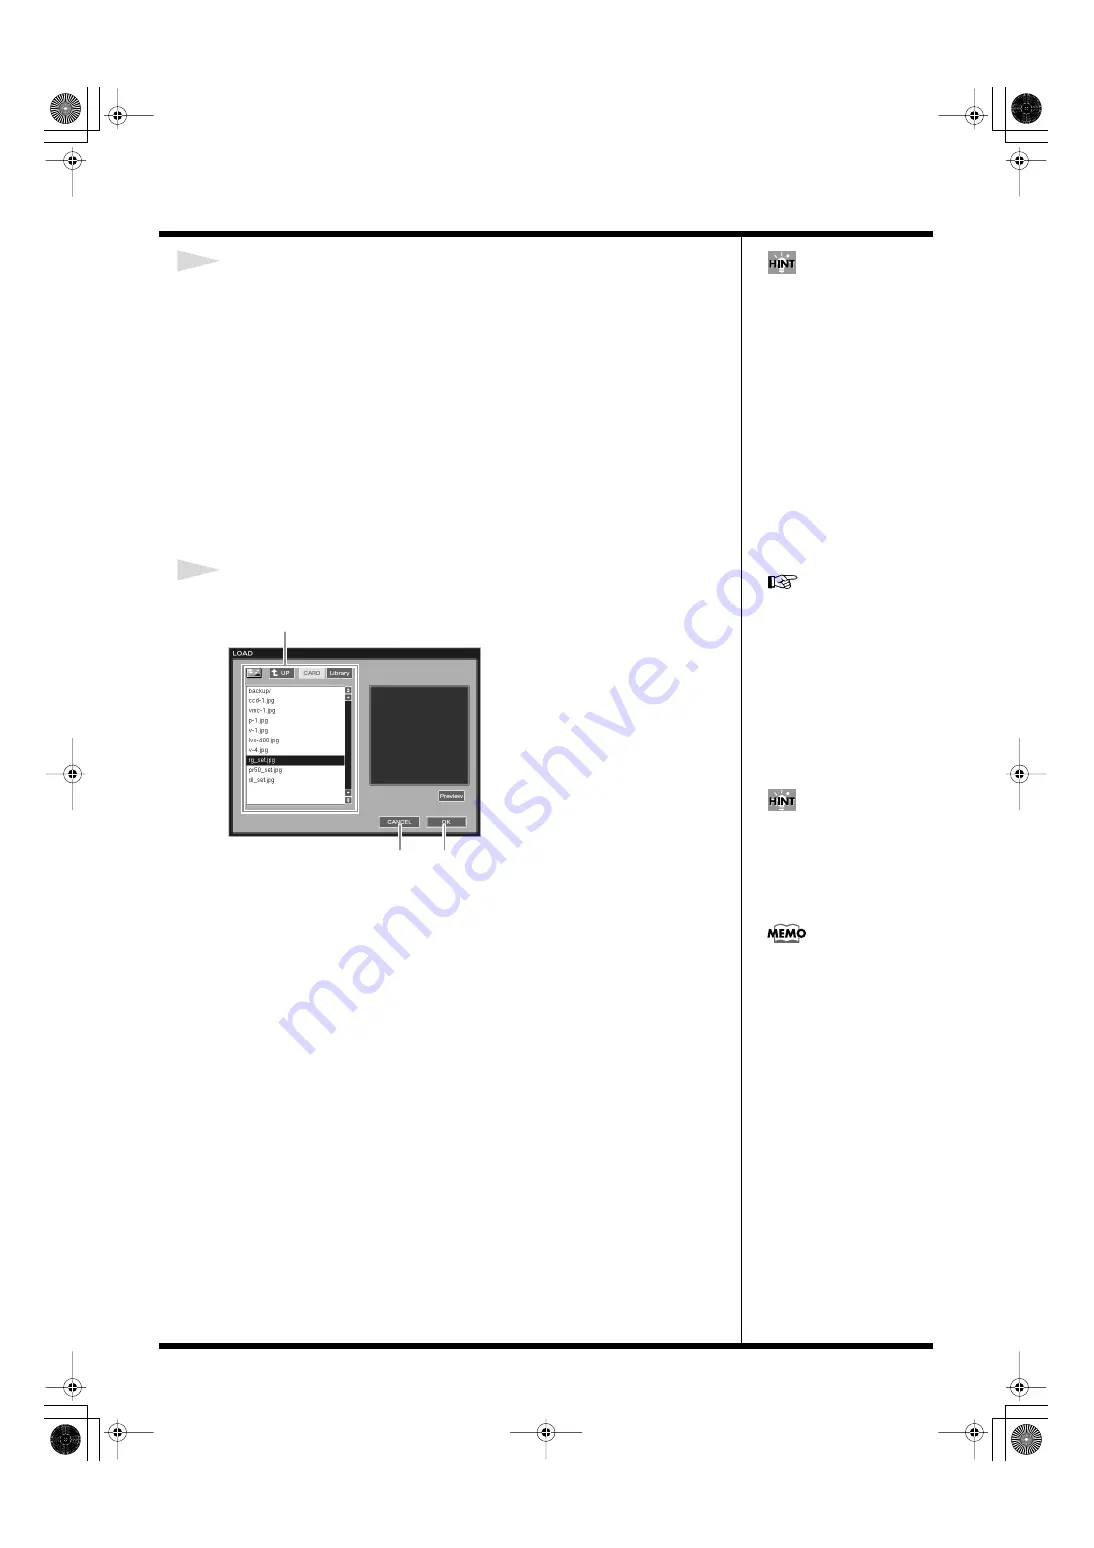
The LOAD window appears.
• If you click an area that shows photo material
A dialogue asking you to confirm that you really want to erase the selected material
appears. Click [OK] to erase the photo material from the list, and the LOAD window
appears. Always be sure to check if the photo material to be erased is unneeded for
the movie before you click [OK].
Also, as all photo materials in the photo list can be used in common within the same
palette, be sure too that the photo material is also unused in other movies before
erasing.
To cancel this operation, click [CANCEL]; the window goes away.
3
Click to select the photo material to be imported. Then click [OK].
fig.load01.eps
The MOVIE EDITOR screen appears again, and the imported photo material is
shown in the selected position in the photo list.
To cancel this operation, click [CANCEL]; the window goes away.
If you click [CLEAR], you can
erase the material from the list.
When a dialogue with a
confirmation message appears,
click [CLEAR] to erase the
selected material from the list.
To cancel this operation, click
[CANCEL].
For detailed instructions
regarding how to select photo
material to be imported, refer
to
Select photo material.
[OK]
[CANCEL]
Before you click [OK], you can
view the selected photo
material by clicking [Preview].
If the material does appear
after clicking [Preview], or the
image is larger than 1600 X
1200 pixels (the material
cannot be imported to the
unit), a dialogue appears. Click
[Close] to close the window.
000RG-100.book 53 ページ 2004年8月6日 金曜日 午後5時37分


