Assist3 Software
| 41
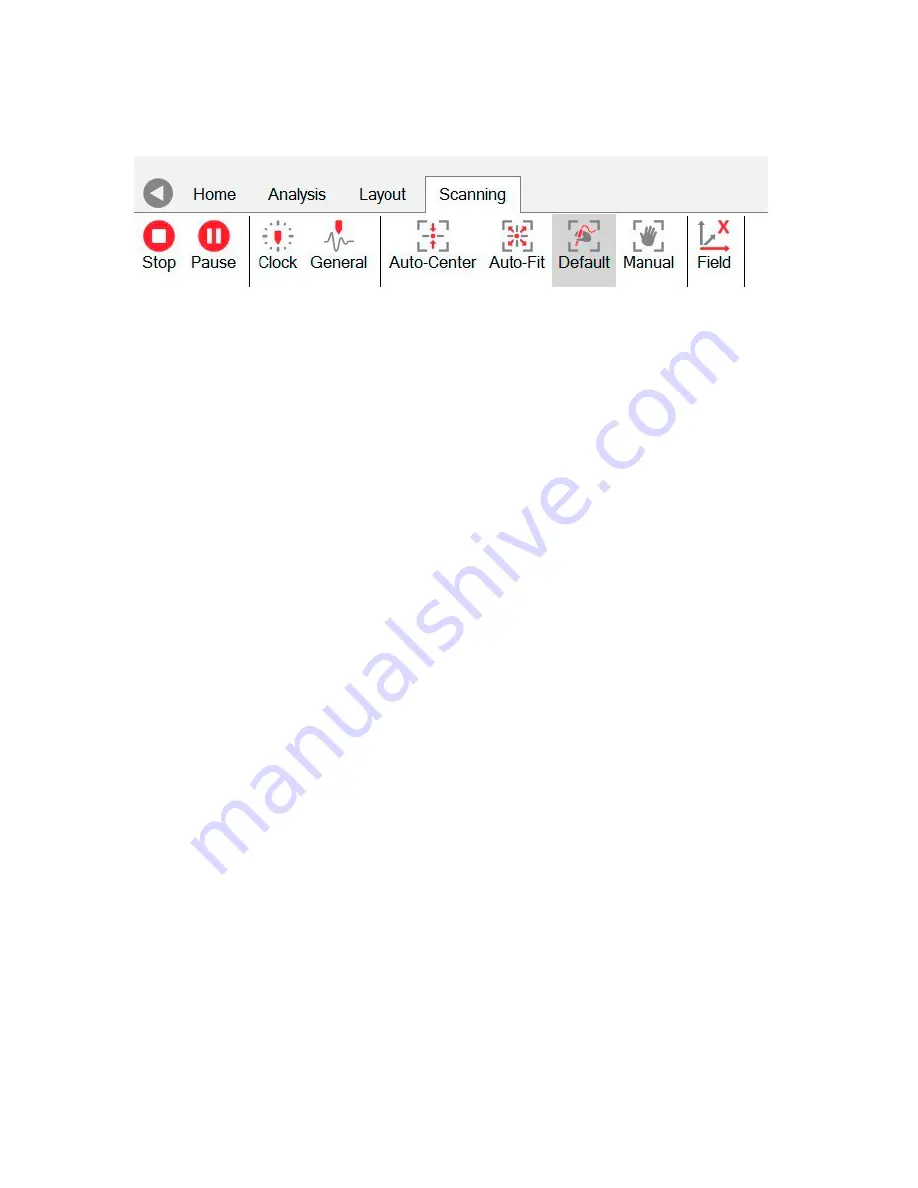
Scanning ribbon
The following commands are available during data collection:
Figure 4-16
Scanning ribbon
1.
Press
Stop
to end data collection.
2. Pause.
Pauses the data collection. Press Resume to resume scanning.
3. Clock/Linear.
Adds clock or linear marks to the data. A series of sequentially numbered
vertical lines corresponding to the numbered clock positions running around the
circumference of a pipe or tubular, or linear positions on a flat surface. These can be
configured in
Home>Markers
, as described on "Marker setup", page 52 These must be
configured before pressing “Run”.
4. General.
Adds a series of unnumbered purple vertical lines to the data.
5.
Screen Scale
Auto-Center
. This will display the data automatically centred in the display
view. Note that this does not alter the display range, only shifts the background value.
6.
Screen Scale
Auto-fit
. This option automatically fits the data to the display view so that
all of the data can bee seen. Note that this will change the visual scale range and a
warning “Scalings Lost” will be shown in the status bar. Taking new scans in this mode is
not recommended as the scale will continuously shrink or expand depending on the data.
Defect indications may therefore look much larger or smaller than they should appear
when using normal scales from the probe configuration.
7.
Screen Scale
Default
. This will return the data display scales to the default levels set in
the probe configuration.
8.
Screen Scale
Manual
. This mode is set when the scales are adjusted manually by using
the cursor keys (or a single finger swipe on touch screens) to alter the general level in the
display and/or when the scale range is adjusted manually.
9.
X and Y
Field
can be switched during data collection.
1
2
3
4
5
6
7
8
9
Summary of Contents for TSC U41
Page 1: ...Getting Started with TSC U41 Modernizing Subsea ACFM User s Manual ...
Page 7: ...General Precautions and Conventions ...
Page 13: ...Chapter 1 System Overview ...
Page 27: ...Chapter 2 The Subsea Bottle ...
Page 33: ...Chapter 3 The Topside Unit ...
Page 40: ...Chapter 4 Assist3 Software ...
Page 67: ...Assist3 Software 55 Figure 4 37 Finishing the installation ...
Page 69: ...Chapter 5 Troubleshooting ...
Page 71: ...Troubleshooting 59 ...


