31
ECOWATER
S Y S T E M S
Optional Remote Operation
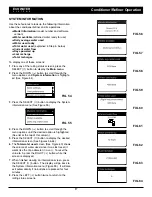
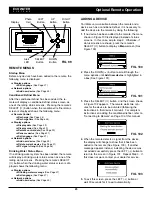
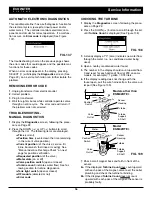
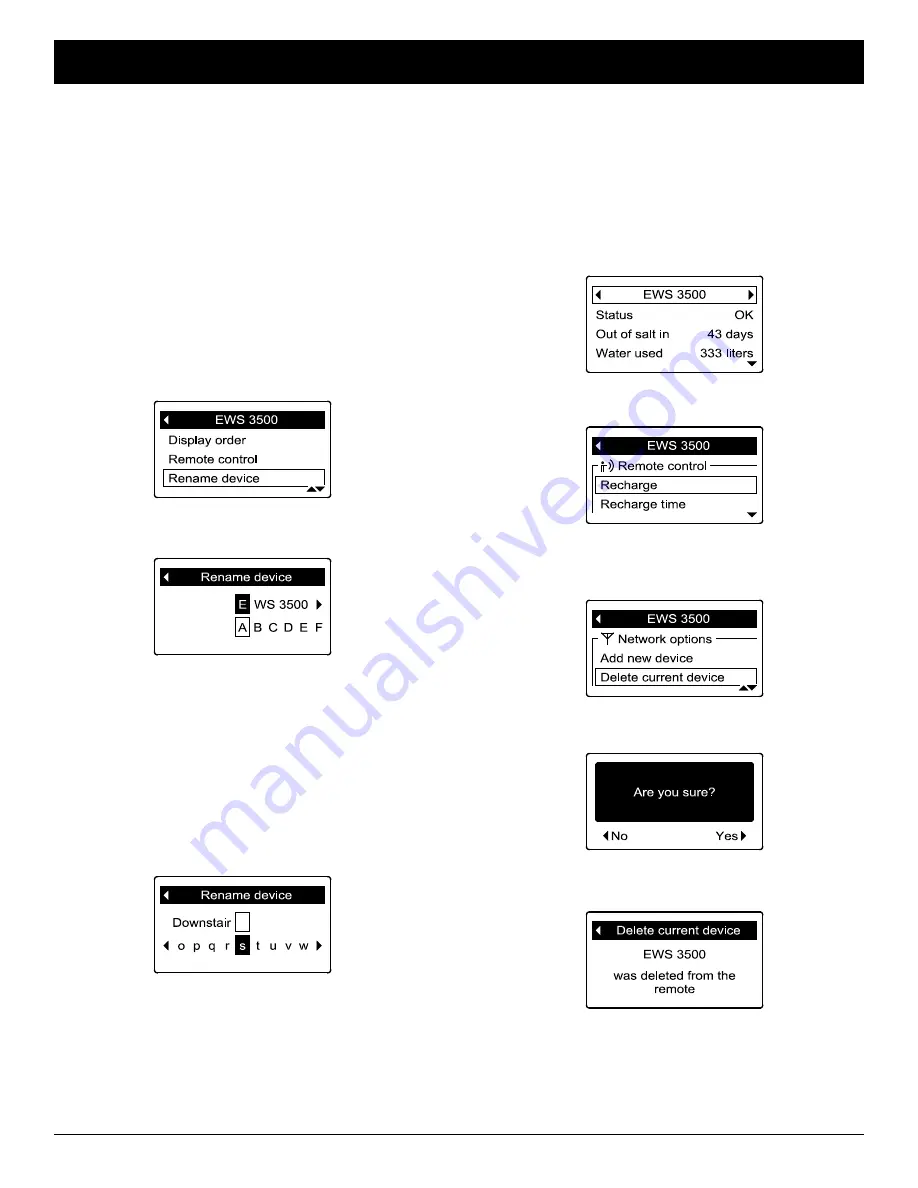
FIG. 128
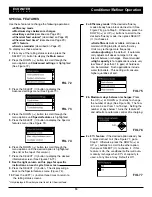
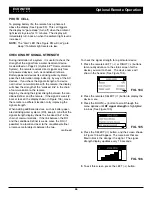
FIG. 130
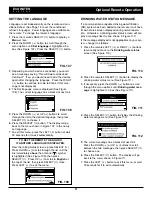
FIG. 132
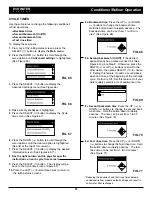
FIG. 129
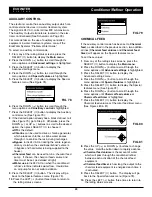
FIG. 131
2
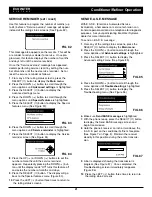
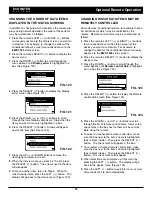
. Press the remote’s SELECT (
¡
) button to display the
device menu (See Figure 129).
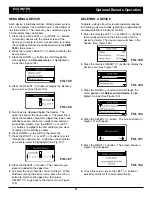
3
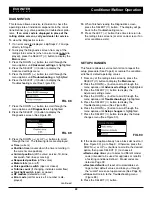
. Press the DOWN (
6
) button to scroll through the
menu options until
Delete current device
is high-
lighted in a box (See Figure 130).
6
. To exit this screen, press the LEFT (
3
) button or
wait 30 seconds for it to exit automatically.
4
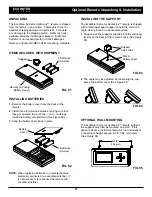
. Press the SELECT (
¡
) button. The screen shown in
Figure 131 will appear.
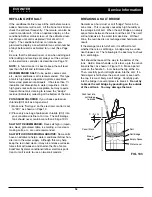
5
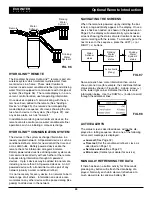
. Press the RIGHT (
4
) button. The screen shown in
Figure 132 will appear.
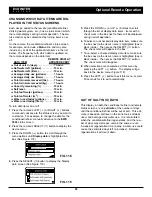
DELETING A DEVICE
To delete a device from the remote (possible reasons
for deleting a device include replacing or upgrading the
conditioner/refiner’s electronic control):
1
. Press the remote’s LEFT (
3
) or RIGHT (
4
) buttons
to manually advance to the status screen for the
device to delete. The device name will show in the
header. (See Figure 128).
RENAMING A DEVICE
Each device (conditioner/refiner, drinking water system,
etc.) in the system has a default name in the header of
its status screen. The name may be customized (up to
20 characters long), as follows:
1
. Press the remote’s LEFT (
3
) or RIGHT (
4
) buttons
to manually advance to the status screen of the
device you want to rename. For example, to rename
the conditioner/refiner, manually advance to the
EWS
3500
status screen.
2
. Press the remote’s SELECT (
¡
) button to display the
device menu.
3
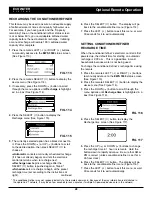
. Press the DOWN (
6
) button to scroll through the
menu options until
Rename device
is highlighted in
a box (See Figure 125).
4
. Press the SELECT (
¡
) button to display the Rename
device screen (See Figure 126).
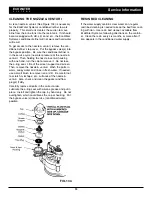
FIG. 125
FIG. 126
FIG. 127
5
. Two lines are displayed below the header. The
upper line shows the device name. The lower line is
the list of available characters (upper and lower case
alphabets, space character, numbers and common
punctuation marks). Use the RIGHT (
4
) or LEFT
(
3
) buttons to highlight the first character you want
to replace in the old device name.
6
. Press DOWN (
6
) to switch to the lower line.
7
. Press the RIGHT (
4
) or LEFT (
3
) buttons to scroll
through the character list.. Stop when the character
you want to select is highlighted (See Fig. 127).
8
. Press the SELECT (
¡
) button. The character you
picked is added to the upper line.
9
. To select the next character, return to Step 7. When
finished entering the device name, press the UP (
5
)
button to switch to the upper line, then press
SELECT (
¡
) to go back to the device menu (Figure
125).

