41
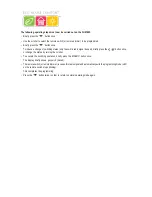
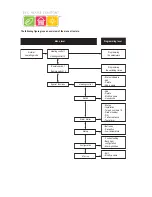
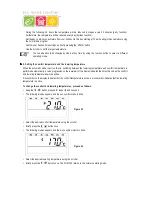
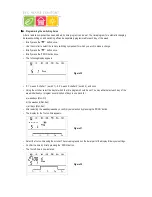
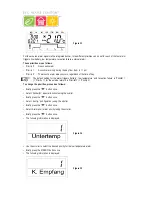
• Use the scroller to select the time at which the remote component should be switched off. The curve progression on
the lower part of the display follows your settings.
• Briefly press the ‘PROG’ button to confirm the time.
• This procedure is repeated for the second on-time and the second off-time.
If no switching time is needed, turn the scroller to the right until four horizontal bars appear instead of a time.
• All settings should be confirmed individually by pressing the ‘PROG’ button.
• At the end, save your settings by pressing the ‘MAKRO’ button.
• Pressing the ‘
w
’ button twice returns you to the normal operating mode.
Ö
Please note:
The switching state with which the previous day ends does not appear on the display!
For example: If the previous day ended with ‘On’, then this state remains for the next day. However, this is
not displayed by the curve progression during programming.
X
X
X
X
X
5. Manually switching a remote component on and off
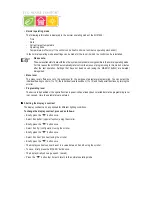
A remote component can be switched on or off independently from the time program as follows:
• Briefly press the ‘
x
’ button once.
• Use the scroller to select the changing component.
• Briefly press the ‘
x
’ button once.
• To switch the component on or off, briefly press the ‘
’ button once or use the scroller to set it to ‘On’ or ‘Off’.
• To carry out the switching operation, briefly press the ‘MAKRO’ button once.
• The display briefly shows ‘gespeich.’ (saved).
• Pressing the ‘
w
’ button twice returns you to the normal operating mode.
FHT 8W Heat Demand Relay
Installation and User Guide
Product Code EHC-FH06
1

