F 5.12 8
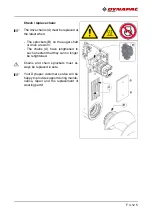
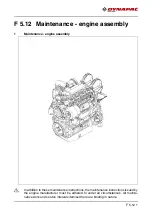
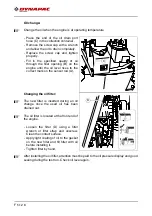
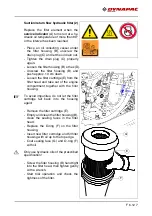
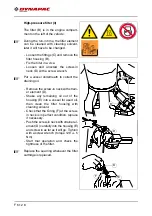
Oil change:
A
Change the oil when the engine is at operating temperature
- Place the end of the oil drain port
hose (C) in the collection container.
- Remove the screw cap with a wrench
and allow the oil to drain completely.
- Replace the screw cap and tighten
properly.
- Fill in the specified quality of oil
through the filler opening (B) on the
engine until the oil level rises to the
correct mark on the sensor rod (A).
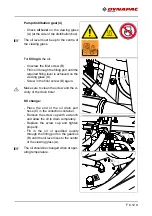
Changing the oil filter:
A
The new filter is inserted during an oil
change once the used oil has been
drained out.
A
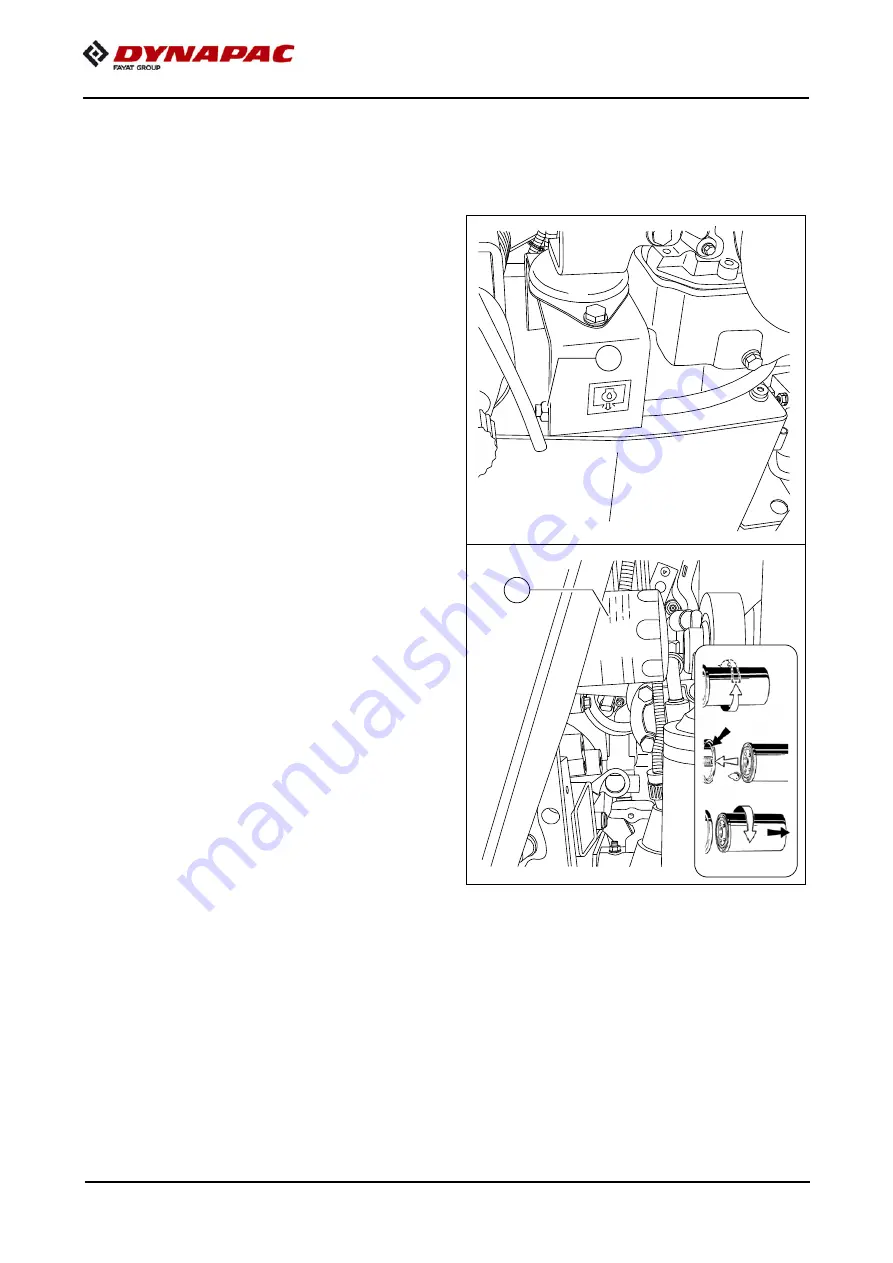
The oil filter is located at the front end of
the engine.
- Loosen the filter (D) using a filter
wrench or filter strap and unscrew.
Clean the contact surface.
- Apply light coating of oil to the gasket
on the new filter and fill filter with oil
before installing it.
- Tighten filter by hand.
A
After installing the oil filter, attention must be paid to the oil pressure display and good
sealing during the test run. Check oil level again.
C
D
Summary of Contents for F1200C
Page 2: ...www dynapac com...
Page 10: ...8...
Page 24: ...A 2...
Page 31: ...B 7 4 Safety devices 4 5 6 7 8 8 2 1 9 3 10...
Page 34: ...B 10 5 2 Permissible approach angle max 15 max 10...
Page 41: ...B 17 xxxxxxxxxxxxxxxxx 32 30 31...
Page 52: ...B 28...
Page 74: ...C 10 12 22...
Page 78: ...D 10 12 4 15 16 18 14 13 17 12 11 10 10 19...
Page 80: ...D 10 12 6 15 16 18 14 13 17 12 11 10 10 19...
Page 82: ...D 10 12 8 15 16 18 14 13 17 12 11 10 10 19...
Page 84: ...D 10 12 10 21 20 23 22...
Page 86: ...D 10 12 12 25 24 27 26...
Page 88: ...D 10 12 14 25 24 27 26...
Page 90: ...D 10 12 16 29 30...
Page 92: ...D 10 12 18 32 31...
Page 94: ...D 10 12 20 33...
Page 96: ...D 10 12 22 35 34...
Page 98: ...D 10 12 24 36 38 37...
Page 100: ...D 10 12 26 40 39...
Page 102: ...D 10 12 28 42 41...
Page 104: ...D 10 12 30 44 43...
Page 106: ...D 10 12 32 45...
Page 108: ...D 10 12 34 51 56 58 57 59...
Page 110: ...D 10 12 36 51 56 58 57 59...
Page 112: ...D 10 12 38 Flame monitoring o 73 71 72 70...
Page 114: ...D 10 12 40 77 74 75 76...
Page 118: ...D 10 12 44 95 90 91 92 93 94...
Page 120: ...D 10 12 46 95 90 91 92 93 94...
Page 122: ...D 10 12 48 4 Remote control 103 104 101 106 100 102 105 107 108 109...
Page 124: ...D 10 12 50 103 104 101 106 100 102 105 107 108 109...
Page 126: ...D 10 12 52 103 104 101 106 100 102 105 107 108 109...
Page 128: ...D 10 12 54 103 104 101 106 100 102 105 107 108 109...
Page 130: ...D 10 12 56 5 Malfunctions 5 1 Error code query for engine 3 1 2...
Page 144: ...D 30 12 12 m Tighten all assembly parts properly after setting up...
Page 152: ...D 30 12 20...
Page 157: ...D 40 12 5 1 3 7 8 6 6 7 7 6 2 4 9 5...
Page 160: ...D 40 12 8 1 3 7 8 6 6 7 7 6 2 4 9 5...
Page 163: ...D 40 12 11 1 2...
Page 165: ...D 40 12 13 6 1 2 3 4 5...
Page 167: ...D 40 12 15 4 6 6 6 1 2 5 3...
Page 171: ...D 40 12 19 2 3 2 2 1 4...
Page 173: ...D 40 12 21 1 8 9 8 8 6 4 2 3 5 7 10 13 11 12...
Page 176: ...D 40 12 24 1 2...
Page 178: ...D 40 12 26 1 4 5 10 10 7 3 2 9 6 8 12 10 13 14 16 15 11 4 4 11 11...
Page 186: ...D 40 12 34...
Page 205: ...F 3 12 1 F 3 12 Maintenance conveyor 1 Maintenance conveyor...
Page 211: ...F 4 12 1 F 4 12 Maintenance auger assembly 1 Maintenance auger assembly...
Page 233: ...F 6 12 1 F 6 12 Maintenance hydraulic system 1 Maintenance hydraulic system...
Page 247: ...F 7 12 1 F 7 12 Maintenance drive unit 1 Maintenance drive unit...
Page 260: ...F 7 12 14...
Page 261: ...F 8 12 1 F 8 12 Maintenance electrical system 1 Maintenance electrical system...
Page 276: ...F 8 12 16...
Page 278: ...F 11 12 2 2 7 1 3 5 6 6 4...
Page 284: ...F 11 12 8...
Page 285: ...F 100 1 F 100 Tests stopping 1 Tests checks cleaning stopping...
Page 294: ...F 100 10...
Page 296: ...www dynapac com...

