Device Search Software
111
A.2.
Device Search Software
A.2.1
Initial Camera Configuration
To perform the initial camera configuration:
1.
Unpack the camera. Rotate and remove the protective cover.
2.
Remove the PE cloth sheet and lens cap. Attach the dome cover to the body.
3.
Insert the RJ45 plug at the end of the network cable into the network port of the camera.
4.
Do one of the following:
o
Copy and run the
devicesearch.exe
from the included CD.
Note:
Device Search is an alternative software to DNA. Either of these programs
may be used. Both are supplied on the included CD.
o
From the Latitude Sidebar, run the Unified Configurator by selecting
Applications >
Device Configuration Tool
and then on the Unified Configurator screen, click
DVTEL
HD Series
.
5.
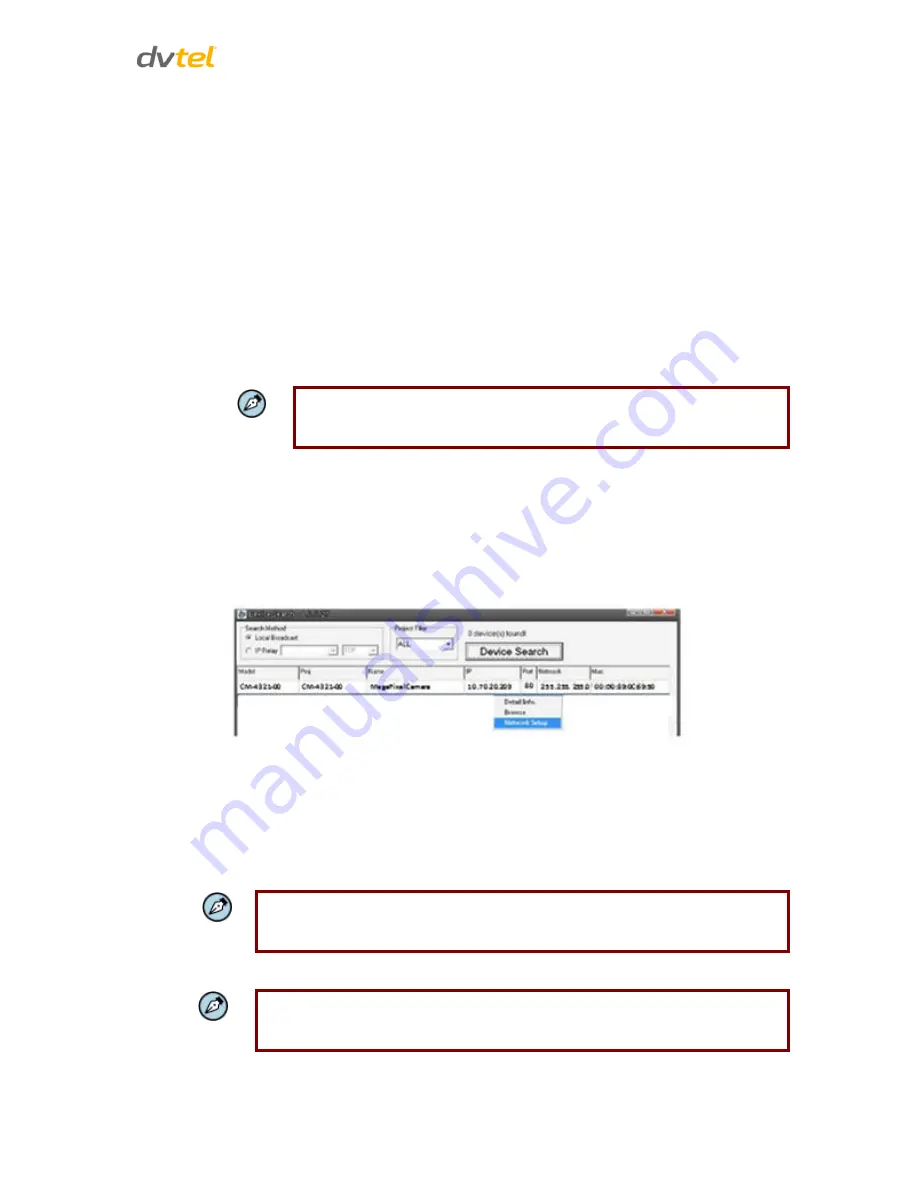
In the Device Search application, click
Device Search
and do the following:
a.
In the search results, click on the camera to select it.
b.
Right-click and select from the shortcut menu
Network Setup
.
Figure 101: Device Search Application
c.
In the dialog that appears, select
Static IP
.
d.
Enter the
IP Address, Gateway
and
Netmask
(network mask) as needed and click
OK
.
6.
Disconnect the Ethernet cable. The camera is ready for deployment in a site installation
(mounting).
Note:
The camera can be connected to a PC for bench installation via an Ethernet cross-
cable.
Note:
The camera default IP Address and the subnet mask IP Address are automatically
supplied by the DHCP server.


