Configuration and Installation
2-5
Site Installation of the Pro Line 9460A
Mini Dome Camera
After the mini dome camera is configured successfully, it can be installed in its final location.
Use the provided mounting template to mark out and create the necessary holes in the mounting
surface.
To install the mini dome camera
1. Use the provided mounting template to mark out and create the necessary holes in the mounting
surface.
Table 2-1: Mount Types
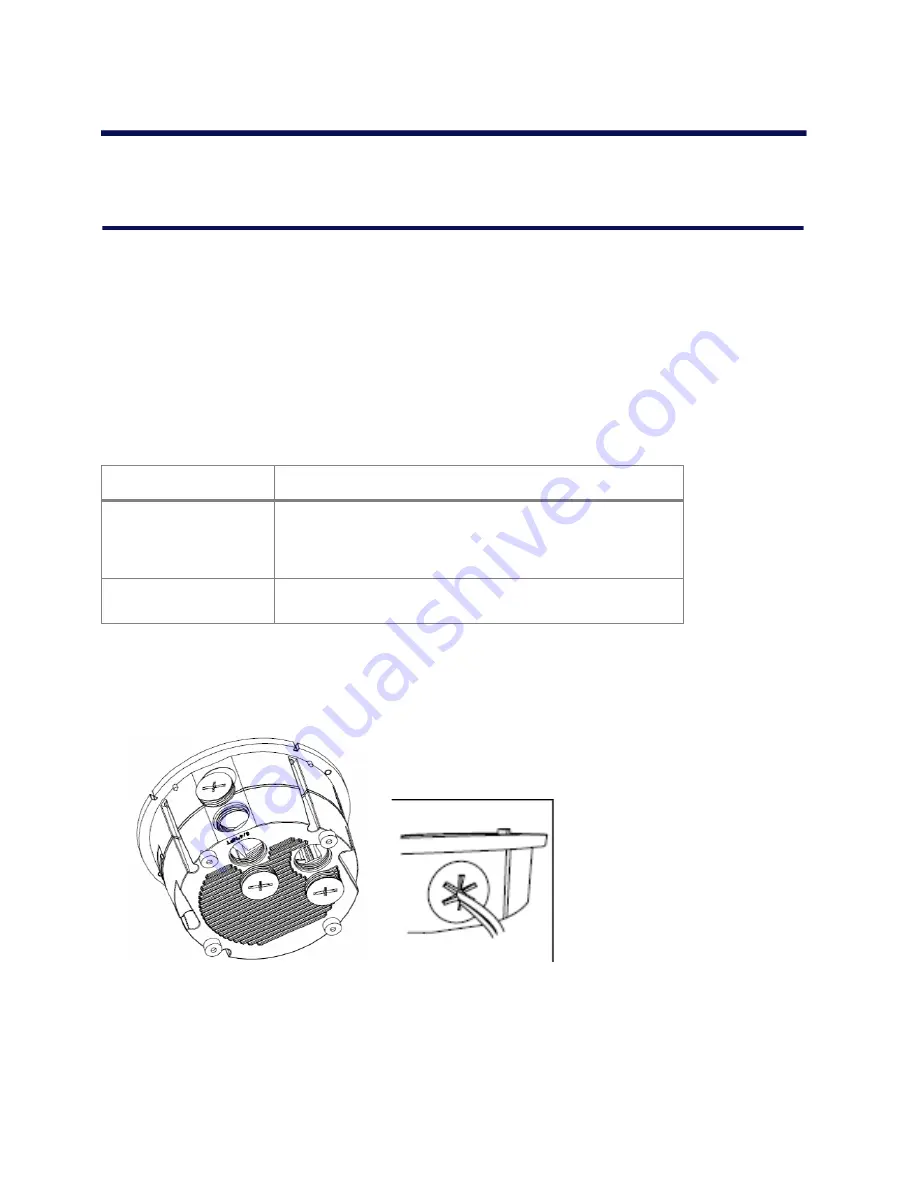
2. Decide which entry point in the housing will be used to route wires and remove the appropriate
conduit plug.
If installing in an interior location and conduit will not be used, be sure to install a rubber cable
gland in the opening before passing the wires through the opening.
3. Mount the camera using one of the following methods — Recessed or Surface.
Mount Type
Instructions
Surface
Create four holes at the template position marked (T1). (Use four
No12) fixing screws and wall plugs. For addition support there are
3 more mounting holes in the surface ring (T4) that may also be
used.
Recessed
Create an aperture in the mounting surface to a diameter of
139mm as indicated by the (T2) circle.
Summary of Contents for Pro Line 9460A
Page 1: ...Pro Line 9460A Vandal Resistant Mini Dome User s Manual October 13 2008...
Page 8: ...Pro Line 9460A User s Manual 1 4...
Page 22: ...Pro Line 9460A User s Manual 2 14...
Page 32: ...Pro Line 9460A User s Manual 3 10...
Page 50: ...Pro Line 9460A User s Manual 4 18...
Page 52: ...Pro Line 9460A User s Manual A 2...


