background image

23

ENGLISH

L2000782 Installation guide for DucoBox Energy Comfort (Revision B.1 | 25.03.2020)

10.B

Change ventilation position

The ventilation position can be changed via the display menu or via one or more external controls (optional)� The display menu and 

any external controls will always show the same position�

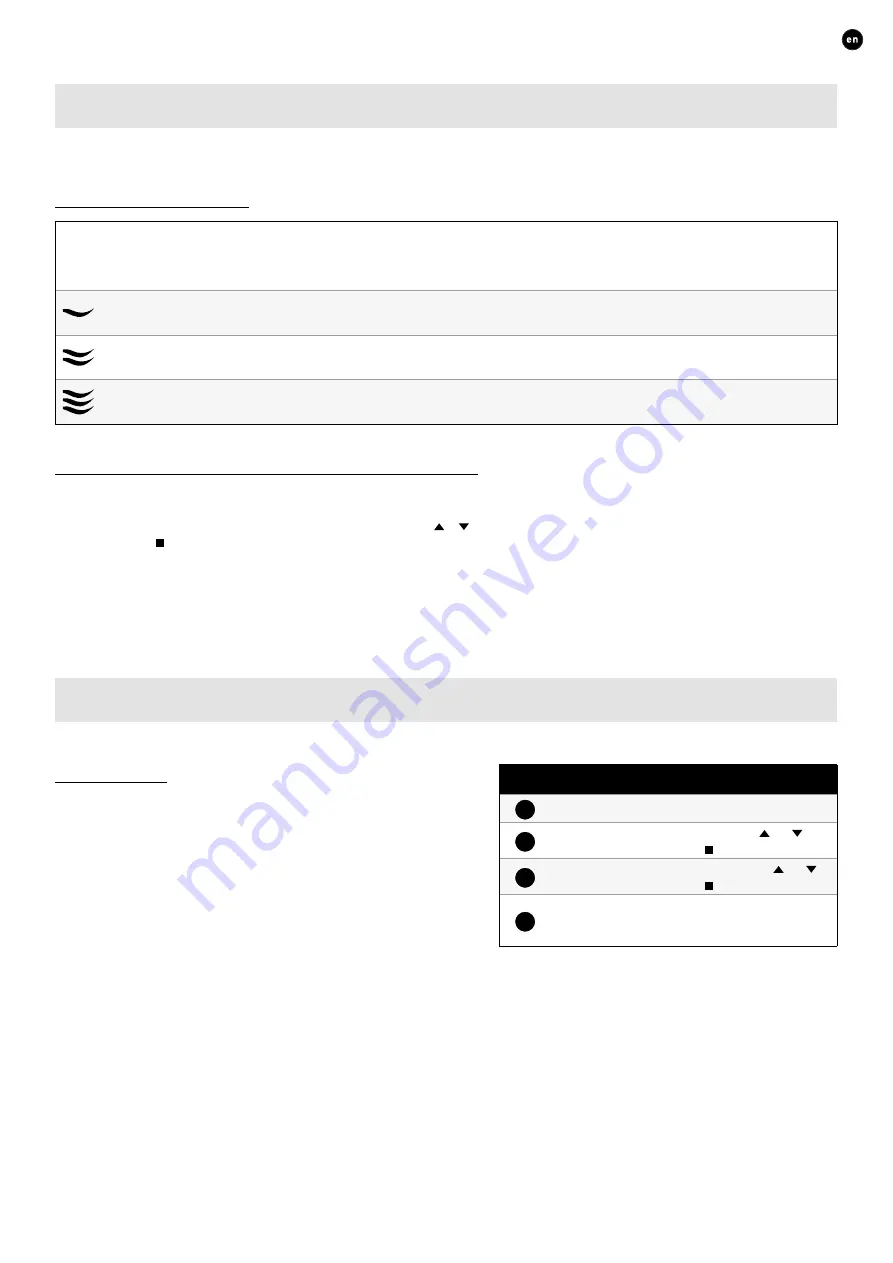
Ventilation positions

AUTO

Automatic setting 

(= recommended)

The system ventilates on a low number of revolutions and will only accelerate if needed� This guarantees 

an operation that is as energy-economical as possible� Accelerating occurs based on CO

2

 and/or humidity 

measuring (if sensors are installed) or based on a pre-set time programme (see page 24)
Low

The system exhausts at 10% of maximum capacity�

Medium

The system exhausts at 50% of maximum capacity�

High

The system exhausts at 100% of maximum capacity�

Changing the ventilation position via the unit

The DucoBox Energy Comfort has the option to view and change the ventilation position via the display menu� For this purpose, the 

following settings must be activated: 

SETTINGS

 → 

UNIT CONTROL

 (standard = 

ON

)� If this option is active, the main screen will show 

the ventilation position (see page 22) and using the arrow keys (  /  ) will enable changing the ventilation position� Open the 

menu via enter ( )�

The selected ventilation position on the unit is permanent (indicated in purple in ‘Controls’) until the user activates another po-

sition� Control is needed if you want to set temporary manual positions� Duco recommends the 

AUTO

 position for an optimal and 

energy-economic operation�

10.C

Settings for the occupant

The following settings can be adjusted by the occupant:

Date & time

The date & time will be set correctly during the initial installation 

which will have been carried out by the installer� Every DucoBox Energy 

Comfort will remember the date and time for a number of hours after 

a power cut� If the date and time have nevertheless been set incorrect-

ly, they can be corrected manually via the menu�

The date and time will synchronise automatically if the DucoBox 

Energy Comfort is equipped with a Communication Print and the 

DucoBox Energy Comfort is connected to a computer network with 

internet access� If this is not the case, the date and time can be set by 

the following method�

Setting date & time

1

Go to 

SETTINGS

 → 

DATE & TIME

2

Change the hours by pressing the   or   

button and press 

enter

 ( ) to confirm�

3

Change the minutes by pressing the   or   

button and press 

enter

 ( ) to confirm�

4

Change the day, month, year and time zone 

in the same way� Date and time are now set 

correctly�

Summary of Contents for DucoBox Energy Comfort 325

Page 1: ...Installation guide ENGLISH DucoBox Energy Comfort L2000782 Revision B 1 25 03 2020...

Page 2: ...17 08 A Pairing components 17 08 B Removing replacing components 18 08 C Tips 18 09 Air side calibration 19 09 A Pre setting vents 19 09 B Calibrating flow rates 20 09 C Verification 20 09 D Copy cali...

Page 3: ...t 325 0000 4485 Optional accessories Product Item number Siphon flat Energy Eco 0000 4376 Communication Print 0000 4251 Humidity Box Sensor Energy Comfort 0000 4545 Mounting chair upright Energy Comfo...

Page 4: ...heat exchanger This prevents the heat exchanger from freezing up If the imbalance is insufficient to prevent it from freezing up then the unit will be temporarily switched off Constant Flow The unit...

Page 5: ...w at maximum flow rate 100 Pa 111 5W 111 5W 111 5W 111 5W Power at 50 Pa reference flow rate 47 9 W 47 9 W 47 9 W 47 9 W Sound power level Lwa 55 dB A 55 dB A 55 dB A 55 dB A Reference flow rate Qref...

Page 6: ...stall connect and commission the DucoBox Energy Com fort as set out in this manual Keep the manual close to your unit Maintenance instructions must be followed closely in order to avoid damage and or...

Page 7: ...connections 5 Wall mounting hanger bracket 6 Control unit with integrated user controls 7 Cap of the air filter 8 Cap of the air filter 9 Bypass valve 10 Power cable 230 VAC 11 Pressure sensor 12 Pre...

Page 8: ...the op tion of allowing the Duco ventilation systems to commu nicate via ModBus and or ethernet ModBus integration enables them to be linked to a building management system Linking the Duco Ventilati...

Page 9: ...Sensor or one of the connections on the optional Communi cation Print see page 8 05 A Cabling diagram Loosen the screws 1 Slide the cap forwards 2 Cut one or more or the specified pieces away from th...

Page 10: ...m free field less through obstacles Maximum number of components Up to 25 wireless components in a single system 05 D Wired cabled communication Wired components can be daisy chained recommended This...

Page 11: ...er months Take care to ensure that the air inlet is accessible for any cleaning that may be required A smaller cross sectional area bore can actually have a major detrimental impact on system performa...

Page 12: ...ll ensure it is hanging level when doing so Ensure at the same time that the screws and plugs are suitable for the substrate and the weight of the unit 21 kg screws and plugs not included in the suppl...

Page 13: ...ge duct of the DucoBox Energy Comfort and centrally measures the humidity of the air discharged from the house A DucoBox Energy Comfort contains a maximum of one box sensor Connecting the Humidity Box...

Page 14: ...to ensure that the supply and exhaust vents are a minimum of 1 5 m van apart so they cannot come into contact It is preferable not to fit a vent right next to a wall in order to prevent soiling In ord...

Page 15: ...the first time you will be asked to enter a few basic settings Navigate using the arrow keys and and confirm using enter General settings LEFT HAND RIGHT HAND setting The LEFT HAND RIGHT HAND setting...

Page 16: ...hese steps you can proceed with the following steps in order to complete the installation Pairing control components with the DucoBox Energy Comfort Electrical system see page 17 DucoBox Energy Comfor...

Page 17: ...run again if additional control components need to be paired at a later stage All previously paired components will be retained in the network LED indications Colour Blinking installation mode On con...

Page 18: ...l buttons on a paired control The LED will flash green rapidly 5 sec 2 Press briefly twice on the button of the component to be replaced 2x OLD 3 Tap once on the button for the new component The latte...

Page 19: ...mended for supply vents in order to prevent excessive noise from being genera ted For this reason it is recommended that the flow be split between different vents for higher flow rates SITUATION 1 One...

Page 20: ...x Energy Comfort Depending on the user controller version this can also be done by pressing the lower and higher buttons on a paired user controller Adjust the flow rate so as to obtain the desired fl...

Page 21: ...Make sure that all valves are adjusted identically presetting fine tuning for each installation 2 Activate advanced mode Scroll down to ADVANCED and press enter Enter the installer s code 9876 and pr...

Page 22: ...be visible after that Operation The display on the DucoBox Energy Comfort is equipped with three 3 buttons up down and enter The arrow keys can be used to scroll through the menu If the display has n...

Page 23: ...ng the arrow keys will enable changing the ventilation position Open the menu via enter The selected ventilation position on the unit is permanent indicated in purple in Controls until the user activa...

Page 24: ...across the heat exchanger or not at all Fresh outdoor air will therefore not be heated up by warm stale indoor air This relatively cooler outdoor air entering the house will be used to reduce the tem...

Page 25: ...dicates that advanced mode is active The menu will exit advanced mode after 30 minutes of inactivity or after restarting the DucoBox Energy Comfort Advanced mode can also be closed down manually using...

Page 26: ...E VERSION for information In any communication with Duco you may be asked to state the software version of your DucoBox Energy Comfort Please keep this number to hand for any communication SERVICE COD...

Page 27: ...products seller Keep the serial number of your product to hand The serial number is on the sticker at the top of the DucoBox Energy Comfort 12 Warranty All warranty conditions concerning the DucoBox...

Page 28: ...Installed by L2000782 Document last modified on 25 03 2020 revision B 1...

Reviews: