www.drawell.com.cn
2.2.3.3 selectable heat lid calibration
Due to the demand of the experiment, we need to use different test tubes, so we
need different instrument suit the tests. This instrument has a design, with which the
operator can meet the need of different test tubes on the same instrument simply by
changing different block assembly.
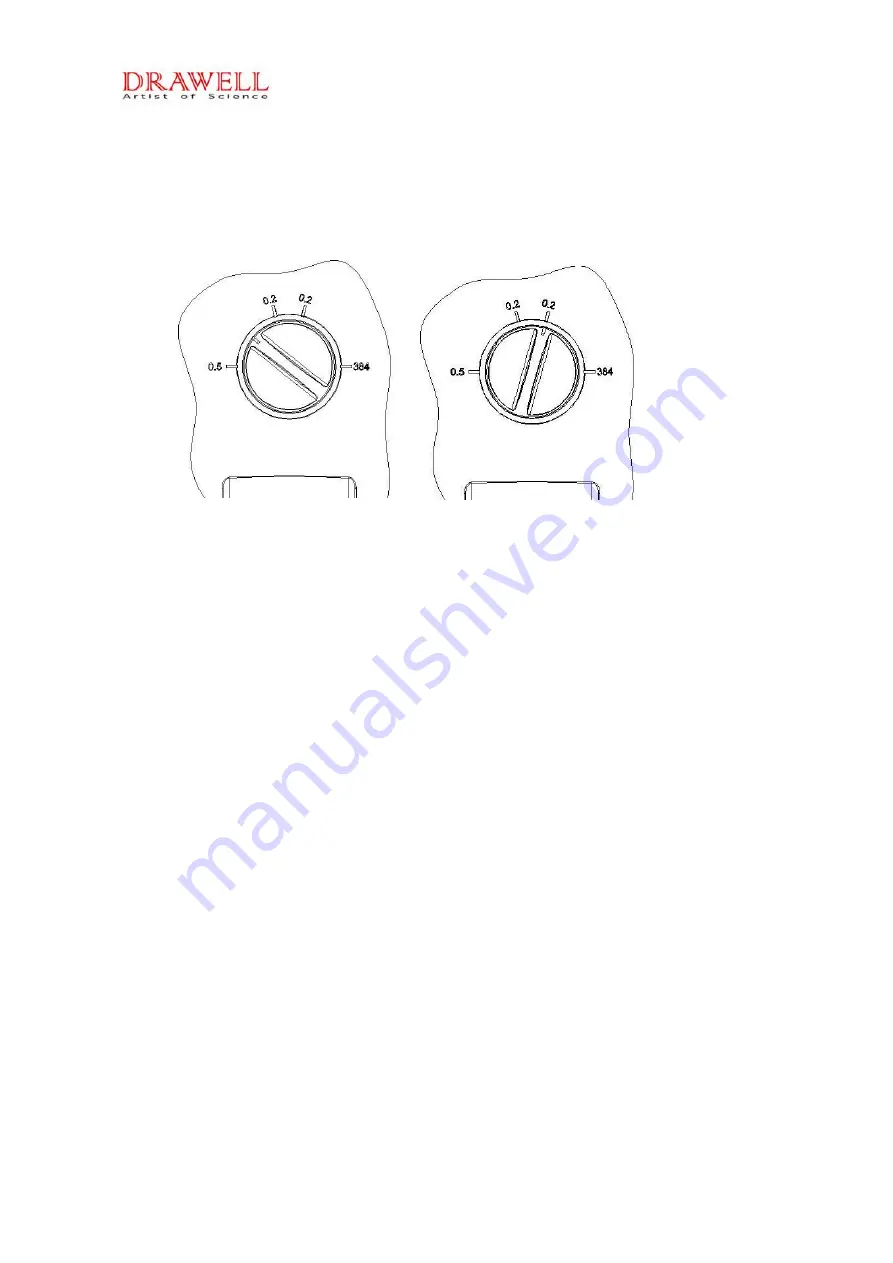
As the above figures show, the calibrations 0.5,0.2,0.2and384 on the panel
correspondingly suits the 0.5ml,0.2ml(dome),0.2ml(flat) and 384well test tube. Suppose
you have to use the 0.2ml(flat) test tube, you just need to take on the block assembly with
the 0.2ml groove( see details in 3.4 substitutable block assembly), then revolve the knob
to the calibration of 0.2(flat). We use a rational and practical design, slam the door of
traditional idea of changing heat lid or even change the instrument.
Note
: The calibration knob circles clockwise, namely from 0.5 to 384. Please don’t circle
it anti-clockwise so as not to break it.


