SECTION 3 PRINTING
0855849enf 6/08
47
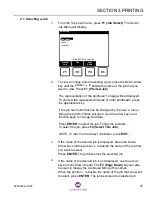
3.
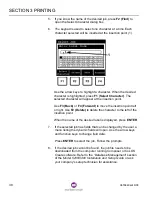
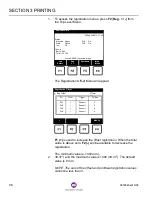
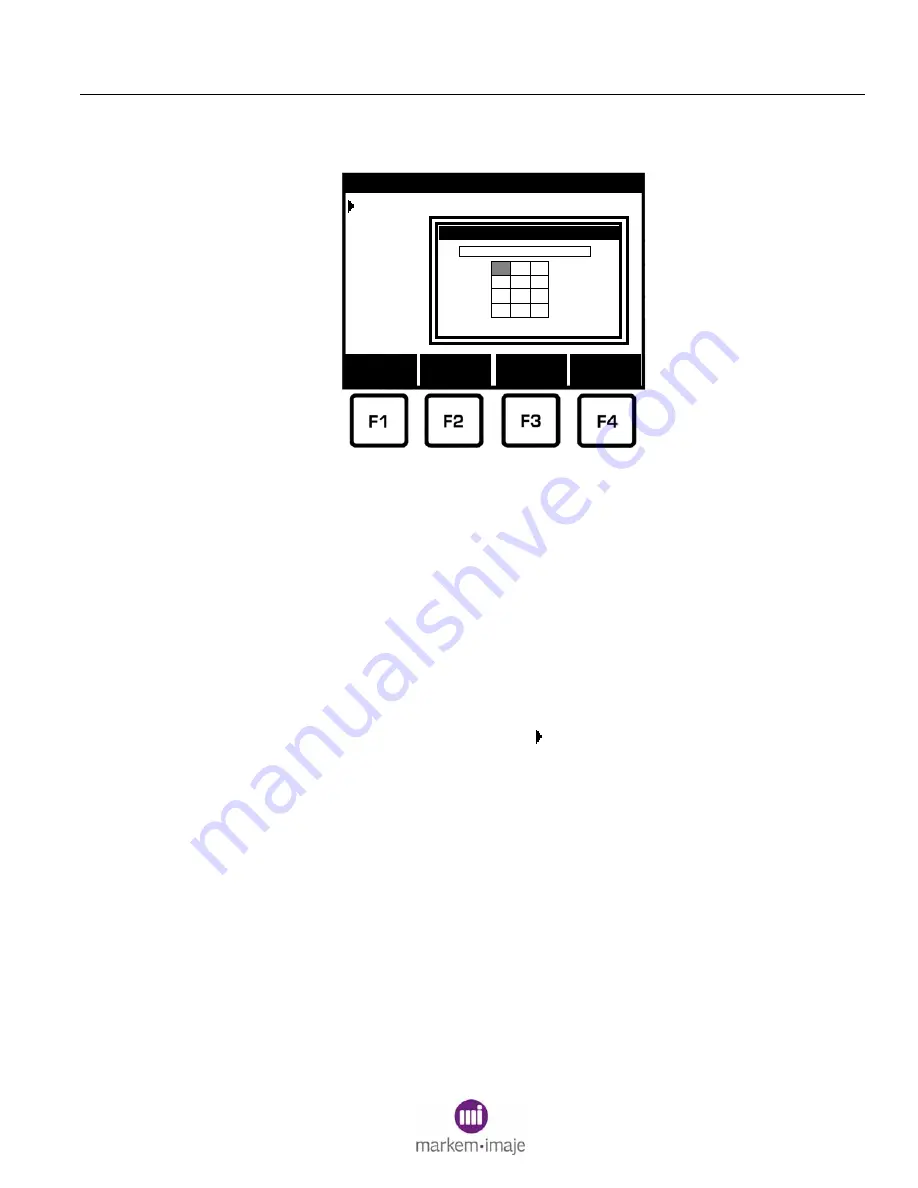
To change the registration offset for all printheads, press F4
(Modify). The Registration Offset dialog box will appear.
Use the arrow keys to highlight a number. When the desired
number is highlighted, press F1 (Select Character). The
selected number will appear at the insertion point.
Use F3 (Back) and F4 (Forward) to move the insertion point left
or right. Use F2 (Delete) to delete the number to the left of the
insertion point.
When the desired registration offset value is displayed, press
ENTER to return to the Registration Offset Menu.
4.
To change the PH Reg for a specific printhead, press the Down-
Arrow until the pointer is beside the desired printhead.
5.
Press the Right-Arrow until the desired field is selected.
6.
To change the registration value for the selected printhead,
press F1 (+) or F2 (-). Or press F4 (Modify) to open a dialog box
to modify the registration value.
7.
When the desired registration values are set, press EXIT to
return to the Top Level Menu.
Reg Offset
Registration Offset
Select
Character
Delete
Forward
Enter Reg Offset
Back
0
I
mm
2
3
1
4
5
6
7
8
9
0
-
1
PH1:
PH2:
PH3:
PH4:
Summary of Contents for Markem-Imaje 5000 Series
Page 1: ...o p e r a t i o n g u i d e ...
Page 2: ......
Page 4: ...iv 0855849enf 6 08 ...
Page 7: ...Model 5200 5400 Operation Guide SECTION 1 General Information ...
Page 8: ......
Page 18: ...SECTION 1 GENERAL INFORMATION 12 0855849enf 6 08 FRONT REAR ...
Page 24: ......
Page 25: ...Model 5200 5400 Operation Guide SECTION 2 Basic Operation ...
Page 26: ......
Page 38: ......
Page 39: ...Model 5200 5400 Operation Guide SECTION 3 Printing ...
Page 40: ......
Page 55: ...Model 5200 5400 Operation Guide SECTION 4 Cleaning and Care ...
Page 56: ......
Page 61: ...Model 5200 5400 Operation Guide SECTION 5 Troubleshooting ...
Page 62: ......
Page 67: ...User Documentation Department ...

