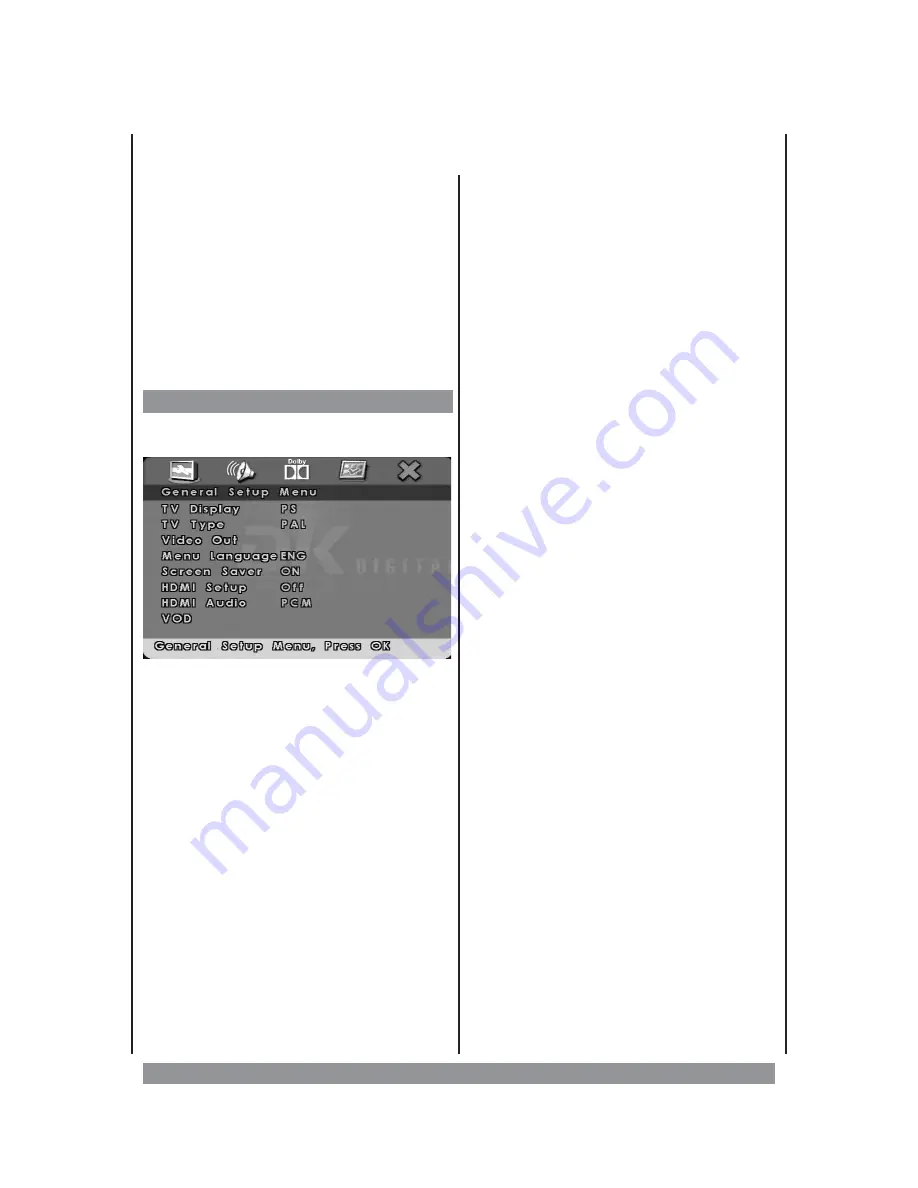
The DVD Setup Menu
This is where you arrange all important
settings for the cooperation of the DVD with
the TV set and other audio equipment.
Before or during play back press the
SETUP
button to access those menus shown below.
Use the navigation keys to operate the menu.
To activate or confirm the highlighted items
please press the
ENTER
or
PLAY
button.
Having done all desired settings press SETUP
again to leave the menu and resume play back.
General Setup Page
Please press the SETUP button to enter the
following menu:
TV DISPLAY
The program’s screen format (4 : 3 normal TV
/ 16 : 9 wide screen) is specified by the DVD.
Please note that this format might not
necessarily match your TV’s screen format. In
this case this will be helpful:
—
NORMAL/PS
: Choose this mode when
your TV set has 4 : 3 screen format. The
picture will fill the screen but some right
and left portion will be cut.
—
NORMAL/LB
: Choose this mode when your
TV set has 4 : 3 screen format. The picture
will appear in its entire width but framed
by black bars at the top and the bottom.
—
WIDE SCREEN
: Choose this mode when
using a 16 : 9 wide screen TV set.
TV TYPE
Here you can choose the TV’s colour system,
either NTSC (American standard) or PAL
(Europe).
VIDEO OUT
Select the video type to fit with your connector
type: Choose ,,RGB” for a RGB video signal.
Choose ,,CVBS” for S-video and video out.
MENU LANGUAGE
Please select the preferred language for the
OSD menus. English, Spanish, German and
French are available.
SCREEN SAVER
When you enable this function a moving DVD
icon appears on the screen when the unit is
stopped or showing a still picture for more
than 1 minute. This saves the screen from
getting
damaged
by
constant
pictures.
Choose “OFF” to disable the feature.
HDMI Setup
If you are using the DVD Player’s HDMI
output to connect to your TV, set the HDMI
setup option to the resolution that matches
your TV. See the user’s guide that came with
your TV for information on the highest
resolution your TV supports. Please note, that
the figure shows the number of lines and the
letter behind it indicates “Progressive Mode”
is enabled (p) or disabled (i = interlaced).
We strongly recommend to use only
settings that can be handled by your TV
monitor.
Tip: after you turn on the unit the display
briefly shows “PS ON” or “PS OFF” indicating
a resolution with of without “Progressive
Scan” is set.
HDMI Audio
Select
the
SPDIF
or
PCM
(Pulse
Code
Modulation) format to output your audio signal.
VOD
If you would like to participate in the VOD
service, recall this menu item. VOD means
V
ideo
o
n
D
emand, that means you can
download movies from the Internet, burn
these on a data carrier and play it through this
DivX player.
25


