


2 Quick Installation
DAG1000-1S/2S/4S User Manual
Copyright©2011-2017 Dinstar
9
Note: The IP address of PC and that of WAN port of the DAG1000-1S/2S/4S device are at the
same network segment.
2.4 Preparations for Login
Firstly, connect the device to network according to the above network diagrams, and connect
a telephone to the FXS port. Then dial *158# to query the IP address of the LAN port (default
IP is 192.168.11.1).
Secondly, modify the IP address of the PC to make it at the same network segment with the
LAN port of the device.
Thirdly, check the connectivity between the PC and the device. Click
Start
Run
of PC and
enter
cmd
to execute ‘ping 192.168.11.1’ to check whether the IP address of LAN port runs
normally.
2.4.1
Log In Web Interface
Open a web browser and enter the IP address of LAN port (the default IP is 192.168.11.1).
Then the login GUI will be displayed.
You also can enter the IP address of WAN port, but it’s required to modify the IP address of
PC to make it at the same network segment with WAN port and ‘Access Web by WAN’ is
enabled on the
Advanced
System Parameter
page.
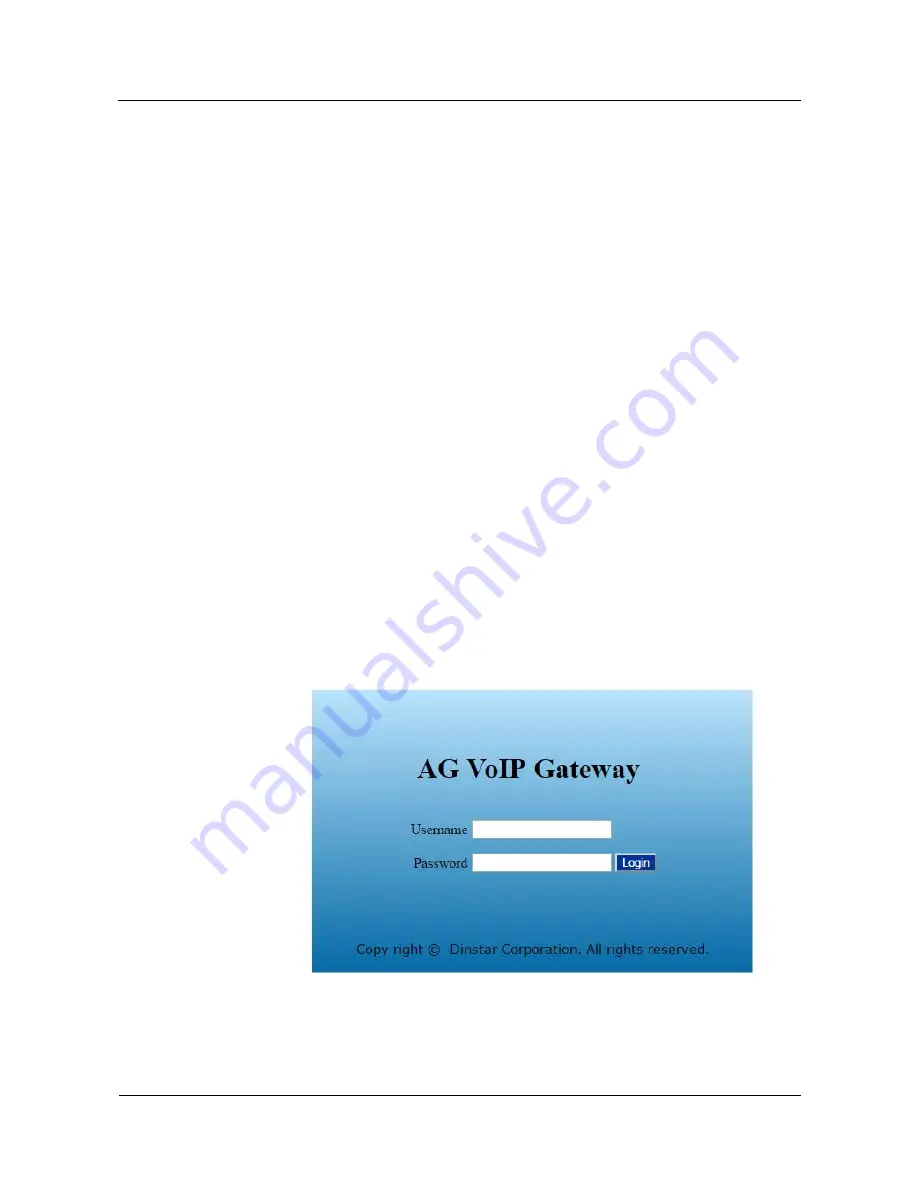
It is suggested that you should modify the username and password for security consideration.
Figure 2-3 Login GUI
Both the default username and password are admin. Click
Login
to enter into the web
interface.


