Before installing or operating the camera, please read and follow this manual carefully.
DWCA-VF25W28-64
DWCA-VF25WIR4-64
DWCA-VF25WIR8-64
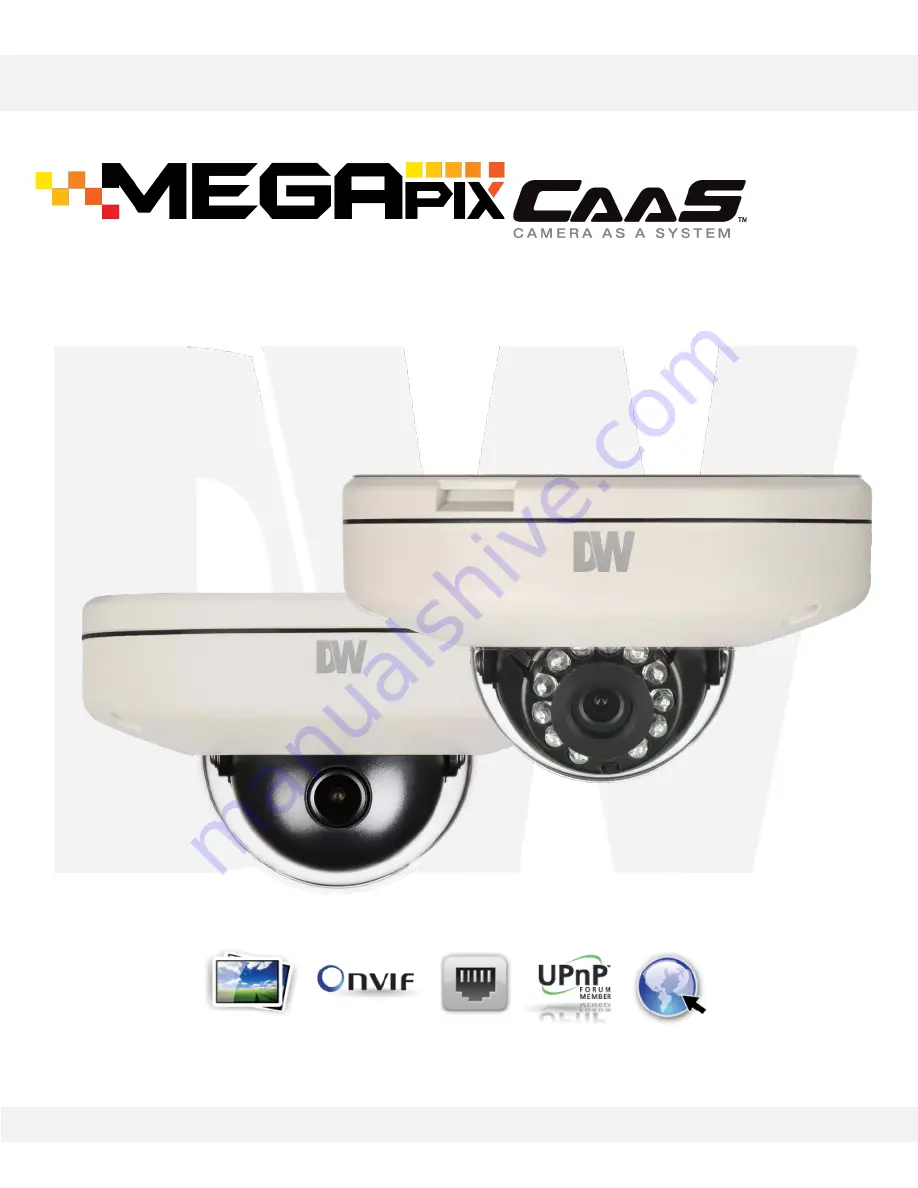
MEGApix CaaS™ Surface Mount Outdoor Dome Camera
REV.0715
Page 1: ...Before installing or operating the camera please read and follow this manual carefully DWCA VF25W28 64 DWCA VF25WIR4 64 DWCA VF25WIR8 64 MEGApix CaaS Surface Mount Outdoor Dome Camera REV 0715...
Page 2: ...the temperature may rise to high levels Cleaning To remove dirt from the case moisten a soft cloth with a soft detergent solution and wipe Mounting Surface The material of the mounting surface must be...
Page 3: ...D Card 12 MEGApix CaaS Camera Setup 13 Installing DW IP Finder 13 Using DW IP Finder 14 15 Network Options 16 Camera Reboot 17 MEGApix CaaS Camera Web Viewer 18 Accessing the Camera s Web Viewer 18 GU...
Page 4: ...t DNR 3D Digital Noise Reduction Network Failover and Redundancy SD SDHC Card Slots up to 128GB 64GB SD Card Class 10 included True Day Night with Mechanical IR Cut Filter Auto Gain Control AGC Backli...
Page 5: ...PARTS DESCRIPTIONS 5...
Page 6: ...DIMENSIONS 6...
Page 7: ...The following items are included with the MEGApix CaaS camera INSIDE THE BOX 7...
Page 8: ...Using a PoE Enabled Switch The MEGApix CaaS Camera is PoE Compliant allowing transmission of power and data via a single Ethernet cable PoE eliminates the need for the different cables used to power...
Page 9: ...e camera to the wall or ceiling 5 Secure the camera s cover dome onto the camera base to complete the installation INSTALLATION 9 To use the LAN water protector case refer to the diagram below 1 Inser...
Page 10: ...base to the metal mount by snapping it into place using the two metal handles 6 Secure the camera s cover dome onto the camera base to complete the installation 7 See page 9 for water proof cabling in...
Page 11: ...3 Secure the two long mounting screws to the camera s base 4 Pull wires through and make connections 5 Mount the camera to the mounting surface using the 2 mounting nuts 6 Secure the camera s cover d...
Page 12: ...card slot in the back of the camera module 2 Insert a class 10 SD card into the SD card slot by pressing the SD card slot 3 To remove the SD Card press the card inward to release from the card slot 1...
Page 13: ...can be found on the included User Manual CD Run DW Desktop Tool and install onto your PC 2 When setup is complete launch DW Desktop Tool 3 The software will automatically search your network for all D...
Page 14: ...h a n g e t h e b a s i c s e t t i n g s o f y o u r M E G A p i x C a a S c a m e r a u p d a t e f i r m w a r e f o r m u l t i p l e c a m e r a s s i m u l t a n e o u s l y o r c o n n e c t t...
Page 15: ...internal network For further explanation on DHCP please see page 17 2 Static IP Select Static to connect to the camera from an external network For further explanation on Static please see page 17 3 I...
Page 16: ...ternally via the internet If Static is selected you must manually enter the correct network settings for your MEGApix CaaS camera The settings will correspond with your network To set your camera to a...
Page 17: ...to use 3 Select all the cameras you would like to upgrade You can select multiple cameras by clicking on multiple camera models while holding down the Ctrl button 4 Click Update Cameras 5 The system w...
Page 18: ...t o r y d e f a u l t P r e v i o u s s e t u p f o r I P d e f a u l t t i m e e t c w i l l b e d e l e t e d I f a s y s t e m s I P a d d r e s s i s l o s t r e s e t t h e c a m e r a b a c k t...
Page 19: ...xplorer window Example http 192 168 1 123 Factory Default 2 Enter Username and Password Default Username admin Password admin 3 The web browser may ask to install FbVLC to view video from the camera O...
Page 20: ...lay This is the region for live video stream from the camera 2 Setup Menu Setup the camera s Video Network Events System etc 3 Stream selection Select a stream to display it in the viewing area 4 Full...
Page 21: ...secondary Stream settings The camera supports the setup of up to two 2 different streams with different resolution and FPS for maximum network control Select which stream to view in the camera s main...
Page 22: ...me and camera s name overlay by pressing the CAPTURE button 2 You can also print the camera s view for your records by pressing the PRINT button The printing setup page will appear allowing you to adj...
Page 23: ...vices or includes a microphone built in 3 If needed adjust the camera s volume using the volume bar Microphone 1 For supported cameras enable audio to be transmitted from the web viewer to the camera...
Page 24: ...and be displayed in color This function will be available for supported cameras that support alarm input Relay Out 1 For cameras that support relay output control enable or disable the relay directly...
Page 25: ...of saved images MJPEG the lowest Compression type will provide the highest image quality but also will cause the image size to be the largest and take up the most bandwidth H 264 Mainline Profile is t...
Page 26: ...ate control option from the drop down menu options c Minimum and Maximum Bitrate Set the min and max values for the camera s bitrate range d Min Max Bitrate If VBR Bitrate mode is selected adjust the...
Page 27: ...ue layer If you have more than one region setup the region in current setup will be highlighted with a yellow border 3 Type Select whether this region will include motion detection or exclude it If ex...
Page 28: ...not appear in the table try rebooting the camera and re inserting the card 3 The system will display the SD Card s total size current used and free space format type and current recording status 4 To...
Page 29: ...the INSTALL button 2 In the new popup window press the Choose File button and select the appropriate file 3 Press the UPLOAD button 4 The system will upload the file SUCCESS will appear once the inst...
Page 30: ...such all settings for the camera s recording playback backup and further software updates can be done from the DW Spectrum client 1 To access the camera via DW Spectrum client please install the clien...
Page 31: ...he camera s True Day Night IR cut filter the camera s view to day mode regardless of the light levels in the camera s FoV c Force Night Manually removes the True Day Night IR cut filter from the camer...
Page 32: ...ol is set to 60GHz 2 EXPOSURE SETTING a Slowest Level Set the shutter speed from the available options between 1 7 5 and 1 8000 Select 1 7 5 to set more exposure time to light This setting is used to...
Page 33: ...the number the camera s image will use warmer tones The lower the number the camera s image will use cooler color tones Default value is 0 4 Contrast Set the camera s contrast between 0 128 The highe...
Page 34: ...ptime how long the camera has been operating since its last power cycle 3 Code Version camera s firmware version 4 MAC IP Address the camera s address information 5 Camera Name display the camera s na...
Page 35: ...IP Address Enter an IP address for the camera 3 Netmask default is 255 255 255 0 4 Gateway This is your router s external IP address This address is used when accessing the camera remotely from outsi...
Page 36: ...Select the appropriate time zone from the drop down menu 3 NTP Server Set the camera to sync its time with an NTP server by pressing the SYNC button 4 Computer Time You can also set the camera to syn...
Page 37: ...for the latest firmware click on the link to Digital Watchdog s website or go to www digital watchdog com To start the upgrade process 1 Download the latest firmware from the Digital Watchdog website...
Page 38: ...reset the camera s settings back to factory default If this option is selected all settings except for the camera s network settings with be deleted and reset to their factory default Press OK in the...
Page 39: ...F25WIR8 8 0mm F2 0 39 Viewing Angle Lens Type Fixed Lens IR Distance 30ft Range IR IR models only OPERATIONAL Brightness 255 255 Shutter Mode Auto Manual Shutter Speed 1 7 5 1 15 1 25 1 30 1 50 1 60 1...
Page 40: ...indows XP Windows Vista Windows 7 MAC OS Supported Browser Internet Explorer Google Chrome Mozilla Firefox Safari Video Management Software DW Spectrum ONSSI Milestone Genetec ENVIRONMENTAL Operating...
Page 41: ...is it connected to a proper internet outlet and operating properly Make sure the PoE Switch is connected to a router modem and the ports that have devices connected to them have a green LED on If Yes...
Page 42: ...ld be connected on the same router Contact your network administrator if you have more than one network available If Yes try pinging the MEGApix CaaS camera s IP address as it appears on the IP finder...
Page 43: ...llows the camera to stream its video to the web client When you connect to your MEGApix CaaS camera for the first time your browser will ask you to install FbVLC Make sure your Web Browser s security...
Page 44: ...55 255 255 0 The MEGApix CaaS camera can also connect to the web viewer using a static IP address This will allow you to set your own IP address manually Setup the Network Protocol on your PC 1 Go to...
Page 45: ...pt or other proof of the date of the original purchase is required before warranty service is rendered This warranty only covers failures due to defects in materials and workmanship which arise during...
Page 46: ...clusion or limitation of incidental or consequential damages or limitations on how long an implied warranty lasts so the above exclusions or limitations may not apply to you This warranty gives you sp...
Page 47: ...itos California USA 90703 PH 866 446 3595 FAX 813 888 9262 www Digital Watchdog com technicalsupport dwcc tv Technical Support PH USA Canada 1 866 446 3595 International 1 813 888 9555 French Canadian...