page 10
Digital Projection HIGHlite Cine 330 3D Series
Installation and Quick-Start Guide
OPERATING THE PROJECTOR
Rev E August 2014
Operating The Projector
Switching the projector on
•
Connect the power cable between the mains supply and the projector.
•
Wait until the self-test has completed and the standby indicator on the projector control panel shows amber. The lamp will be off and the
projector will be in STANDBY mode.
•
Press
on the remote control or the control panel to switch the projector ON. The power indicator on the control panel flashes
blue for a few seconds whilst the lamp comes up to full brightness. When the projector is fully switched on and ready for use, the power
indicator stops flashing and remains on.
Selecting an input signal or test pattern
Input signal
•
Connect an image source to the projector. The signal should be
automatically detected by the projector, and should be displayed within
two or three seconds.
If more than one signal is connected, select the image you want to display in
one of the following ways:
•
Press one of the
Input buttons
,
1
to
5
on the remote control, or
•
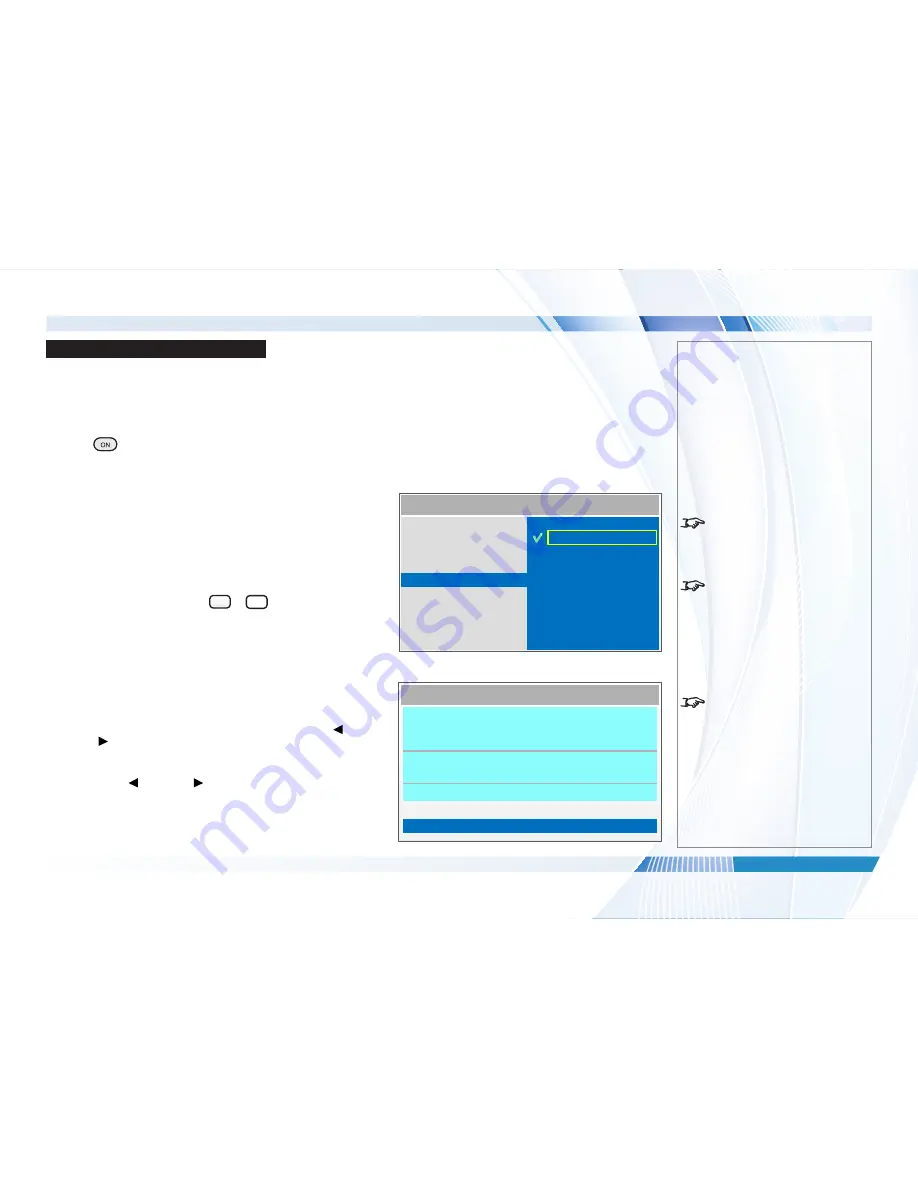
Open the On-screen display (OSD) by pressing the
MENU
button on
either the control panel or the remote.
Navigate to
Main >
Input Select
.
Test pattern
If no image source is connected to the projector, you can display a test
pattern in one of the following ways:
•
Press the
TEST
button on the remote and then use the
LEFT
and
RIGHT
arrow buttons to switch between patterns.
•
Open the On-screen display (OSD) and access the
Service
menu, then
navigate to
Test Pattern
.
Use the
LEFT
and
RIGHT
arrow buttons to switch between
patterns.
Presets
Overscan
MAIN >>
Input Select
<Value>
3D Control
HDMI 2
RGB
COMP 1
COMP 2
Aspect Ratio
Resync
HDMI 1
Model Name
SERVICE >>
Factory Reset
<Execute>
Serial Number
Software Version
FPGA Version
Active Source
Signal Format
PCLK 148.50 MHz
DP3P40 3D
W000XXXXX0000
D02-GD02-00
1.1-0.6_37
HDMI 2
1080p/60Hz TAB
H: 67.25 KHz V: 60Hz
Lamp Hours
18 HRS
Test Pattern
Off
Notes
See the
Connection Guide
for
further information about the
available inputs and connections.
For full details of how to use the
controls and the menu system, see
the
Operating Guide
.
Please note that the values
shown in this illustration may differ
significantly on your OSD.


