


21
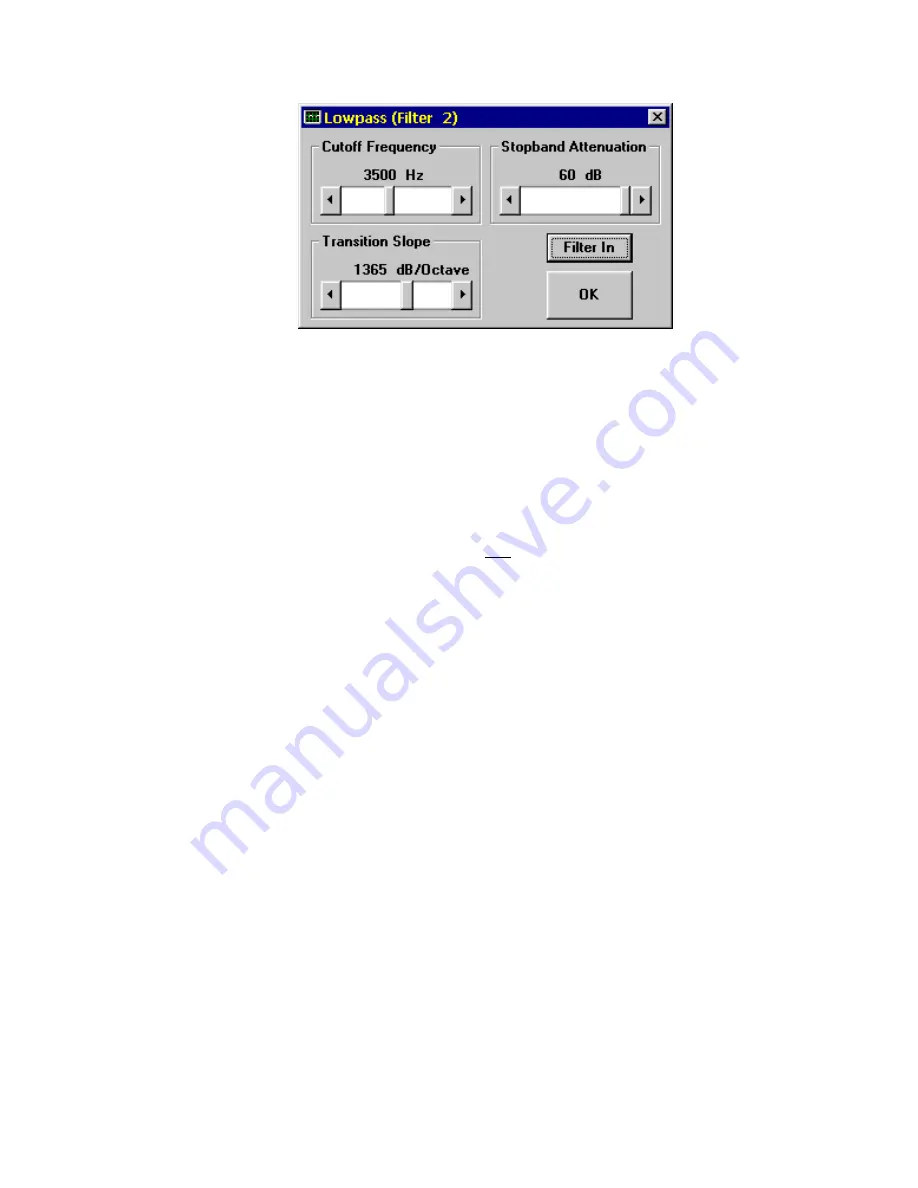
This is the Lowpass Filter Control Window. It is used to
select Cutoff Frequency, Stopband Attenuation, and
Transition Slope.
27.
Use the mouse to set all controls to match the settings
shown in Figure 3-10. Do not click on the
OK
button at this
time.
28.
Listen to the filter OUTPUT through your headphones. Note
the effect on the signal as the
Filter
button is toggled
between
Filter In
and
Filter Out
. You should notice a
dramatic reduction in high-frequency sound whenever the
button indicates
Filter In
. Try adjusting the Cutoff Frequency
control to various settings; as the Cutoff Frequency is
increased, you should hear high-frequency sounds increase,
and as Cutoff Frequency is reduced, high-frequency sounds
will be reduced.
29.
Click on
OK
to exit the Lowpass Filter Control Window.
30.
Click on the
Filter
button in the Filter 2 block until it
indicates
Filter Out
.
31.
Click on the
Equalizer
button in the Equalizer block until it
indicates
Equalizer In
.
32.
Click on the
Select
button in the Equalizer block. The
window in Figure 3-11 will appear.
Figure 3-10 Tutorial Lowpass Filter Control Window
Summary of Contents for PCAP II
Page 2: ......
Page 4: ......
Page 14: ...2 ...
Page 68: ...56 Figure 4 14 Lowpass Filter Graphical Description ...
Page 71: ...59 Figure 4 16 Highpass Filter Graphical Description ...
Page 75: ...63 Figure 4 18 Bandpass Filter Graphical Description ...
Page 90: ...78 Figure 4 28 Slot Filter Graphical Description ...
Page 104: ...92 ...
Page 110: ...98 ...
Page 128: ...116 ...
Page 154: ...142 ...


