


17
12.
Click on the
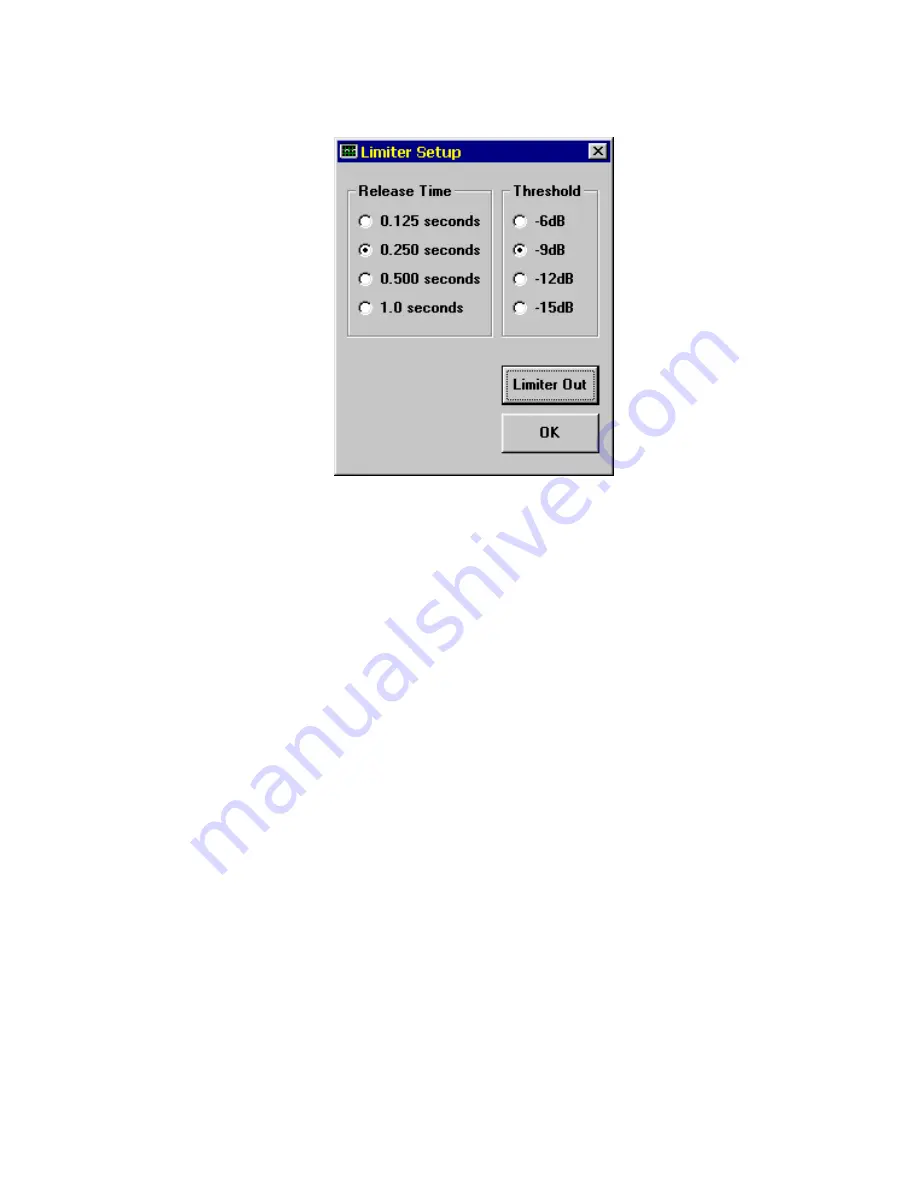
Limiter Setup
button in the Input Levels block.
The following window (Figure 3-6) will appear:
13.
Use the mouse to set the Release Time to 0.250 seconds
and the Threshold to -9dB, as shown in Figure 3-6. Click on
OK
when done*.
14.
Adjust the headphone VOLUME control to MIN. Increase
both INPUT LEVELS controls fully clockwise to the
MAX
position. This should cause the PCAP II audio inputs to
overload (this will not damage the unit but will distort the
audio). The tricolor level LED should indicate RED on peaks,
and the Left bargraph in the Input Levels block should be
frequently popping up into the RED zone, indicating overload.
15.
Slowly increase the headphone VOLUME until distorted
audio can be clearly heard.
16.
Switch the Limiter In and Out by clicking on the
Limiter
button in the Input Levels block. You should notice the
indicated bargraph levels decrease to -9dB and the audio
quality (as heard through the headphones) dramatically
___________________________________
*If you try to click anywhere on the Master Control Panel while a control window
(such as the Limiter Setup window ) is displayed, a warning beep will sound,
indicating that you need to first close the control window by clicking the
OK
button.
Figure 3-6 Tutorial Limiter Setup Window
Summary of Contents for PCAP II
Page 2: ......
Page 4: ......
Page 14: ...2 ...
Page 68: ...56 Figure 4 14 Lowpass Filter Graphical Description ...
Page 71: ...59 Figure 4 16 Highpass Filter Graphical Description ...
Page 75: ...63 Figure 4 18 Bandpass Filter Graphical Description ...
Page 90: ...78 Figure 4 28 Slot Filter Graphical Description ...
Page 104: ...92 ...
Page 110: ...98 ...
Page 128: ...116 ...
Page 154: ...142 ...


