


101
1.
From the PCAP II Master Control Panel, set
System
Bandwidth
to
5.4 kHz
,
Configuration
to
Mono
, and
Number DSP Stages
to
2
. Click on the
Select
button in the
Filter 1
block, then select
Hi-Res Graphic
from the
selection window.
2.
Click on the
Control
button in the
Filter 1
block to bring up
the Hi-Res Graphic Filter control window. When used for the
first time, the control window will be the that of the previous
Figure 4-41.
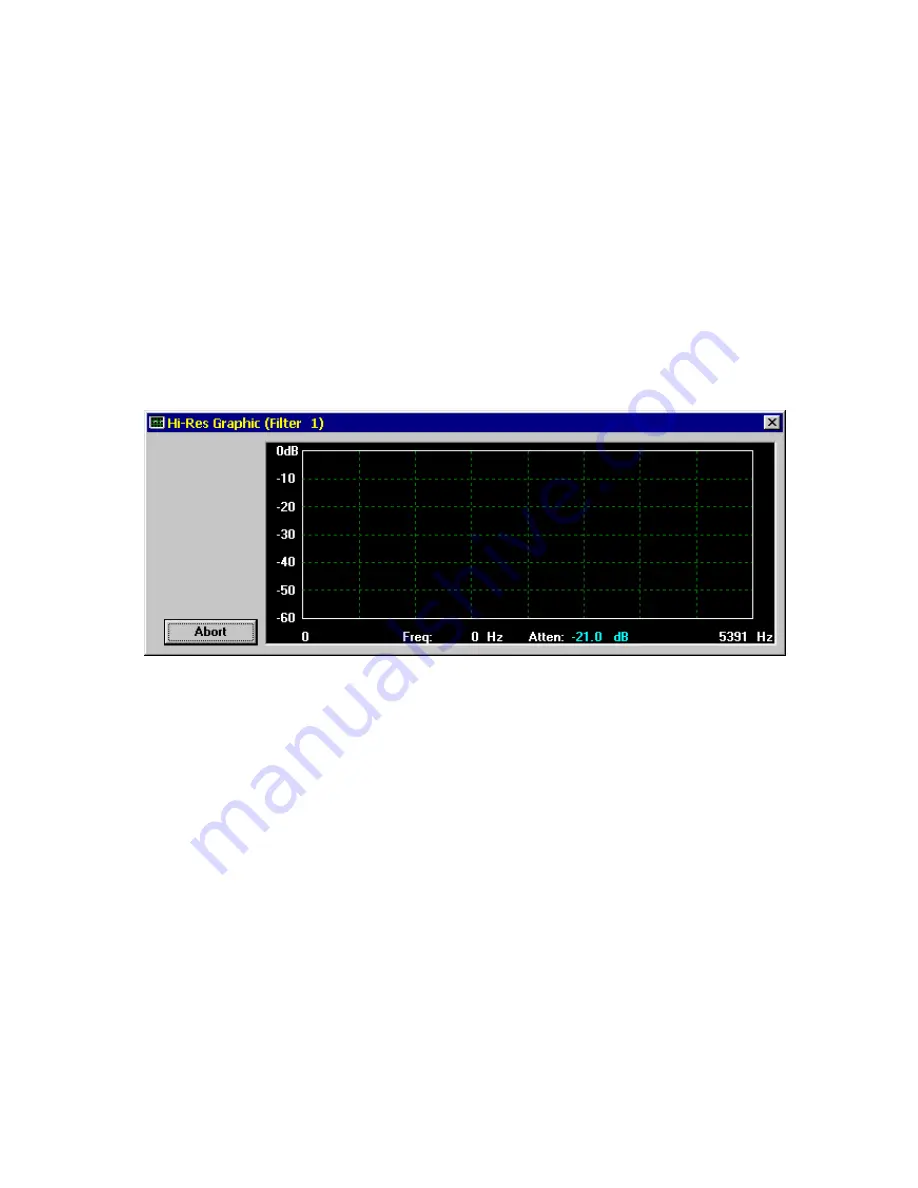
3.
Click on the
New
button to draw a new filter. The screen will
now appear as follows:
Had you accidentally clicked the
New
button, you could click
on
Abort
to restore the previous filter.
4.
You should now notice that all the buttons on the control
window have been replaced by a simple
Abort
botton.
Clicking on
Abort
at any time prior to completing the curve
draw restores the previous filter..
To draw the new filter curve, you will need to carefully click
the mouse cursor on points within the filter display area
which correspond to the desired attenuations at the desired
frequencies.
While the mouse click button is held down, the
Freq
and
Atten
readouts will be updated as the mouse is moved; you
can use this feature to place points in the filter curve at exact
Figure 4-44 New Hi-Res Graphic Filter Display
Summary of Contents for PCAP II
Page 2: ......
Page 4: ......
Page 14: ...2 ...
Page 68: ...56 Figure 4 14 Lowpass Filter Graphical Description ...
Page 71: ...59 Figure 4 16 Highpass Filter Graphical Description ...
Page 75: ...63 Figure 4 18 Bandpass Filter Graphical Description ...
Page 90: ...78 Figure 4 28 Slot Filter Graphical Description ...
Page 104: ...92 ...
Page 110: ...98 ...
Page 128: ...116 ...
Page 154: ...142 ...


