www.digimerge.com
VCE400 Series QSG_EN_R1 Page
Information in this document is subject to change without notice. As our products are subject to continuous improvement, Digimerge Technologies Inc. reserves the right to modify product design, specifications and prices, without notice and without incurring any obligation. E&OE © 2007 Digimerge. All rights reserved.
STEP 2
SETTING UP YOUR DIGTIAL VIDEO RECORDER (DVR)
- RECORD SCHEDULE SETUP, ENABLING THE PASSWORD
8
Setting the Record
Schedule
Scheduled Continuous Recording
The DVR can be configured to schedule the Continuous/Nor-
mal recording. For example, if you want the VCE400 to
record continously from 8.00am to 6.00pm, and then record
only on motion after those hours, use the arrow keys to
highlight which time period you want to enable the
Scheduled Continuous Recording for (i.e. starting
at 8.00 hours). Turn the jog dial to the right (clockwise) to
enable the Continuous Schedule Recording, or turn the jog
dial to the left (counter-clockwise) to disable the Continuous
Schedule Recording for the selected hour
When Scheduled Continuous Recording is enabled the selected
hour(s) will be highlighted in green. When Scheduled Continu-
ous Recording is disabled, the program number will be white
This Scheduled Continuous Recording Feature Requires Firm-
ware/Software V2.65 or later
Repeat this process for each day/hour
For more information on these features, refer to the VCE400
Series Manual, under the “6.3.1 Record Setup” section
Press
“Spot/ESC”
2 times
Move down to
“Save and Exit”
and press
“status/home/enter”
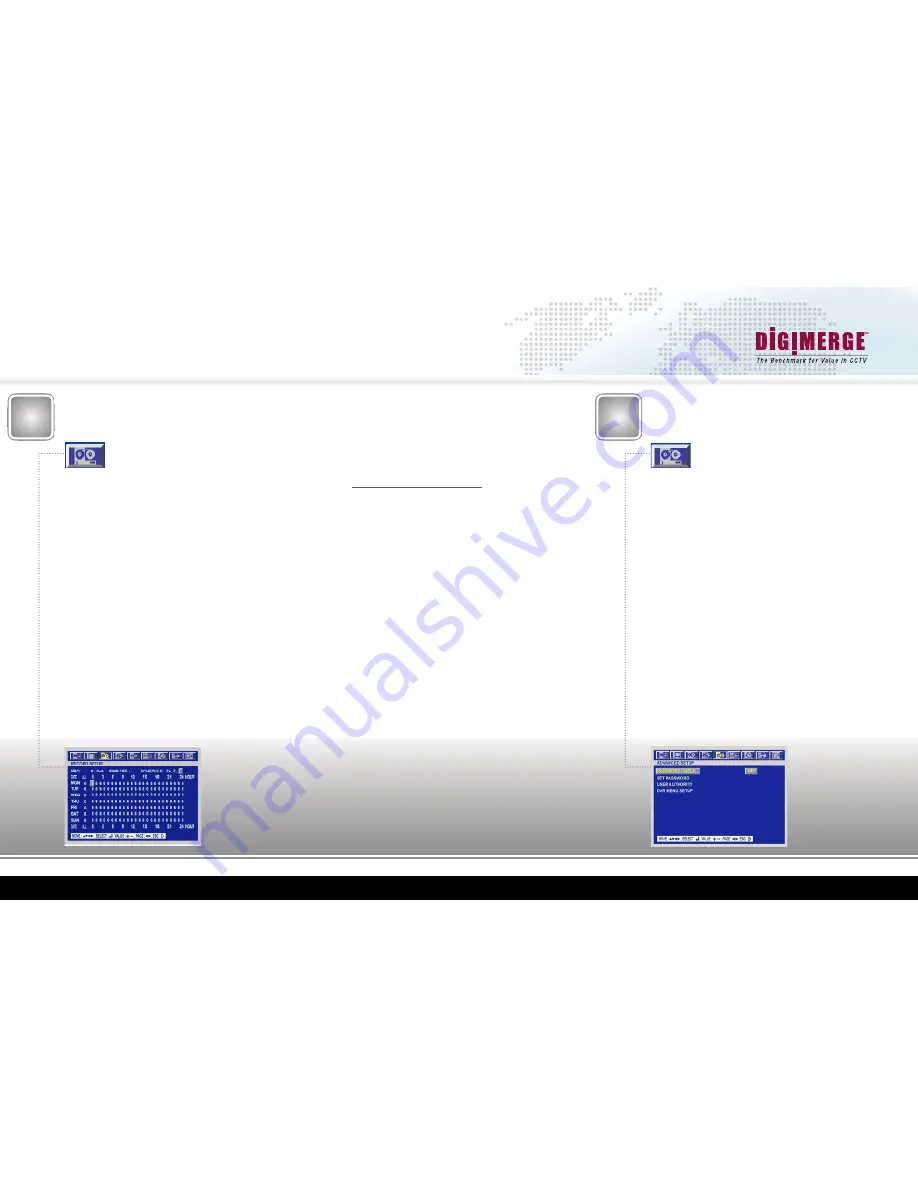
In this menu, you can configure a weekly recording schedule;
this schedule can include any of the pre-defined or custom
programs. You can select different custom programs for
different periods of time, for example you can set the
VCE400 to record continuously from 8am to 6pm
(regular business hours), and then record only on
motion after-hours
Press the
“Menu”
Button
Use the Left or Right Arrows to Navigate to the
“Record”
Menu
Select
“Record Setup”
and press
“status/home/enter”
This menu is segmented into 1 hour durations; you can indi-
vidually select different programs per hour, per day. If you
have setup a Custom program as outlined in the previous
steps, change all the numbers in the schedule to “0”
Use the arrow keys to highlight which time period you want to
modify; or highlight the
“All”
column for that day to change all
the values.
Use the
“F-” (auto) or “F+” (freeze)
keys to decrement or in
crement the highlighted Schedule values
Enabling these setting will cause the VCE400 to prompt
the user for a password whenever they attempt to enter the
menu, or change the record status; the default admin
password is “11111111”
Press the
“Menu”
Button
Use the Left or Right Arrows to Navigate to the
“System”
Menu
Move down to
“Advanced Setup”
and press
“status/home/
enter”
Select
“Password Check”
; Use the
“F-” (auto) or “F+” (freeze)
keys to change the value to
“On”
Press
“Spot/ESC”
2 times
Move down to
“Save and Exit”
and press
“status/home/enter”
Enabling the
VCE400 Password


