CC7574DKV OPERATOR’S MANUAL
Servicing the Battery
1. Unlatch and open the left side door.
2. Unsecure the battery from the hold-down
bracket by removing the two ratchet knobs
from the battery hold-down tie rods and lift
the hold-down bracket lid off.
3. Disconnect the negative cable lead from
the negative terminal.
Note: Always disconnect the negative cable
first.
4. Disconnect the positive cable lead from the
positive terminal.
5. Carefully remove the battery from the
battery box.
6. When replacing the battery, carefully place
a new battery into the battery box. Bring
the old battery to a recycling facility; many
battery retailers also accept old batteries.
7. When cleaning the battery, inspect the
terminals, clamps, and cables for damages
and corrosion. Clean the terminals and
clamps using a wire brush, or use another
approved technique for cleaning. Use acid-
free, acid- resistant grease to grease the
battery clamps and terminals. Carefully
place the battery back into the battery box.
8. Reconnect the positive cable lead to the
positive battery terminal. Note: Always
reconnect the positive cable first.
9. Reconnect the negative cable lead to the
negative battery terminal.
10. Reinsert the hold-down batter lid over the
two tie rod bolts and tighten it using the two
ratchet knobs.
11. Close and latch the left side door.
Electrical System
WARNING
•
Disconnect the battery prior to servicing
the saw unless stated otherwise.
•
Always use the correct size fuses (amps)
to prevent fires.
Inspect all fuses if switches or controls are not
working properly and replace as necessary. If
fuses are failing frequently, determine the
cause and repair immediately. Refer to the
CC7574DKV Parts List for electrical diagrams.
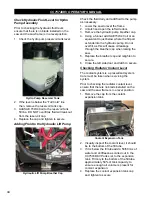
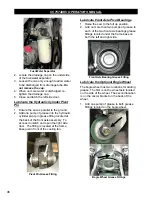
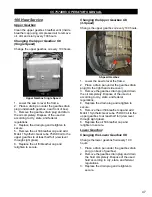
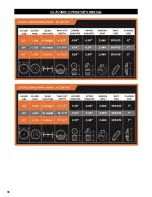
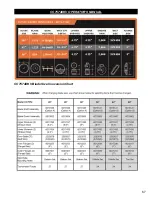
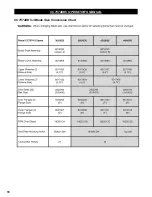
Belt Sheaves
The upper and lower belt sheaves may need to
be changed when changing the blade size.
Refer to the CC7574DKV Parts List for
additional information.
Removing the Belt Sheaves
1. Unlatch and open the front hood.
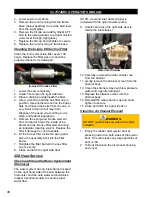
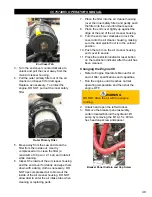
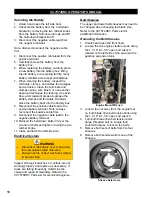
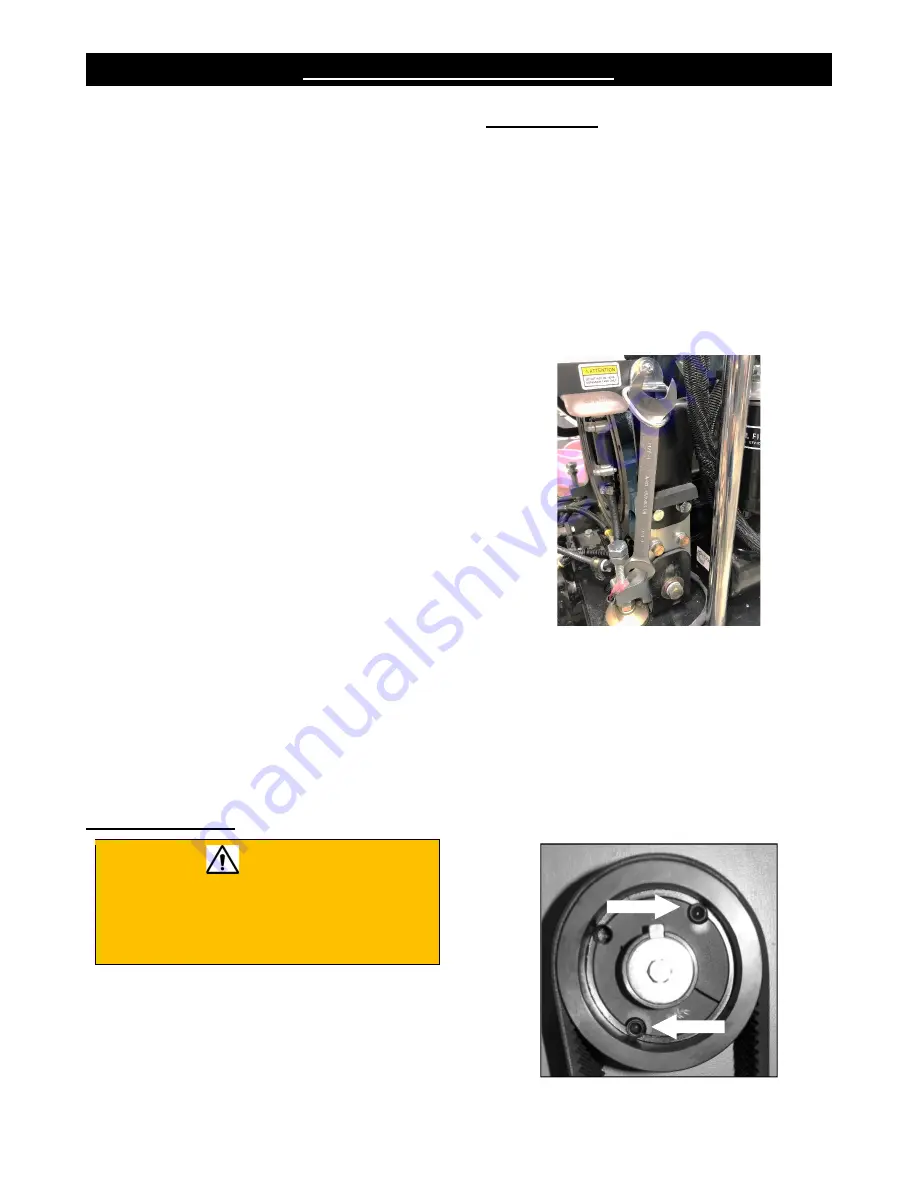
2. Loosen the two engine cradle screws using
the 1-1/16” & 1-1/8” open end wrench
located on the left side of the saw near the
gearbox expansion tank.
Engine Mount Wrench
3. Loosen the nut away from the engine foot
on both blade drive belt tension bolts using
the 1-1/16” & 1-1/8” open end wrench.
4. Turn both blade drive belt tension bolts
(large threaded bolt on engine foot)
counterclockwise to loosen the belts.
5. Remove both sets of belts from the four
sheaves.
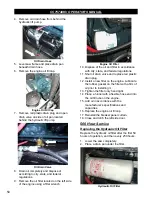
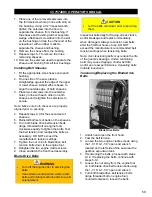
6. Remove both setscrews from one of the
sheaves.
Sheave Setscrews
58
Summary of Contents for CC7574DKV
Page 1: ...CORE CUT OPERATOR S MANUAL CC7574DKV CC7574DKV 3 MAY 2022 Part 1802742 01...
Page 2: ......
Page 11: ...CC7574DKV OPERATOR S MANUAL CC7574DKV Specifications 11...
Page 12: ...CC7574DKV OPERATOR S MANUAL CC7574DKV 3 Specifications 12...
Page 65: ...CC7574DKV OPERATOR S MANUAL Appendix B CC7574DKV RPM Chart CC7574DKV 3 RPM Charts 65...
Page 66: ...CC7574DKV OPERATOR S MANUAL 66...
Page 67: ...CC7574DKV OPERATOR S MANUAL CC7574DKV Blade Size Conversion Chart 67...
Page 68: ...CC7574DKV OPERATOR S MANUAL CC7574DKV 3 Blade Size Conversion Chart 68...
Page 71: ......

