CC7574DKV OPERATOR’S MANUAL
1000 Hour Service
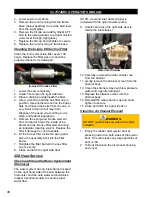
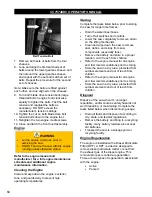
Changing the Radiator Fluid and Hoses
Change the radiator fluid every 500 hours of
operation, or every two years (whichever
comes first). DO NOT drain the radiator fluid
when hot.
1. Place a drain pan under the radiator drain
valve located on the bottom left side of the
radiator.
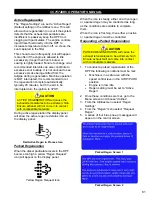
2. Slowly remove the coolant expansion tank
cap.
Note: Remove the expansion tank cap only
when it feels cool to the touch, and always
open it slowly to relieve any built-up pressure.
3. Loosen the drain valve wing nut and drain
the fluid completely. Dispose of the used
fluid according to city, state, and federal
regulations.
4. Tighten the drain valve wing nut to secure.
5. If replacing the radiator hoses, continue
with the next steps. If only draining and
replacing coolant, skip ahead to step 10.
6. Unlatch the rear cover screen and lower it
down to expose the radiator hoses.
7. Loosen the hose clamps on the inlet and
outlet radiator hoses and remove the
hoses.
8. Install the new hoses and secure them
using the hose clamps.
9. Close the rear cover screen and latch to
secure.
10. Add a 50/50 mix of water and antifreeze as
called out in the CC7574DKV Parts List, to
the expansion tank. Fill only to the bottom
of the fill tube, approximately 50% of tank
capacity, to ensure enough air volume is
present for coolant expansion.
11. Replace the coolant expansion tank cap
and retighten to secure.
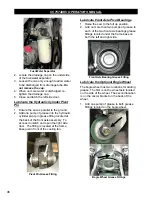
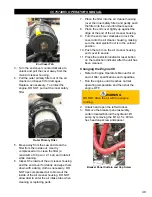
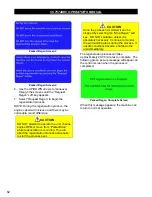
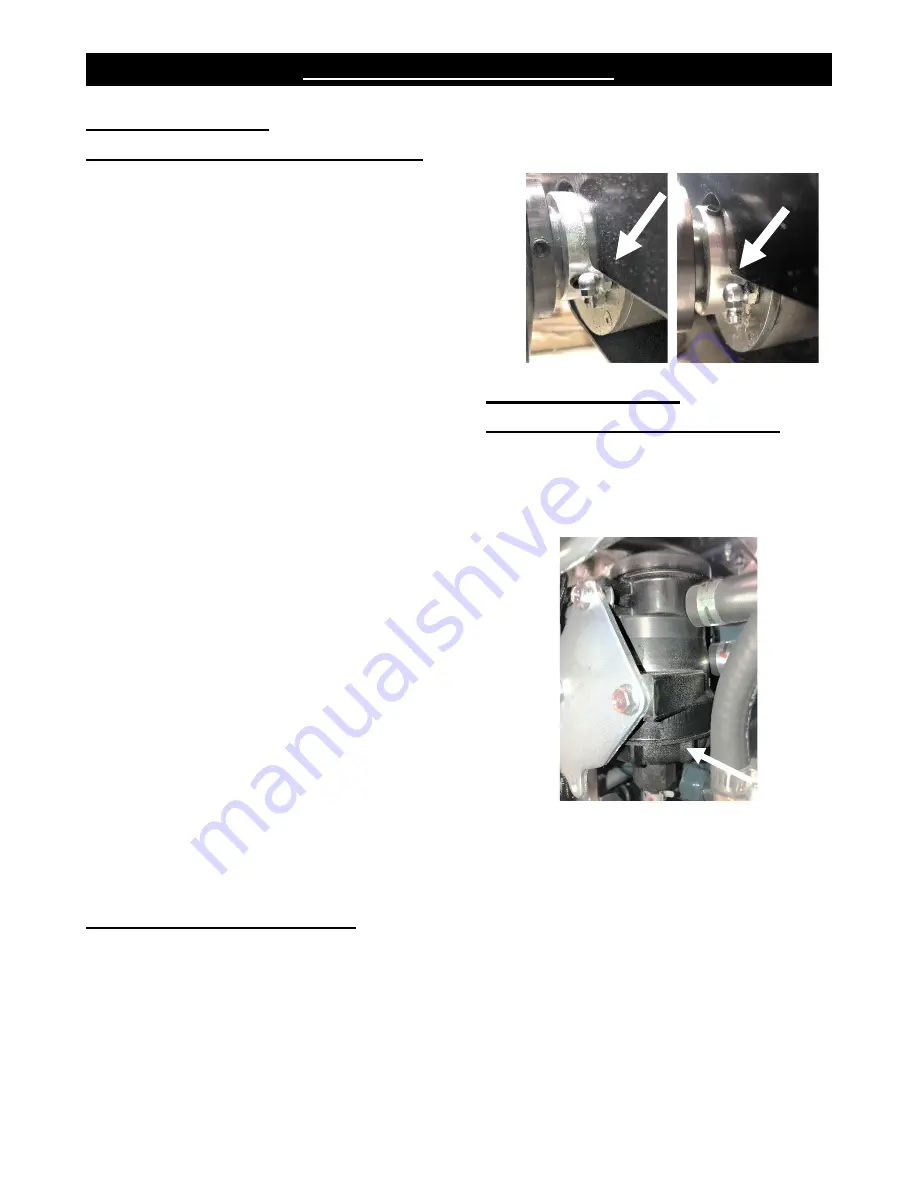
Lubricate the Blade Shaft Seals
Every 500 hours or at least once every two
years, lubricate the two front blade shaft seals.
The grease fittings are located behind the left
and right hand inner blade flanges.
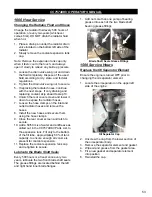
1. Add no more than one pump of bearing
grease into each of the two blade shaft
bearing grease fittings.
Blade Shaft Seals Grease Fittings
1500 Service Hours
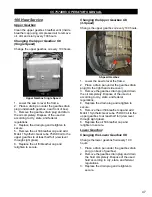
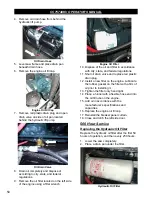
Replace the Oil Separator Element
Ensure the engine is turned OFF prior to
changing the oil separator element.
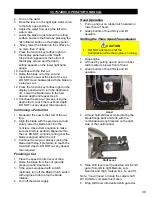
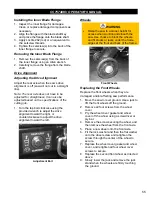
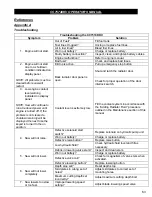
1. Locate the oil separator on the upper left
side of the engine.
Oil Separator Cap
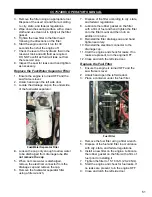
2. Unscrew the cap from the lower section of
the oil separator body.
3. Remove the separator element and gasket.
4. Wipe oil and grease from the gasket area.
5. Fit a new gasket and separator element
into position.
6. Reinstall the cap.
53
Summary of Contents for CC7574DKV
Page 1: ...CORE CUT OPERATOR S MANUAL CC7574DKV CC7574DKV 3 MAY 2022 Part 1802742 01...
Page 2: ......
Page 11: ...CC7574DKV OPERATOR S MANUAL CC7574DKV Specifications 11...
Page 12: ...CC7574DKV OPERATOR S MANUAL CC7574DKV 3 Specifications 12...
Page 65: ...CC7574DKV OPERATOR S MANUAL Appendix B CC7574DKV RPM Chart CC7574DKV 3 RPM Charts 65...
Page 66: ...CC7574DKV OPERATOR S MANUAL 66...
Page 67: ...CC7574DKV OPERATOR S MANUAL CC7574DKV Blade Size Conversion Chart 67...
Page 68: ...CC7574DKV OPERATOR S MANUAL CC7574DKV 3 Blade Size Conversion Chart 68...
Page 71: ......

