
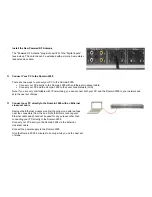


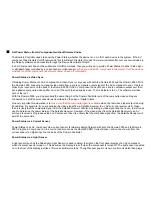
Install the New Powered RF Antenna
The "Powered RF Antenna" plugs into port #2 of the "Digital Inputs"
(see below). The antenna can be extended with a simple 3-wire stereo
jack extension cable.
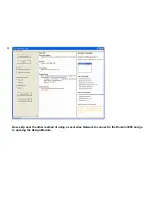
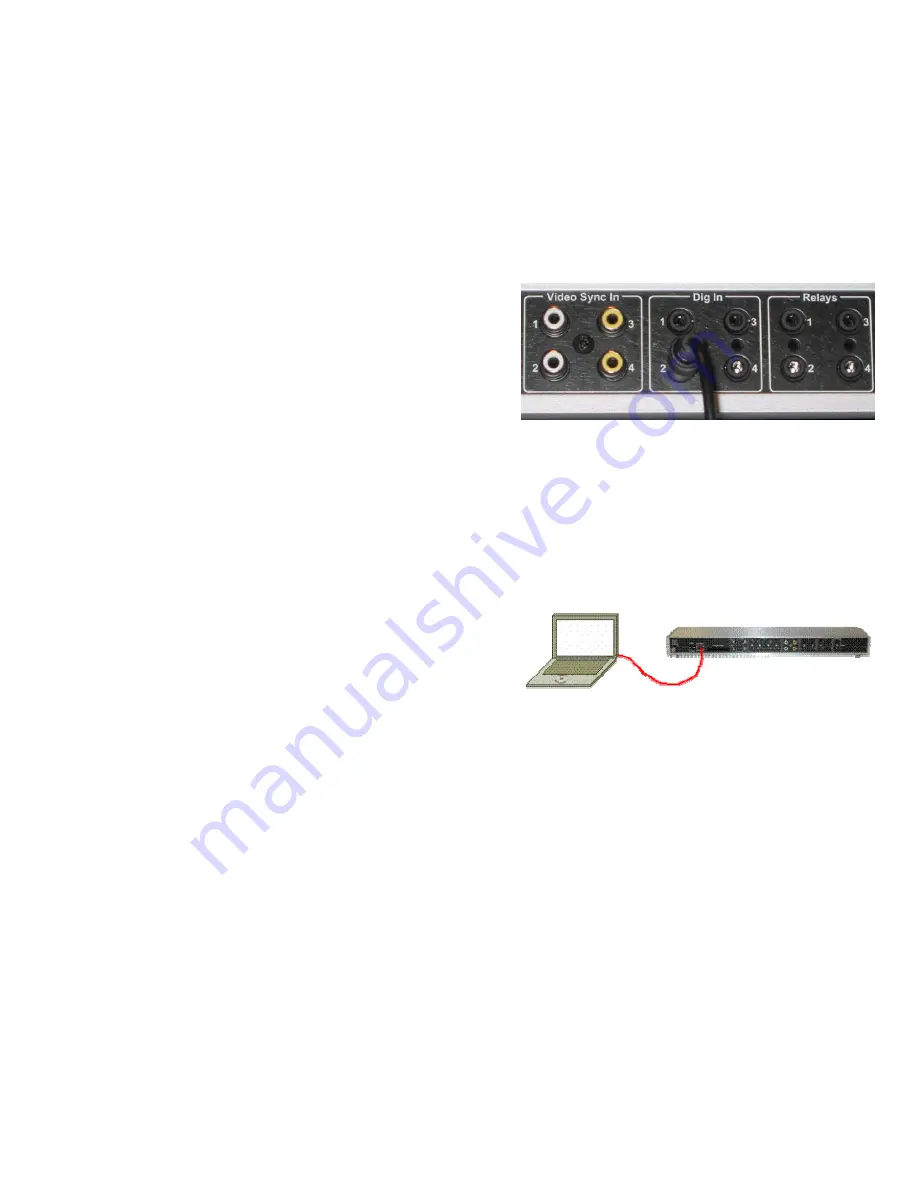
Connect Your PC to the Domain 3000
There are two ways to connect your PC to the Domain 3000:
•
Connect your PC directly to the Domain 3000 with an Ethernet crossover cable
•
Connect your PC and the Domain 3000 to the Local Area Network (LAN)
Note, if you are very comfortable with IP networking, you can connect both your PC and the Domain 3000 to your network and
skip the next set of steps.
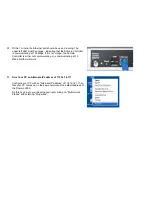
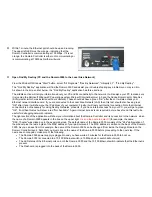
Connect your PC directly to the Domain 3000 with an Ethernet
crossover cable
Remove the Ethernet crossover cable (the yellow one with red tape
near the connectors) from the box. Note that this is not a regular
Ethernet cable and should not be used for any purpose other than
connecting your PC directly to the Domain 3000.
Connect your PC directly to the Domain 3000 via the Ethernet
crossover cable.
Connect the power supply to the Domain 3000.
Give the Domain 3000 5 minutes to boot up while you do the next set
of steps.
Summary of Contents for Domain 3000
Page 16: ......
Page 21: ......
Page 24: ......
Page 29: ......
Page 33: ...Red IR Control Yellow Power Sense Silver Serial...
Page 34: ......
Page 38: ......
Page 40: ......
Page 42: ......
Page 44: ......
Page 46: ......
Page 48: ......
Page 50: ......
Page 52: ......
Page 54: ......
Page 55: ...Subwoofer wire added below...
Page 56: ......
Page 58: ......
Page 60: ......
Page 62: ......
Page 64: ......
Page 66: ......
Page 68: ......
Page 70: ......
Page 72: ......
Page 74: ......
Page 80: ......
Page 87: ......
Page 89: ......
Page 95: ...Acrobat will now have the schematic Click File Print...
Page 102: ......


