


Dentsply Sirona
Operating Instructions Primescan Connect
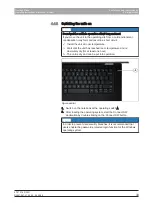
5 Operation
5.1 Optical impressions with the scanner
67 97 216 D3801
D3801.201.01.03.02 2022-09
37
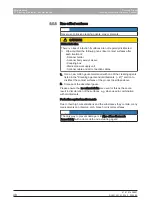
IMPORTANT
Detection of the scanner by the Connect SW
Exit the Connect SW, before you disconnect the scanner from the
power supply, e.g. to transport it inside the rooms of your practice.
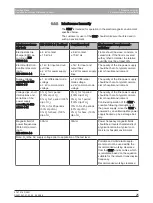
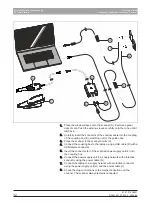
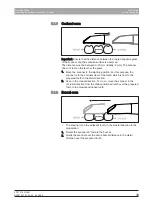
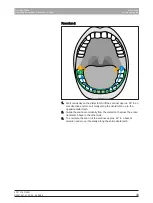
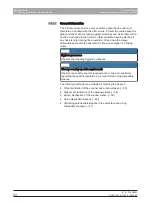
ü
The teeth are blow-dried.
1.
Change to the
"ACQUISITION" phase.
Ä
The scanner is ready for exposure.
Ä
As soon as you move the scanner, a live image appears which
can be used to look around the patient's mouth.
2.
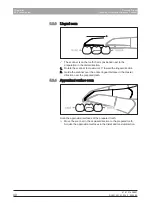
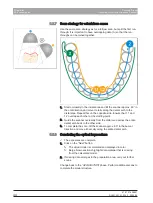
Remove the scanner from its holder.
Ä
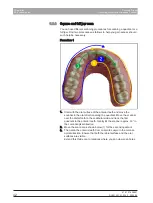
As soon as the scanner is pointed over a tooth or the gums,
data acquisition begins. During the continuous data acquisition,
a color 3D model is generated automatically on the screen.
A white field indicates in which area data will be acquired. If the
automatic data flow breaks off, the white field is lost and the
audio signal changes. In this case, move the scanner to any
area which has already been scanned. The scanning procedure
continues.
3.
Place the scanner in the holder, it then switches off after a few
seconds.
4.
Move the mouse pointer onto the switch at the top right corner of
the camera view to stop the scanning procedure.
Continuing the scanning procedure
1.
Click on the switch at the top right corner of the camera view.
Ä
The scanning procedure is started.
2.
Continue the scanning procedure as described above.
CAUTION
After use, store the scanner including tray and coupling box outside
the patient environment to avoid unforeseen damage.


