99
Basic version
Simple version
Information
ENGLISH
Advanced version
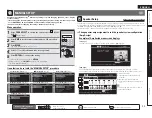
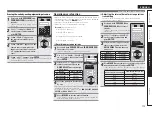
MANUAL SETUP
Remote control operation
buttons
Move the cursor
(Up/Down/Left/Right)
Confi rm the setting
Return to previous menu
Setting items
Setting details
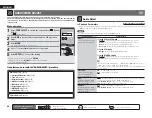
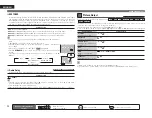
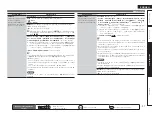
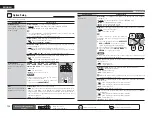
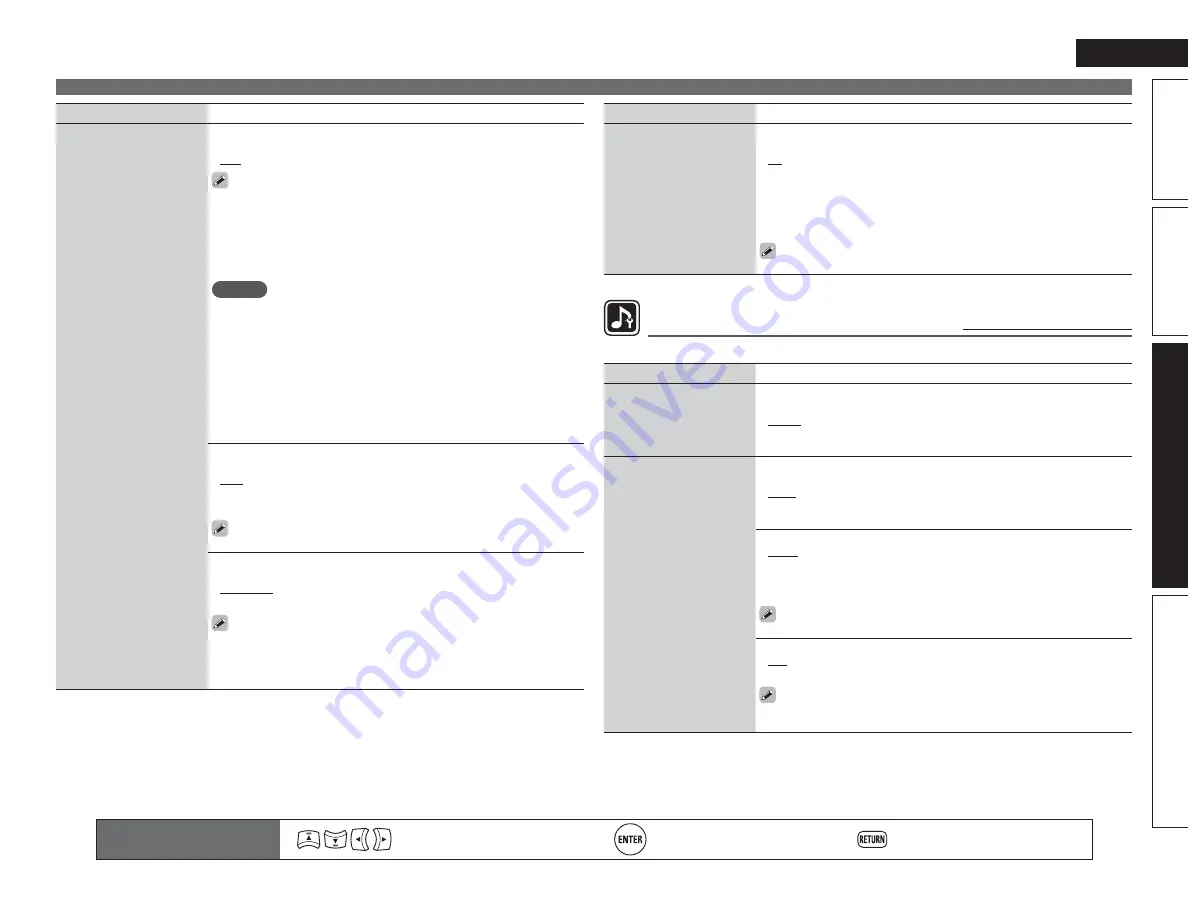
HDMI Control
You can link operations with
devices connected to HDMI
and compatible with HDMI
Control.
Control
: Set the HDMI control function.
•
ON
: Use HDMI control function.
•
OFF
: Do not use HDMI control function.
• When a device that is not compatible with the HDMI control function is
connected, set “HDMI Control” – “Control” to “OFF”.
• Please consult the operating instructions for each connected component
to check the settings.
• Refer to “HDMI control function” (
v
page 65) for more information about
the HDMI control function.
NOTE
•
When “HDMI Control” – “Control” is set to “ON”, it consumes more
standby power.
If you are not using this unit for an extended period, it
is recommended that you unplug the power cord from the power outlet.
• “HDMI Control” does not work when the power to the equipment is off.
Either turn power on or set to standby.
• The HDMI control function controls operations of a TV that is compatible
with the HDMI control function. Make sure that the TV and HDMI are
connected when you perform HDMI control.
• If the “HDMI Control” – “Control” settings have been changed, always
reset the power to connected devices after the change.
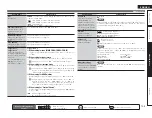
Standby Source
: Sets the HDMI input source to put into standby when
the power is on.
•
Last
: This item is set at the last-used input source.
•
HDMI1
/
HDMI2
/
HDMI3
/
HDMI4
/
HDMI5
/
HDMI6
/
HDMI7
: Put the
respective input source into standby.
“Standby Source” can be set when “HDMI Control” – “Control” is set
to “ON”.
Control Monitor
: Set the HDMI MONITOR terminal to output the HDMI
control signal.
•
Monitor 1
: Output from the MONITOR 1 terminal.
•
Monitor 2
: Output from the MONITOR 2 terminal.
• “Control Monitor” can be set when “HDMI Control” – “Control” is set
to “ON”.
• ARC function works only with the terminal selected by “Control
Monitor”.
Setting items
Setting details
HDMI Control
(Continued)
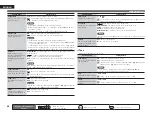
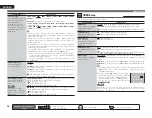
Power Off Control
: Links the power standby of this unit to external
equipment.
•
All
: If power to a connected TV is turned off independently of the input
source, power to this unit is automatically set to standby.
•
Video
: If power to a connected TV is turned off when the input source
is BD / DVD / TV / SAT/CBL / DVR / GAME / V.AUX / DOCK, power to this
unit is automatically set to standby.
•
OFF
: This unit does not link with power to a TV.
“Power Off Control” can be set when “HDMI Control” – “Control” is
set to “ON”.
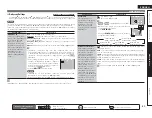
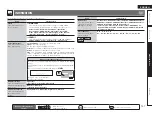
Audio Setup
Default settings are underlined.
Make settings for audio playback.
Setting items
Setting details
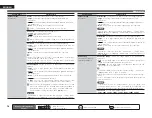
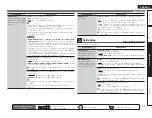
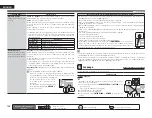
EXT. IN Setup
Setup playback method for
analog signals inputted from
external input connectors
(EXT. IN).
Subwoofer Level
: Set playback level of subwoofer signal input from the
external input connector (EXT. IN).
•
+15dB
: This is the recommended level.
•
+10dB
/
+5dB
/
0dB
: Select the level according to the player being used.
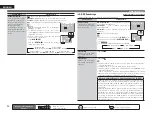
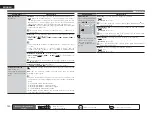
2ch Direct/Stereo
Select the method for
setting the speakers used
in the 2-channel direct and
stereo playback modes.
Setting
: Select the method for setting the speakers used in the 2-channel
direct and stereo playback modes.
•
Basic
: The settings at “Speaker Setup” (
v
page 93) are applied.
•
Custom
: Make separate settings for 2-channel. Make the following
settings:
Front
: Set the front speaker size.
•
Large
: Use a large speaker that can adequately play back low
frequencies.
•
Small
: Use a small speaker that has inadequate playback capacity for
low frequencies.
If “Speaker Confi g.” – “Subwoofer” (
v
page 96) is set to “None”, the
setting is automatically set to “Large”.
Subwoofer
: Set the presence of a subwoofer.
•
Yes
: Use a subwoofer.
•
No
: Select when a subwoofer is not connected.
If “Speaker Confi g.” – “Subwoofer” (
v
page 96) is set to “None”, the
setting is automatically set to “No”. If the “Front” setting is “Small”,
the setting is automatically “Yes”.


