3.
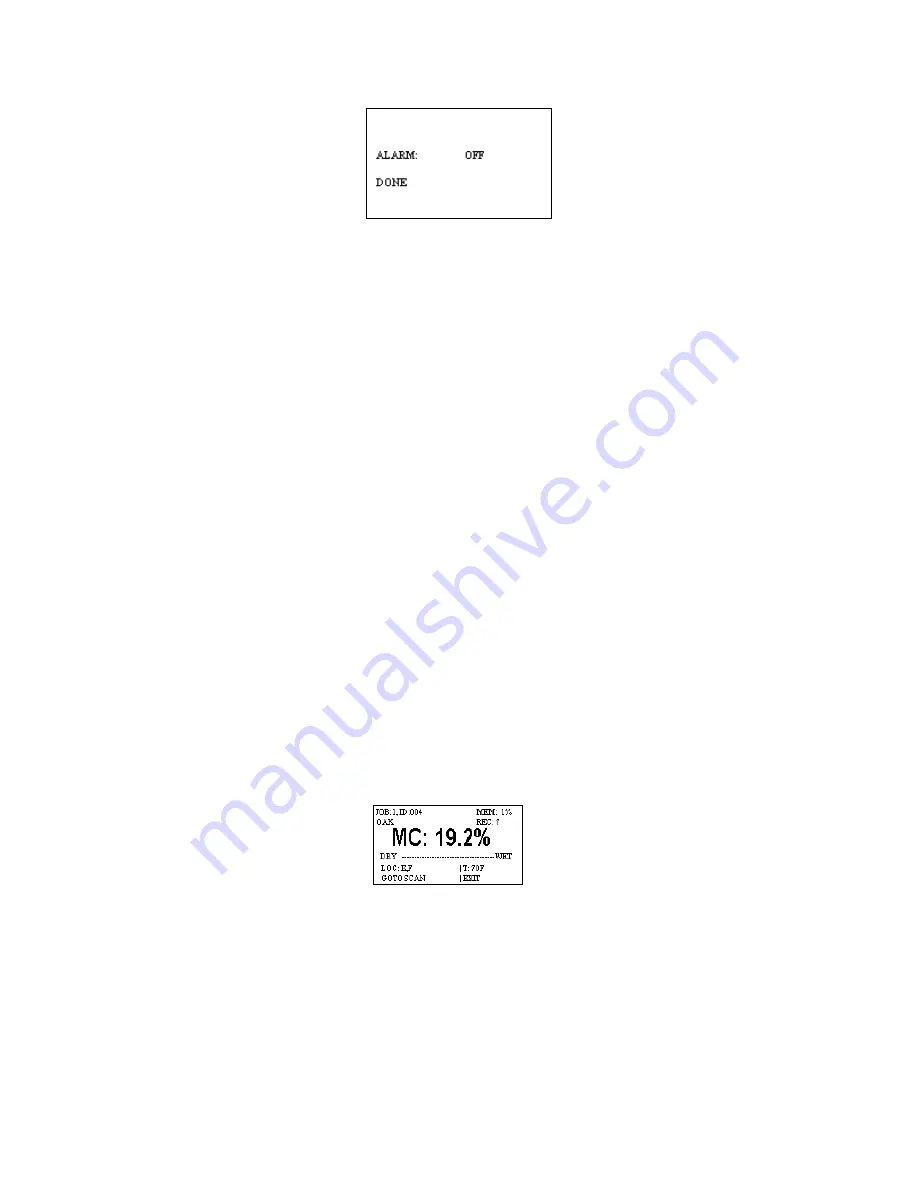
The default status of the alarm is OFF.
Press the
SELECT
key to turn it on.
4.
After the alarm is turned on, use the
keys to scroll up or down to a higher or lower
alarm value.
5.
After you have selected the alarm value
, use the
key to highlight
DONE
. Press
SELECT
to get back to the
SET ALARM
sub menu.
From here, you may continue to set the alarm value for other materials as described above,
or you may scroll to
DONE
to get back to the
MAIN
menu.
Default alarm settings in PIN mode are as follows for different materials:
All wood materials:
12%
Sheetrock/Gypcrete:
1.0%
Plaster:
68 (on the 0-100 relative scale)
Concrete:
68 (on the 0-100 relative scale)
Note: Default alarm setting for SCAN mode is 300.
TO TAKE A PIN READING:
1.
From the Enhanced Main Menu
, use the
keys to highlight #2,
PIN MODE
. If you
are already in the
ENHANCED SCAN
screen, use the
keys to highlight
GOTO
PIN
.
2.
Press the SELECT key to get into the
ENHANCED READ
screen. The current location
will stay the same while toggling between scan and pin modes.
This screen contains the following information: Job # and ID, current location (LOC),
material, the number of records for the current room (REC), and memory used (MEM).
3.
Using the external probe, insert the pins into the material
, press the
SELECT
key
and the meter will start taking measurements. Press
SELECT
again to store the
measurement. The meter will display
HOLD
. Once you have stored a reading, the meter
will automatically increment to the next available location. Remove the pins from the
material, press
SELECT
, and move to the next defined location as indicated on the
display.
Summary of Contents for navigator pro
Page 28: ...Blank page...


