Back to Contents Page
Microprocessor
Dell™ OptiPlex™ GX50 Systems
Removing the Microprocessor and Cooling Fan/Heat-Sink Assembly
Replacing the Microprocessor and Cooling Fan/Heat-Sink Assembly
Removing the Microprocessor and Cooling Fan/Heat-Sink
Assembly
CAUTION:
Use a wrist-grounding strap as explained in "
Precautionary Measures
."
CAUTION:
The microprocessor and heat-sink assembly can get extremely hot. To avoid burns, be sure both
have had sufficient time to cool before you touch them.
1. Disconnect the cooling fan power cable from the FAN connector on the system board.
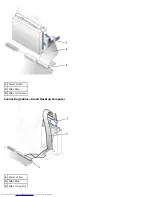
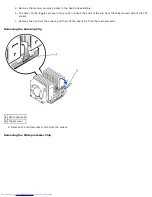
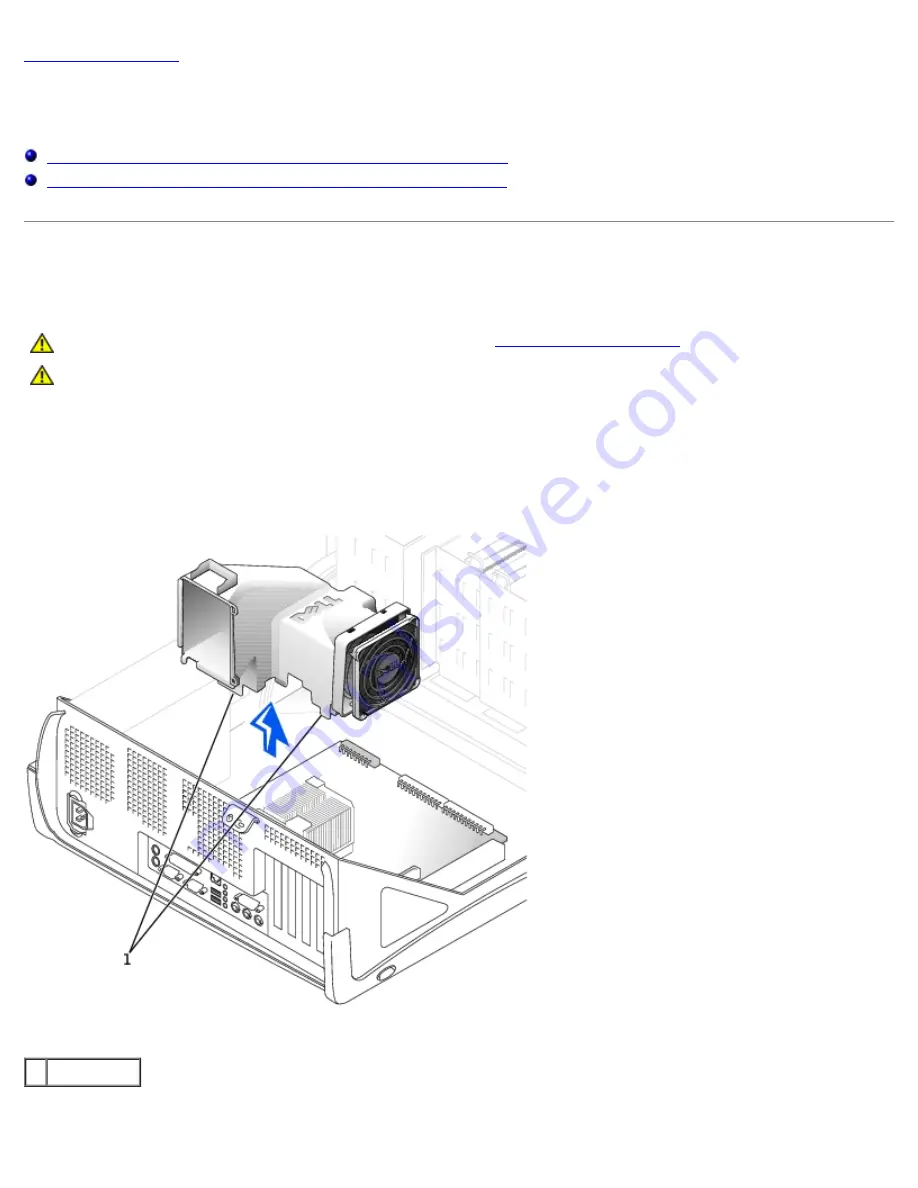
2. On the small mini-tower computer, remove the airflow shroud as shown in the following illustration.
Airflow Shroud Removal—Small Mini-Tower Computer
1
Anchor tabs
3. Remove the cooling fan/heat-sink assembly.
Summary of Contents for OptiPlex GX50
Page 17: ...Small Desktop Computer ...
Page 26: ......
Page 30: ...To replace the I O panel follow the removal procedures in reverse Back to Contents Page ...
Page 45: ...1 Power cable 2 Audio cable 3 CD drive cable 4 CD drive connector Small Mini Tower Computer ...
Page 65: ...Back to Contents Page ...

