8.
Turn the computer topside up.
9.
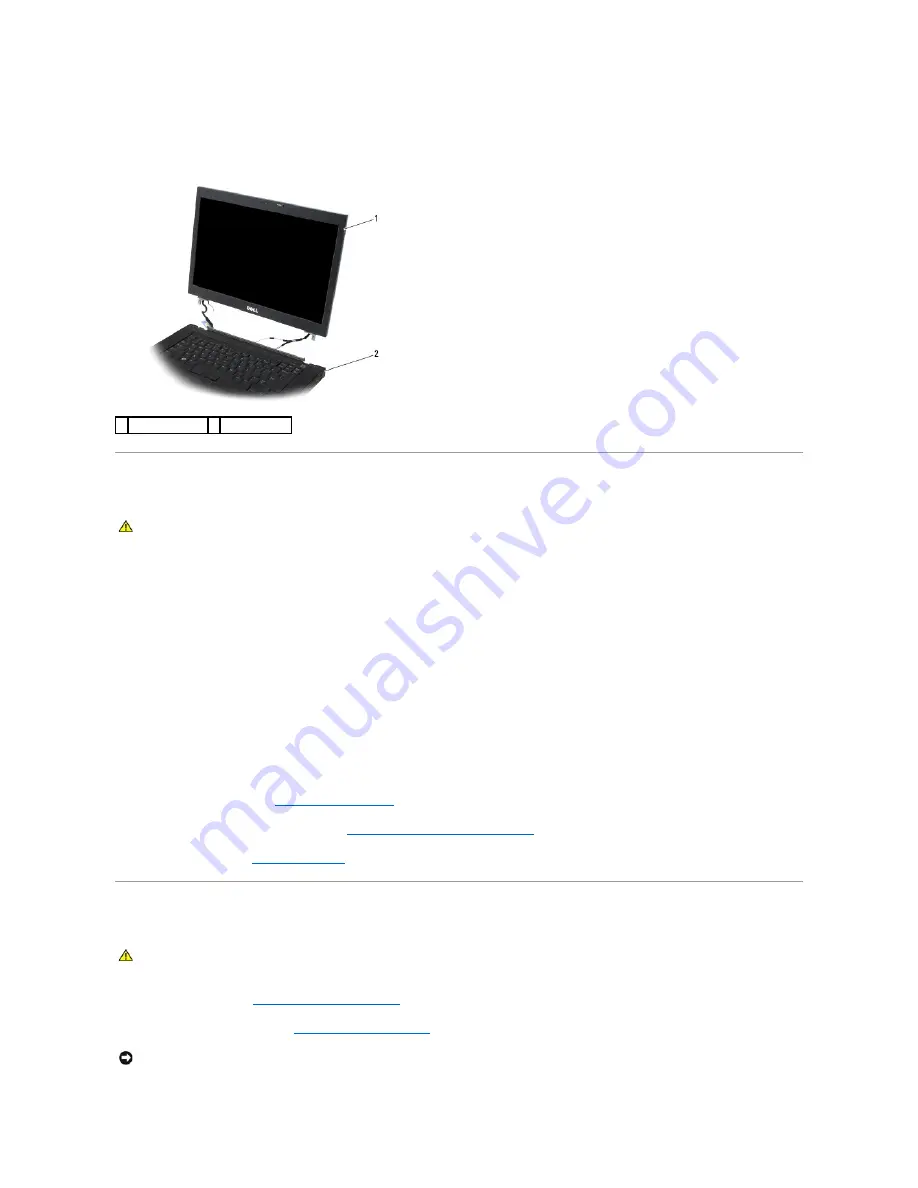
Open the display to 90 degrees and lift the display assembly off the base assembly.
Replacing the Display Assembly
1.
Align the display hinges with the holes in the base of the computer, and lower the display into place.
2.
Replace the two M2.5 x 5-mm screws on the hinges.
3.
Close the display and turn the computer over.
4.
Route the display cable and antenna (WLAN, WWAN, and WPAN) cables. Ensure that they are retained in the routing channels by the tabs provided.
5.
Connect the WWAN antenna cables to the WWAN card. Place any unused antenna cables in the base assembly cable holders next to the card slot.
6.
Connect the WPAN antenna cable to the WPAN card. Place any unused antenna cables in the base assembly cable holders next to the card slot.
7.
Connect the WLAN antenna cables to the WPAN card. Place any unused antenna cables in the base assembly cable holders next to the card slot.
8.
Connect the display cable to the display cable connector on the system board.
9.
Replace the hinge covers (see
Replacing the Hinge Covers
).
10.
Replace the bottom of the base assembly (see
Replacing the Bottom of the Base Assembly
).
11.
Replace the battery (see
Replacing the Battery
).
Removing the Display Bezel
1.
Follow the instructions in
Before Working on Your Computer
.
2.
Remove the display assembly (see
Removing the Display Assembly
).
1 display assembly 2 base assembly
CAUTION:
Before working inside your computer, read the safety information that shipped with your computer. For additional safety best
practices information, see the Regulatory Compliance Homepage on www.dell.com at: www.dell.com/regulatory_compliance.
CAUTION:
Before working inside your computer, read the safety information that shipped with your computer. For additional safety best
practices information, see the Regulatory Compliance Homepage on www.dell.com at: www.dell.com/regulatory_compliance.
NOTICE:
Removal of the bezel from the display back cover requires extreme care to avoid damage to the bezel.
Summary of Contents for M4400 - Precision Mobile Workstation
Page 11: ......
Page 17: ...Back to Contents Page ...
Page 29: ......
Page 42: ...6 Follow the procedure After Working on Your Computer Back to Contents Page ...


