Connecting Your Printer
31
WPS-PBC (Wi-Fi | WPS Button)
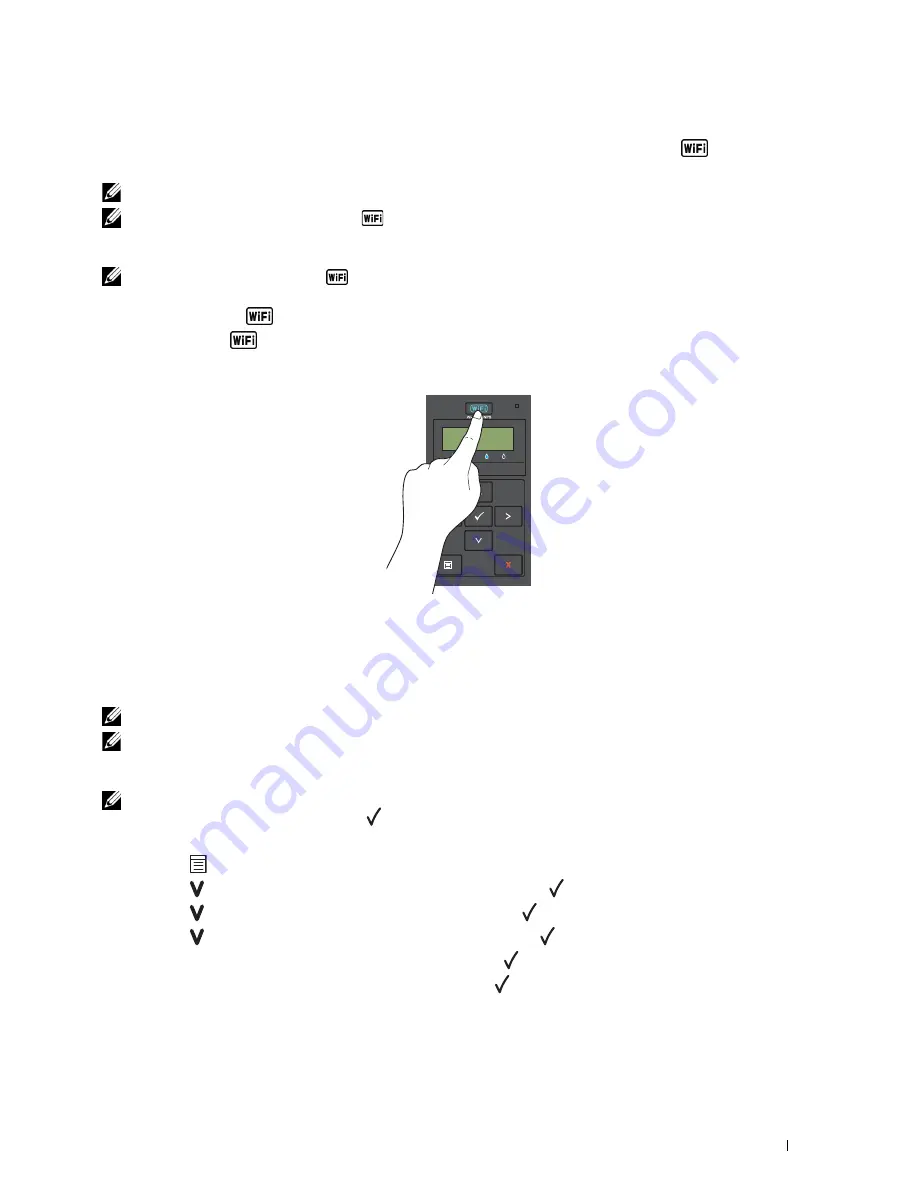
You can start WPS-PBC (Wi-Fi Protected Setup-Push Button Configuration) by pressing the
(Wi-Fi | WPS)
button.
NOTE:
WPS-PBC is available only when the wireless LAN access point (Registrar) or router supports WPS-PBC.
NOTE:
Before starting WPS-PBC with the
(Wi-Fi | WPS) button, confirm the position of the WPS button (button name may
vary) on the wireless LAN access point (Registrar) or router. For information about WPS operation on the wireless LAN access
point (Registrar) or router, refer to the manual supplied with the product.
NOTE:
For more information on the
(Wi-Fi | WPS) button, see "Status of Wi-Fi | WPS Button Backlight" on page 78.
If a problem occurs or error messages are displayed on the operator panel, see "Wireless Problems" on page 224.
1
Press and hold the
(Wi-Fi | WPS) button on the printer for 2 seconds.
Ensure that the
(Wi-Fi | WPS) button starts to flash and
Press WPS Button on Router
appears on
the operator panel.
2
Start the WPS operation on the wireless LAN access point (Registrar) or router within two minutes.
3
When the WPS operation is successful and the printer is rebooted, wireless LAN connection setting is completed.
WPS-PBC (Operator Panel Menu)
You can start WPS-PBC (Wi-Fi Protected Setup-Push Button Configuration) from the operator panel.
NOTE:
WPS-PBC is available only when the wireless LAN access point (Registrar) or router supports WPS-PBC.
NOTE:
Before starting WPS-PBC, confirm the position of the WPS button (button name may vary) on the wireless LAN access
point (Registrar) or router. For information about WPS operation on the wireless LAN access point (Registrar) or router, refer to
the manual supplied with the product.
NOTE:
A Password is required to enter
Admin Menu
when
Panel Lock Set
is set to
Enable
. In this case, enter
the password you specified, and press
the
(Set) button.
1
Press the
(Menu)
button.
2
Press the button until
Admin Menu
appears, and then press the
(Set)
button.
3
Press the button until
Network
appears, and then press the
(Set)
button.
4
Press the button until
WPS Setup
appears, and then press the
(Set)
button.
5
Ensure that
Push Btn. Ctrl
appears, and then press the
(Set)
button.
6
Ensure that
Are you sure?
appears, and then press the
(Set)
button.
Ensure that
Press WPS Button on Router
is displayed, and start the WPS-PBC on the wireless LAN
access point (Registrar) or router within two minutes.
7
When the WPS operation is successful and the printer is rebooted, wireless LAN connection setting is completed.
Summary of Contents for C1660w Color Laser Print
Page 1: ...Dell C1760nw C1660w Color Printer User s Guide Regulatory Model Dell C1760nw Dell C1660w ...
Page 2: ......
Page 12: ...10 Contents Template Last Updated 2 7 2007 ...
Page 14: ...12 ...
Page 16: ...14 Notes Cautions and Warnings ...
Page 18: ...16 Dell C1760nw C1660w Color Printer User s Guide ...
Page 22: ...20 Product Features ...
Page 28: ...26 About the Printer ...
Page 30: ...28 ...
Page 44: ...42 Setting the IP Address ...
Page 52: ...50 Loading Paper ...
Page 76: ...74 Installing Printer Drivers on Computers Running Macintosh ...
Page 78: ...76 ...
Page 126: ...124 Understanding the Tool Box Menus ...
Page 144: ...142 Understanding the Printer Menus ...
Page 152: ...150 Print Media Guidelines ...
Page 169: ...167 Printing 17 Printing 169 ...
Page 170: ...168 ...
Page 174: ...172 ...
Page 182: ...180 Understanding Printer Messages ...
Page 186: ...184 Specifications ...
Page 187: ...185 Maintaining Your Printer 21 Maintaining Your Printer 187 22 Clearing Jams 201 ...
Page 188: ...186 ...
Page 202: ...200 Maintaining Your Printer ...
Page 210: ...208 Clearing Jams ...
Page 211: ...209 Troubleshooting 23 Troubleshooting 211 ...
Page 212: ...210 ...
Page 228: ...226 Troubleshooting ...
Page 229: ...227 Appendix Appendix 229 Index 231 ...
Page 230: ...228 ...
Page 239: ...Appendix 237 WPS Setup 129 WPS PBC 31 WPS PIN 32 WSD 62 99 102 104 130 ...
Page 240: ...238 Appendix ...


