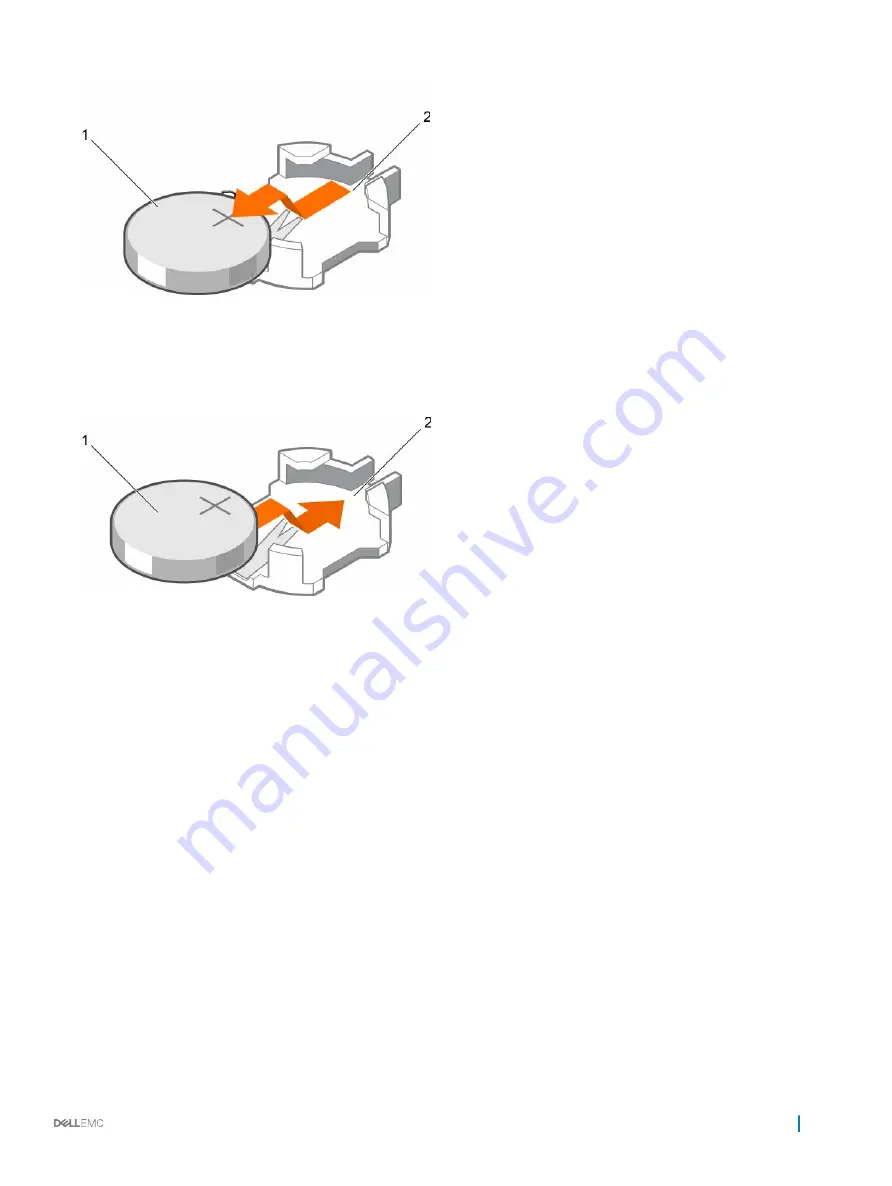
Figure 63. Removing the battery
1
battery
2
battery slot
3
To install a new battery, hold the battery with the "+" facing up and slide it under the securing tabs.
4
Press the battery into the connector until it snaps into place.
Figure 64. Installing the battery
1
battery
2
battery slot
Next steps
1
Install the cooling shroud.
2
Follow the procedure listed in the After working inside your appliance section.
3
While booting, press F2 to enter System Setup and ensure the battery is operating properly.
4
Enter the correct time and date in the System Setup
Time
and
Date
fields.
5
Exit System Setup.
Hard drive backplane
Depending on the configuration, your appliance supports one of the following:
16 hard drive
appliance supports
2.5 inch (x16) SAS backplane that supports (x16) SAS HDDs and SSDs
Installing and removing components
109


