


12
CamVu 720
Configuring the Unit
Using the Unit with Secure Closed IPTV
1) Connect the camera to a Closed IP Network switch using Cat5 network cable. The POE
version of this camera will draw power from with the DM/NSW/CPP model switch, or with
DM/NSW/CP model switch if connected to a POE injector and separate power supply.
2) Ensure that the Closed IP NVR or Console that the switch is connected to is in Configuration
mode to allow new cameras connect.
3) Power up the camera and wait for the on-screen acknowledgement on the monitor attached
to the Closed IP NVR or Console. Alternatively check the Camera Overview web page on the
Closed IP NVR or Console to determine out the camera status.
4) Once the camera has been detected and added, remember to secure the switch by moving
out of Configuration mode, failure to do this will leave the Closed IPTV system unsecured.
Locating the Unit IP address
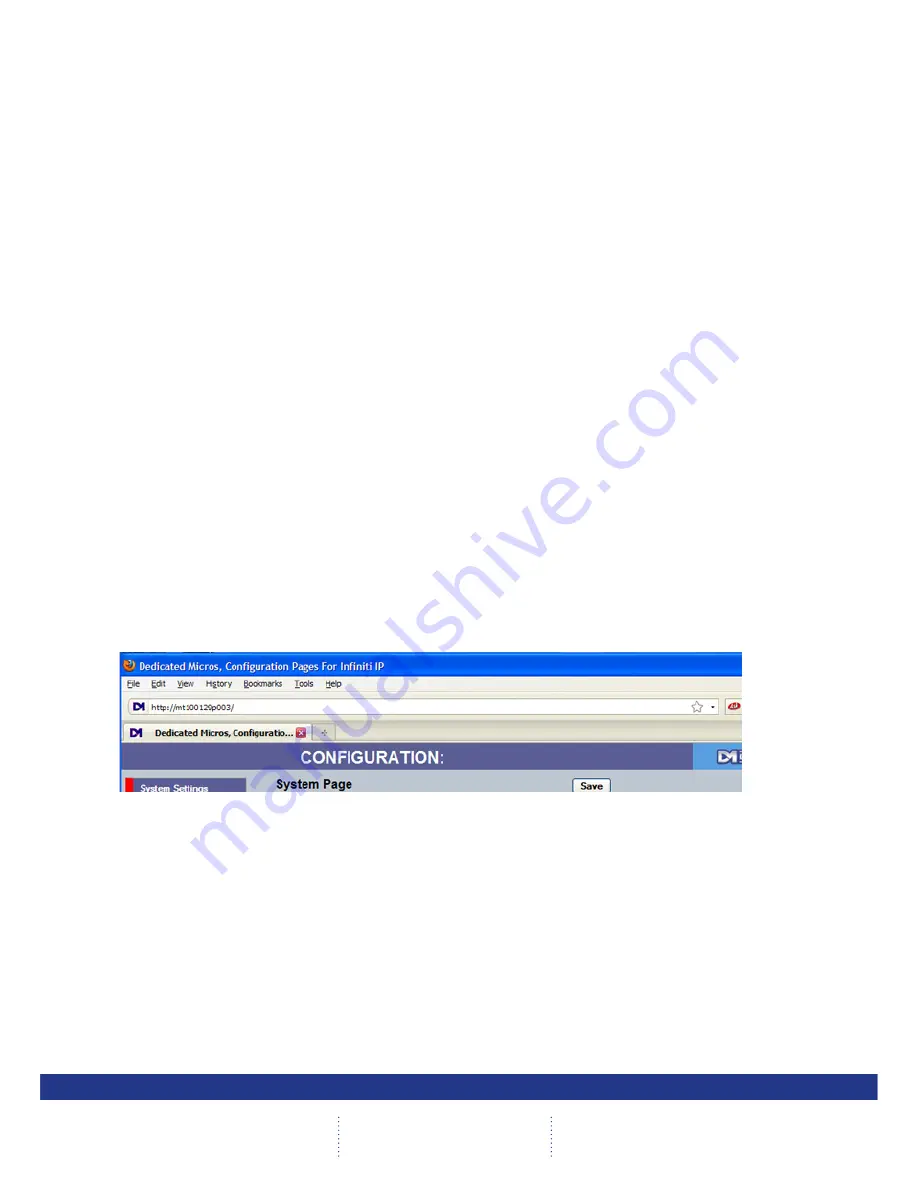
The unit is configured using on-board webpages. This can be done remotely once the unit has been
installed in its chosen location, using the web browser on a PC in the same subnet as the unit.
The unit configuration pages can be accessed using the unit IP address or DNS name. The unit has
DHCP factory enabled. When the unit is connected to a DHCP network for the first time, an IP address is
automatically assigned by the network switch or router it is connected to. Most routers will have the facility
to enable DHCP and DNS, if it is not available, contact your network administrator.
The default DNS address for each unit is factory set as the serial number. This address can be found on
the serial label on the unit or via the packaging the unit came in.
If DHCP and DNS are not available, the IP address can be found by connecting an analogue monitor to
the BNC connection of the camera. The unit IP address is displayed on the analogue video output for 10
minutes from powering the unit on.
The DNS or IP address can be typed directly into the address bar of a web browser.
Note:
The unit’s DNS address can be changed subsequently to something more memorable or
meaningful than its serial number by editing the System name option in the System configuration
page.
Zero_conf configuration
If a permanent IP address is not assigned to the unit, it will attempt to contact the DHCP server every
time it starts up, and periodically thereafter. The unit support zero-configuration networking (sometimes
known as Bonjour), this enables automatic discovery of computers, devices, and services on IP networks.
Zero-configuration uses industry standard IP protocols to allow devices to automatically discover each
other without the need to enter IP addresses or configure DNS servers. By loading a suitable free add-on
to your web browser such as Bonjour for Windows for Internet Explorer or BonjourFoxy for FireFox zero
configuration devices such as this unit can easily be discovered and accessed.
Summary of Contents for CamVu 720
Page 1: ...Installation Guide CamVu 720 Installation and Configuration Manual DM CMVU720 DM CMVU7200 N...
Page 35: ...35 Installation Guide...
Page 95: ...95 Installation Guide...
Page 96: ...96 CamVu 720...
Page 97: ...97 Installation Guide...
Page 98: ...98 CamVu 720...
Page 99: ...99 Installation Guide...
Page 100: ...100 CamVu 720...
Page 101: ...101 Installation Guide...
Page 102: ...102 CamVu 720...
Page 103: ...103 Installation Guide...
Page 104: ...104 CamVu 720...
Page 105: ...105 Installation Guide...
Page 107: ...107 Installation Guide...
Page 108: ...108 CamVu 720...
Page 109: ...109 Installation Guide...
Page 110: ...110 CamVu 720...
Page 111: ...111 Installation Guide...
Page 112: ...112 CamVu 720...
Page 113: ...113 Installation Guide...
Page 114: ...114 CamVu 720...
Page 115: ...115 Installation Guide...
Page 116: ...116 CamVu 720...
Page 117: ...117 Installation Guide...
Page 159: ...159 Installation Guide...