venTest OPERATORS MANUAL
3.3 Connecting venTest to the Windows Data Share
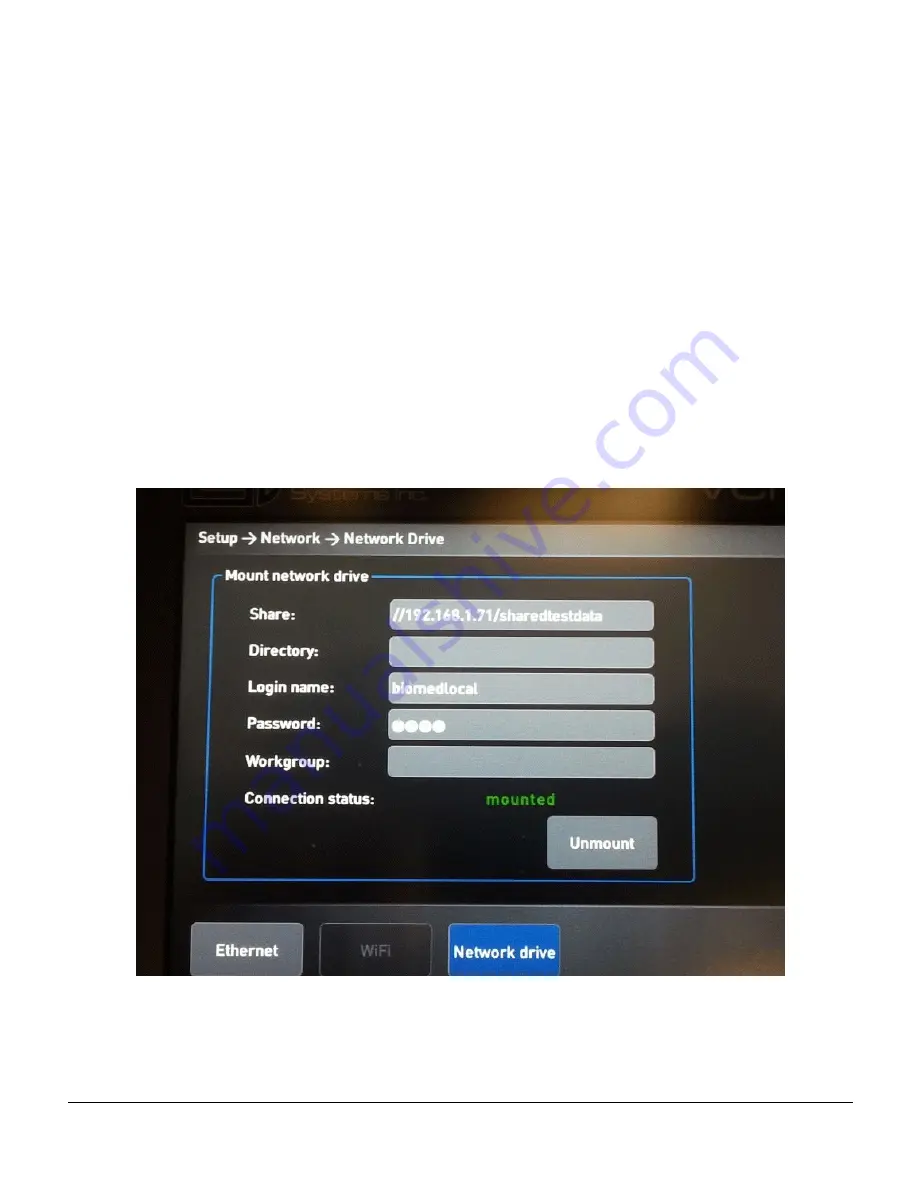
With the venTest connected to the network, select the Network Drive settings. Enter the
“IPv4 Address” previously recorded ( Appendix C3.1) along with the Windows Data Share
Name as shown in Figure 52.
Windows requires Authentication (login) to access the computer, so in this example the
user BioMedLocal is a user account that exists on the “Spare” computer with Administrator
permissions. Enter the username and associated password as shown as shown in Figure
52, then select the “Mount” soft-button on the venTest screen.
The venTest will take approximately a minute or so and then the message “Mounting the
remote folder was successful!” should appear. Press “OK” and the “Mount” button will
change to “Unmount”.
Figure 52 - venTest Connected (Workgroup)
Appendix C
#
Page 99
Summary of Contents for venTest
Page 1: ...Operating Manual venTest Ventilator Tester MN 108 ...
Page 2: ......
Page 4: ......
Page 8: ...Page iv ...
Page 32: ...venTest OPERATORS MANUAL Overview Chapter 2 Page 18 ...
Page 116: ...venTest OPERATORS MANUAL Appendix C Page 102 ...
Page 117: ......


