20
No
Function Keys
Descriptions
1
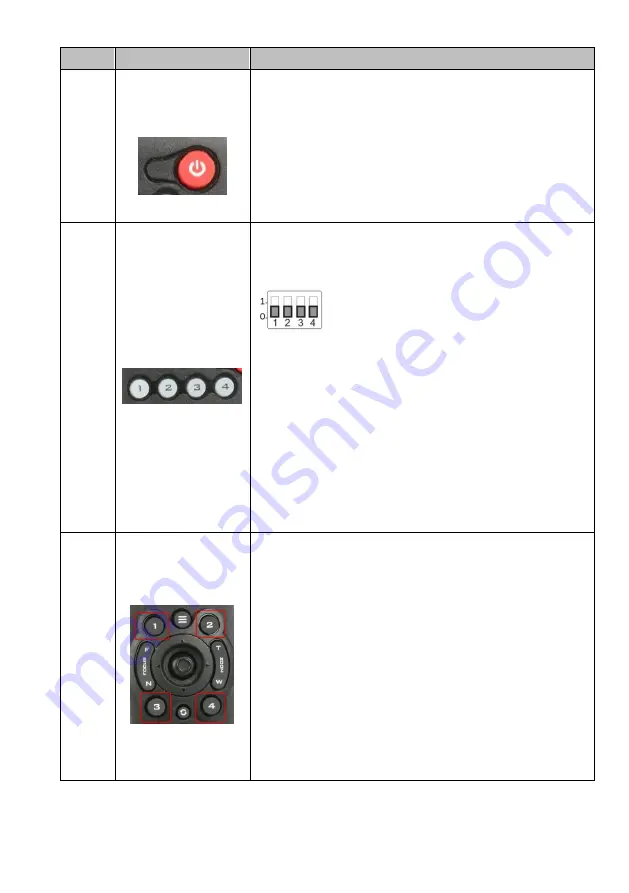
Power Button
Power Button
Press this button once to enter Standby Mode, press it
again to enter Normal Mode.
Note: The power consumption in Standby Mode is
approximately half of the power consumption in Normal
Mode.
2
Camera 1-4
Camera 1-4
The Camera 1 to Camera 4 buttons allow you to press the
corresponding number in order for further operation after
the IRID number of the camera is set by the IRID DIP Switch
which is located on the rear panel of your PTC-
305T camera.
If the DIP Switch 1 & 2 are set as (0,0), the camera
IRID number will be 1.
If the DIP Switch 1 & 2 are set as (1,0), the camera
IRID number will be 2.
If the DIP Switch 1 & 2 are set as (0,1), the camera
IRID number will be 3.
If the DIP Switch 1 & 2 are set as (1,1), the camera
IRID number will be 4.
Note: In normal situation, the DIP Switch 3 & 4 must be
“OFF” (set at 0).
PT
Preset1-4 Buttons
The Preset buttons 1, 2, 3, and 4 allow you to set up to 4
camera preset settings.
How to set the Preset: Please adjust your desired camera
parameters and camera lens position in advance. After
that, please press the “STR” button which is located on the
remoter controller. And then please press your desired
Preset Number button (Preset 1 to Preset 4) to set your
setting as a Preset.
How to recall the Preset: Please press the desired “Preset
No.” button (Preset 1 to Preset 4) directly and then the
presaved Preset settings will be recalled successfully.
Summary of Contents for PTC-305T
Page 1: ...1 4K HDBaseT TRACKING PTZ CAMERA PTC 305T ...
Page 39: ...39 ...
Page 40: ...40 Step 5 Mount Camera to Ceiling ...
Page 63: ...63 ...
Page 70: ...70 ...
Page 110: ...110 6 Please click the Next button 7 Please click the Next button ...
Page 111: ...111 8 Please click the Install button 9 The installation will be started ...
Page 132: ...132 21 Dimensions Unit mm ...
Page 136: ...136 Service and Support www datavideo com product PTC 305T Sept 04 2023 Ver E3 ...


