26
Prodigy Max Operator’s Manual
Using Your Printer
3.0
Introduction
This chapter will explain the front panel operation, how to install
memory cartridges, and replace the fuse.
3.1
Front Control Panel
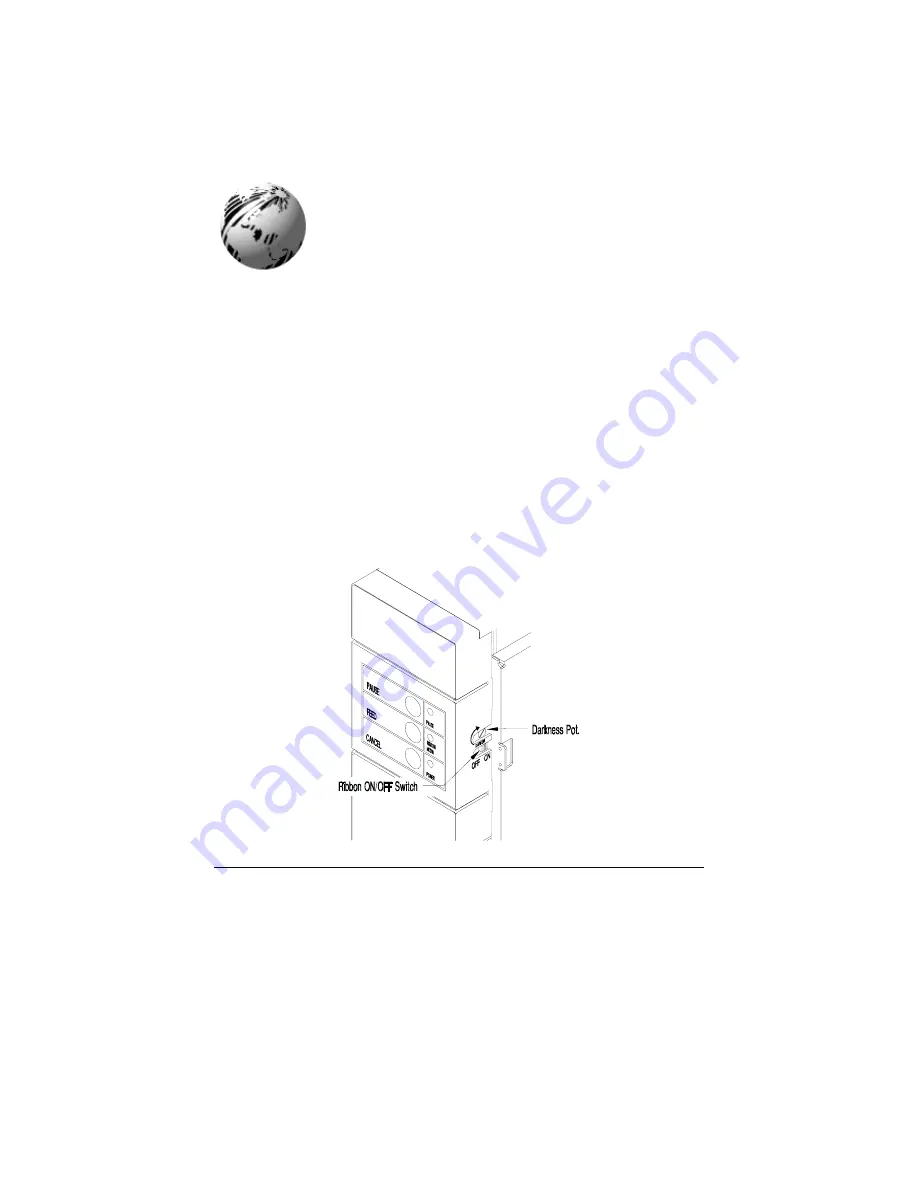
The Printer has five (5) operator accessible switches and three (3) LED
indicators, (see Figure 3-1). A brief description of the switches and LED
indicators is listed in this section.
Summary of Contents for Prodigy Plus
Page 1: ...Prodigy Plus Operator s Manual ...
Page 4: ......
Page 6: ......
Page 12: ...Getting Started 4 Prodigy Plus Figure 1 3 Mechanism Detail Figure 1 4 Rear View ...
Page 44: ...Troubleshooting 36 Prodigy Plus ...
Page 55: ...Available Fonts and Barcodes Prodigy Plus C 5 Prodigy Plus 152 Font 4 continued ...
Page 58: ...Available Fonts and Barcodes C 8 Prodigy Plus Prodigy Plus 152 Font 6 continued ...
Page 61: ...Available Fonts and Barcodes Prodigy Plus C 11 Prodigy Plus 152 Font 9 continued ...
Page 66: ......
Page 68: ...D 2 Prodigy Plus ...
Page 84: ...Warranty Information G 4 Prodigy Plus ...
Page 85: ...Prodigy Max Operator s Manual ...
Page 92: ...ii Prodigy Max Operator s Manual Figure 1 1 Overall View ...
Page 117: ...Prodigy Max Operator s Manual 27 Figure 3 1 Front Panel ...
Page 129: ...Prodigy Max Operator s Manual 39 Table 3 1 Internal Dip Switch Settings ...
Page 133: ...Prodigy Max Operator s Manual 43 ...
Page 154: ......
Page 156: ...A 2 Prodigy Max Operator s Manual US 31 1F 63 3F _ 95 5F 127 7F ...
Page 158: ......
Page 165: ...Prodigy Max Operator s Manual B 7 ...
Page 166: ...B 8 Prodigy Max Operator s Manual Barcode O ...
Page 167: ...Prodigy Max Operator s Manual B 9 Barcode S Barcode T Barcode z ...
Page 168: ......
Page 170: ...C 2 Prodigy Max Operator s Manual ...
Page 175: ...Prodigy Max Operator s Manual D 5 ...
Page 176: ......
Page 178: ...C 2 Prodigy Max Operator s Manual ...


