


I-Class
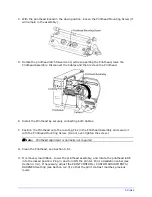
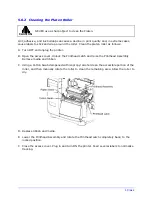
C. With the printhead locked in the down position, loosen the Printhead Mounting Screw (it
will remain in the assembly).
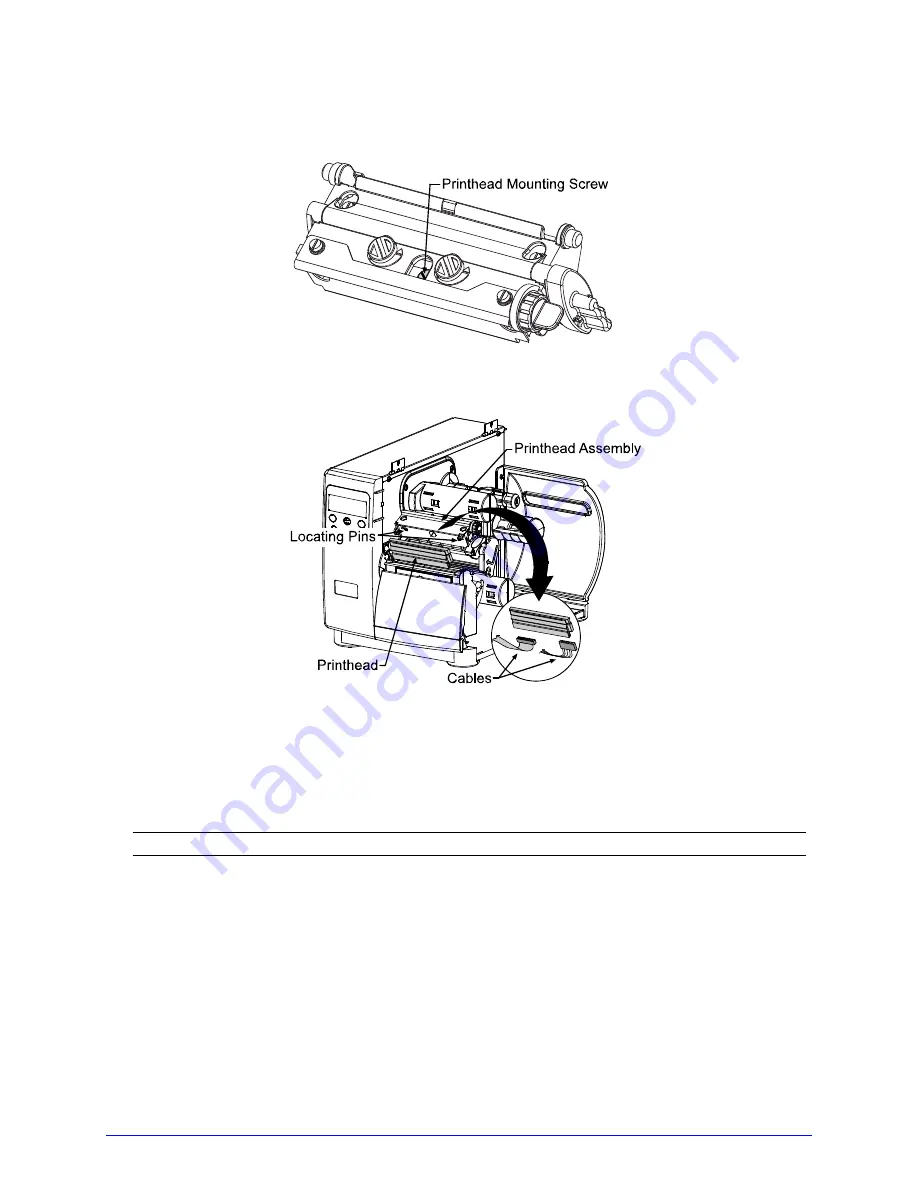
D. Rotate the printhead latch forward and, while supporting the Printhead, raise the
Printhead Assembly. Disconnect the Cables and then remove the Printhead.
E. Install the Printhead by securely connecting both Cables.
F. Position the Printhead onto the Locating Pins in the Printhead Assembly and secure it
with the Printhead Mounting Screw. (Do not over-tighten the screw.)
Note: Printhead alignment is normally not required.
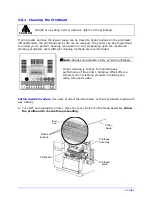
G. Clean the Printhead; see Section 5.6.1.
H. If removed, load ribbon. Lower the printhead assembly, and rotate the printhead latch
into the locked position. Plug in and turn ON the printer. Print a Validation Label (see
Section 4.3.4). If necessary, adjust the PRINT CONTROL / CUSTOM ADJUSTMENTS /
DARKNESS setting (see Section 4.2.3) so that the print contrast matches previous
levels.
Summary of Contents for I-class series
Page 1: ...Operator s Manual ...
Page 118: ...Operator s Manual ...


