DataVS1
Series
Instruction
Manual
46
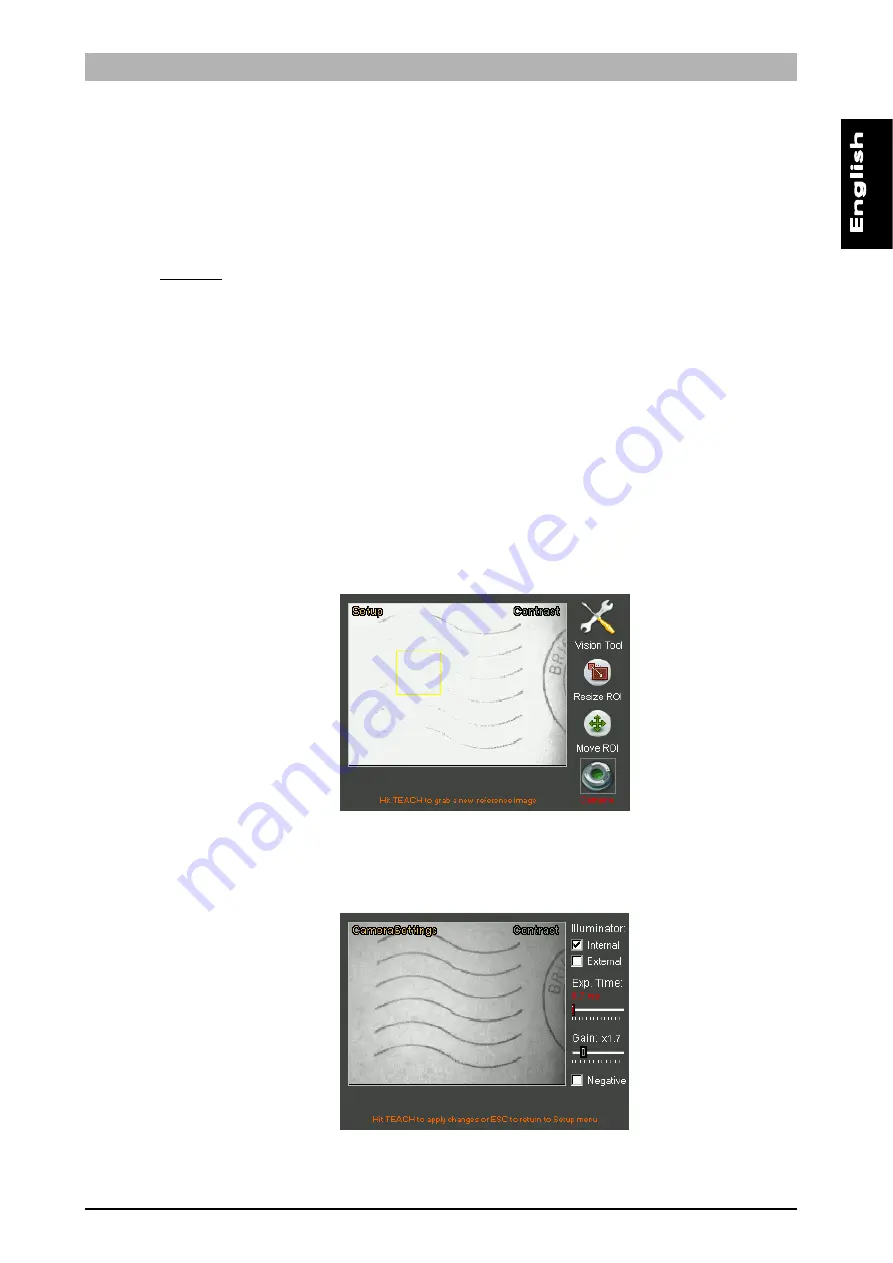
To modify the position of the ROI, move to the
Move ROI
icon and then press
SET
. It is now
possible to move the ROI using the
ARROW
buttons. Once you have achieved the desired
position, press the
TEACH
button to return to the Setup menu. If you wish to modify the ROI
size, select the
Resize ROI
from the Setup menu (using the
SET
button again). It is now possible
to increase or decrease the ROI size using the
ARROW
buttons.
Parameters:
Expected
This indicates the expected contrast value, that is the threshold on which the inspection result is
assessed.
Sensitivity
This modifies the sensor contrast sensitivity. In practice, if the sensitivity parameter is increased,
the calculated contrast value will also increase.
Result
If the pattern identified has a score not below the one set by the user through the Expected
setting, the inspection result will be positive. If it is not so, outcome will be negative.
Example:
We would like to add the contrast test to the current inspection to check the presence of post
office stamps on envelopes.
Let's select "Contrast" from the Controls menu and then press the
SET
button.
First of all let's adjust the camera settings. The image is in fact overexposed and the stamp is
lacking in contrast.
The image is now acceptable, so we must resize and position the ROI accordingly: follow the
instructions provided previously during this procedure.


