User’s Manual
54
to the specified computer. For security reasons, you may want to restrict port forwarding to only
those ports that are in use. If you no longer use the port forwarding, it is recommended to
cancel selection in the
Enable
checkbox to temporarily disable the port forwarding.
If you only want to forward a single port, see "3.9.1 3.9.1Port Forwarding".
Log in to the web interface of the Router.
Step 1
In the left navigation menu, select
NAT > Port Range Forwarding
.
Step 2
Click
Add
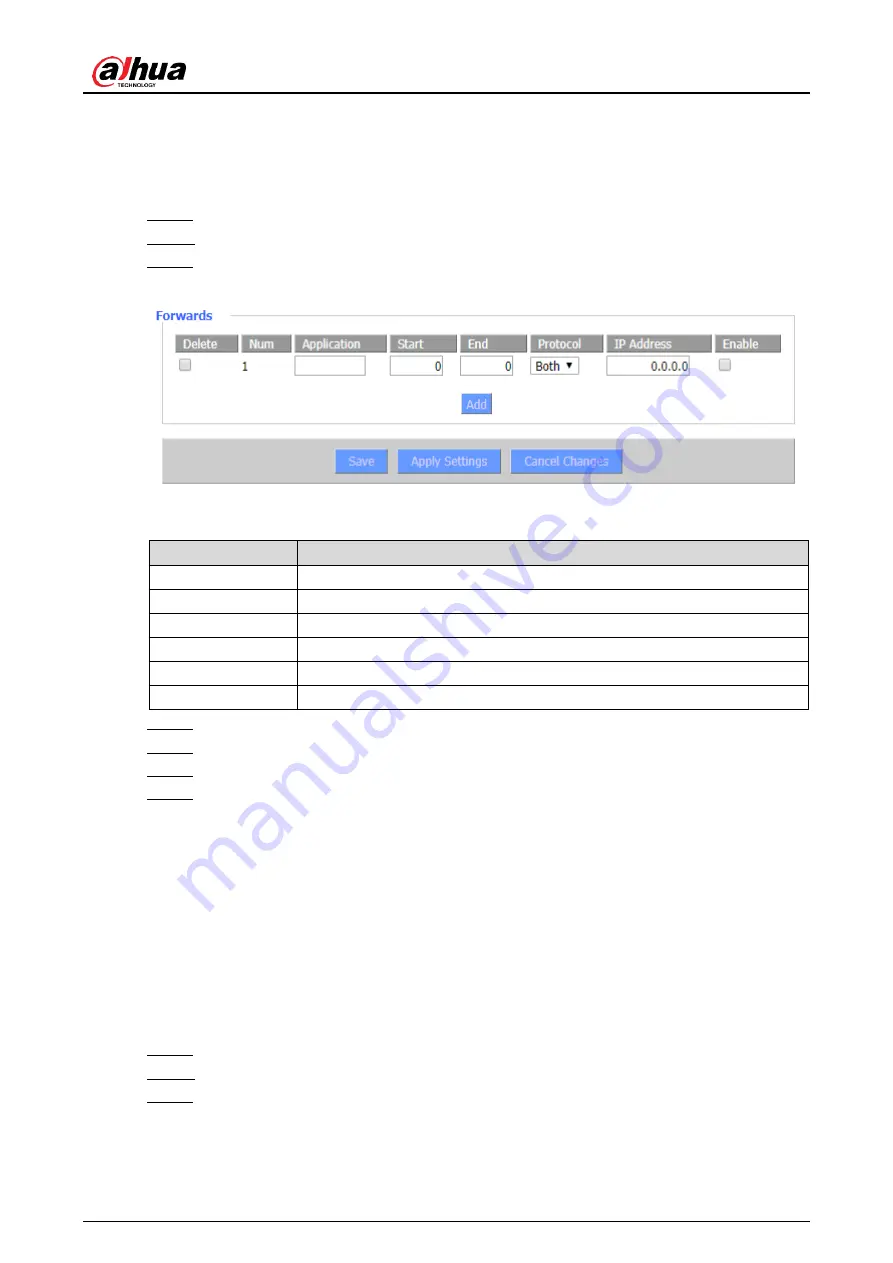
, and then set parameters.
Step 3
Add port range forwarding
Figure 3-45
Table 3-28 Description of port range forwarding parameters
Parameter
Description
Application
Enter the name of the application.
Start
Enter the starting port number of the port forwarding range.
End
Enter the end port number of the port forwarding range.
Protocol
Select a protocol for the application: TCP,UDP or Both.
IP Address
Enter the intranet IP address of the server accessed by Internet users.
Enable
Set whether to enable the application.
Click
Save
to save the configuration.
Step 4
Click
Apply Settings
to apply the configuration.
Step 5
(Optional) Click
Cancel Changes
to cancel the configuration.
Step 6
(Optional) Select the target application in
Delete
column, and then click
Save
to delete
Step 7
the selected application.
3.9.3 DMZ
The DMZ (Demilitarized Zone) function allows a network user to be exposed to the Internet for
special services, such as Internet gaming or videoconferencing. The DMZ host forwards all
ports to a computer at the same time.
The Port Forwarding function is more secure because it only opens ports that you want to open,
while the DMZ host opens all ports of a computer, and exposes the computer to the Internet.
Log in to the web interface of the Router.
Step 1
In the left navigation menu, select
NAT > DMZ
.
Step 2
In
Use DMZ
, select
Enable
.
Step 3
Summary of Contents for DH-WM4700-O
Page 88: ...User s Manual...


