User’s Manual
23
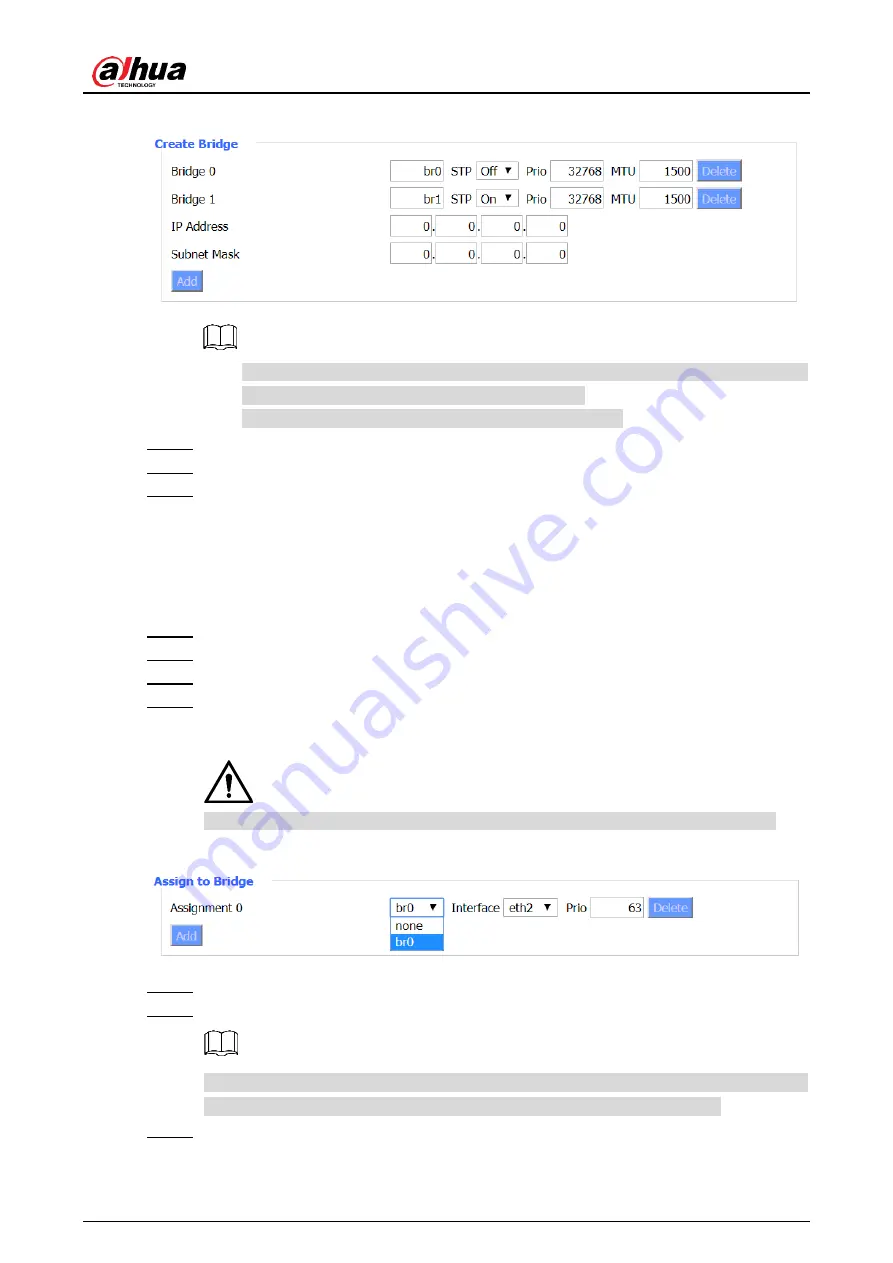
Create bridge
Figure 3-13
The smaller the number after the bridge, the higher the priority. For example, the
priority of Bridge 0 is higher than that of Bridge 1.
Click
Delete
, you can delete the corresponding bridge.
Enter IP address and subnet mask of the bridge.
Step 5
Click
Apply Settings
to add a bridge.
Step 6
(Optional) Click
Cancel Changes
to cancel the adding.
Step 7
Assign to Bridge
You can assign any valid interface to a network bridge. For example, assign ra0 interface
(wireless interface) to br1 bridge.
Log in to the web interface of the Router.
Step 1
In the left navigation menu, select
Setup > Networking
.
Step 2
In
Assign to Bridge
section, click
Add
.
Step 3
Select bridge, interface and set priority.
Step 4
Prio means priority level, works if multiple ports are within the same bridge. The smaller
the number, the higher the priority.
This bridge assignment is only used for LAN ports, WAN ports are not supported.
Assign to bridge
Figure 3-14
Click
Save
to save the configuration.
Step 5
Click
Apply Settings
to apply the configuration.
Step 6
In
Current Bridging Table
section, you can view the bridge list and binding
relationships between bridges and LAN ports after successful assignment.
(Optional) Click
Cancel Changes
to cancel the configuration.
Step 7
Summary of Contents for DH-WM4700-O
Page 88: ...User s Manual...


