4 Configuration
D-Link DXS-1210 Series User Manual
3
3
3
3
Type:
Select the event type. The possible values are:
None –
Indicates that no event occurred.
Log –
Indicates that the event is a log entry.
SNMP Trap –
Indicates that the event is a trap.
Log and Trap –
Indicates that the event is both a log entry and a trap.
Community:
Enter the community to which the event belongs.
Owner:
Enter the time that the event occurred.
Click
Add
to add a new RMON event.
Management > Telnet/Web
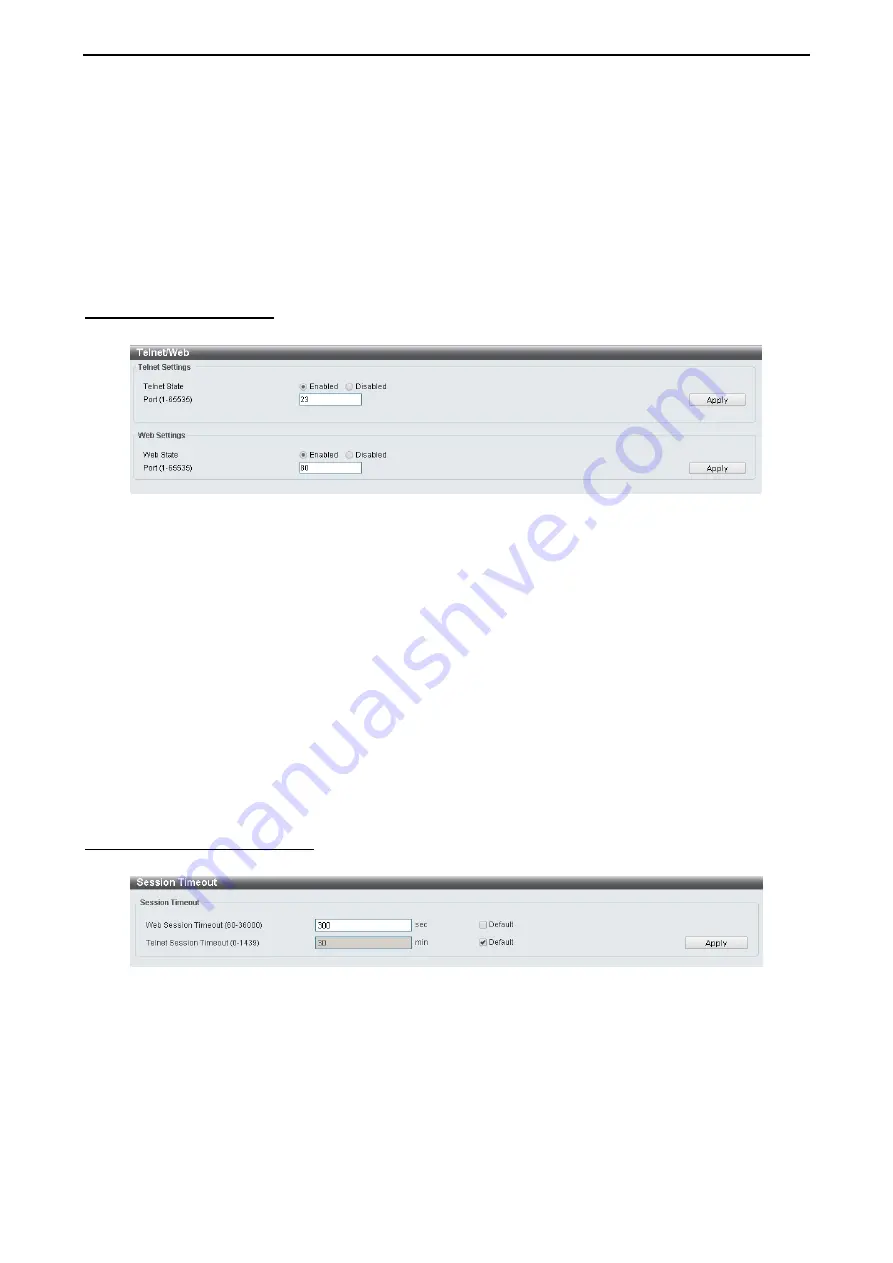
The Telnet/Web page allows you to configure Telnet and Web settings on the Switch.
Figure 4.54 – Management > Telnet/Web
Telnet Settings:
Telnet State:
Select to enable or disable the configuration through Telnet.
Port (1-65535):
Enter the TCP port number used for Telnet management of the Switch. The “well-known”
TCP port for the Telnet protocol is 23.
Click
Apply
to save your settings.
Web Settings:
Web State:
Select to enable or disable Web-based configuration.
Port (1-65535):
Enter the TCP port number used for Telnet management of the Switch. The “well-known”
TCP port for the Telnet protocol is 80.
Click the
Apply
button to save your settings.
Management > Session Timeout
The Session Timeout page allows you to configure the session timeout on the Switch.
Figure 4.55 – Management > Session Timeout
Web Session Timeout (60-36000):
Enter
the time in seconds of the web session timeout. Tick the
Default
check box.
Telnet Session Timeout (0-1439):
Enter
the time in minutes of the Telnet session timeout. Tick the
Default
check box to return to the default setting. The value is from 0 to 1439 minutes. 0 means never timeout. The
default value is 3 minutes.
Click the
Apply
button to save your settings.
Summary of Contents for DXS-1210 Series
Page 2: ......
Page 23: ...4 Configuration D Link DXS 1210 Series User Manual 1 17 7 Figure 4 24 User Guide Micro Site ...
Page 119: ......


