Unified Access Point Administrator’s Guide
Unified Access Point Administrator’s Guide
Page 120
January 2015
Appendix B - Configuration Examples
5.) Click
Start Clustering
to enable the clustering feature.
After you refresh the page, other APs that are on the same bridged segment, have radios in the same operating
mode, are enabled for clustering, and have the same cluster name appear in the Access Points table.
6.)
Go to the
Channel Management
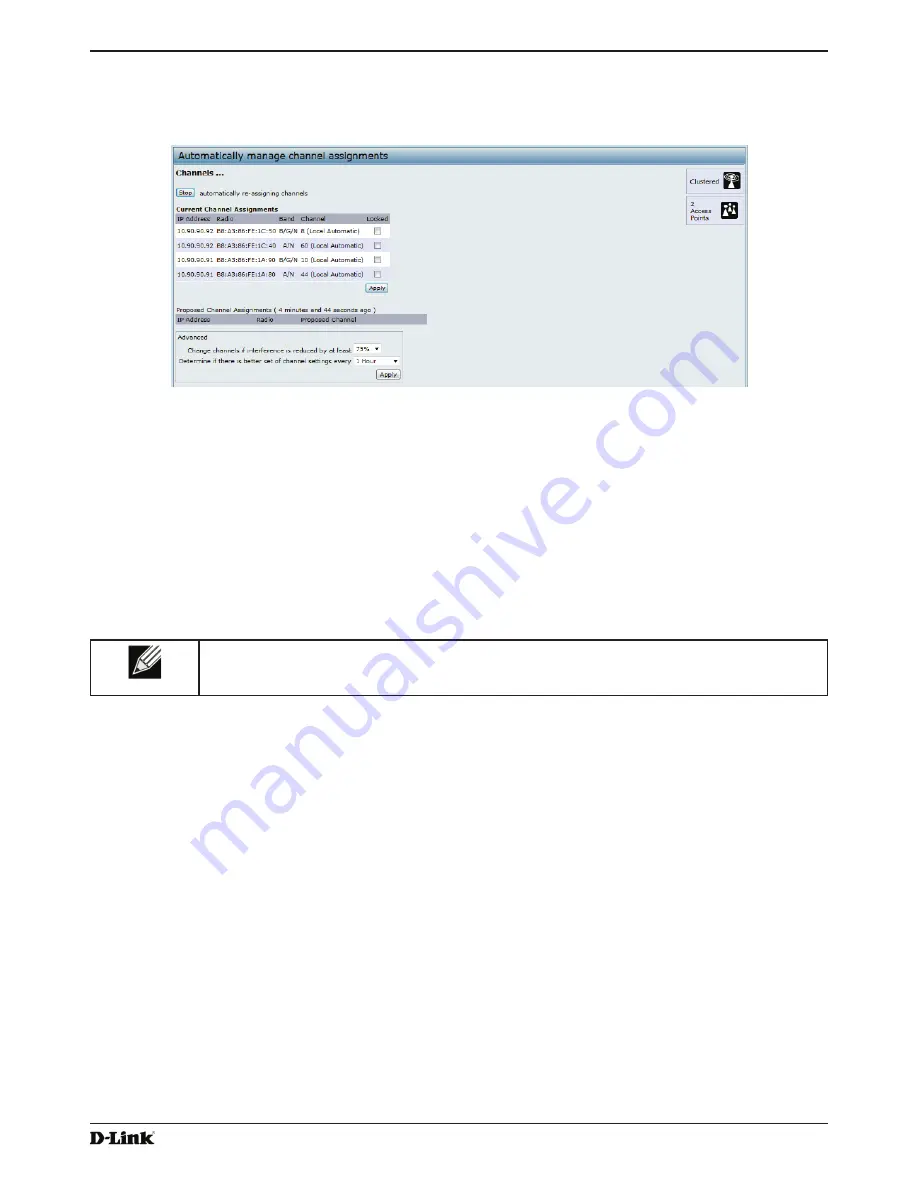
page to view the channel assignments.
Figure 73 -
Clustering APs by Using the Web Interface (Active)
A table on the page displays the current channel assignments and the proposed channel assignments. The
interval setting in the Advanced section determine how often proposed changes are applied.
Clustering APs by Using the CLI
1.) Connect to the AP by using Telnet, SSH, or a serial connection.
2.) Stop clustering so you can change the location and cluster name.
set cluster clustered 0
3.) Set the AP Location.
set cluster cluster-name “Room 214”
Note:
If the cluster name or cluster location has spaces, you must enclose the text in quotation
marks when you enter the text in the CLI, as the command example shows. You do not need to
use quotation marks when you enter text by using the Web UI.
4.) Set the cluster name.
set cluster location MyCluster
5.) Start clustering.
set cluster clustered 1
6.) View information about the cluster settings on the AP.
get cluster detail
7.) Start the automatic channel planner.
set channel-planner status up
8.) View the settings for the automatic channel planner.
get channel-planner detail
Clustering APs by Using SNMP
Cluster configuration by using SNMP is not supported.


