33
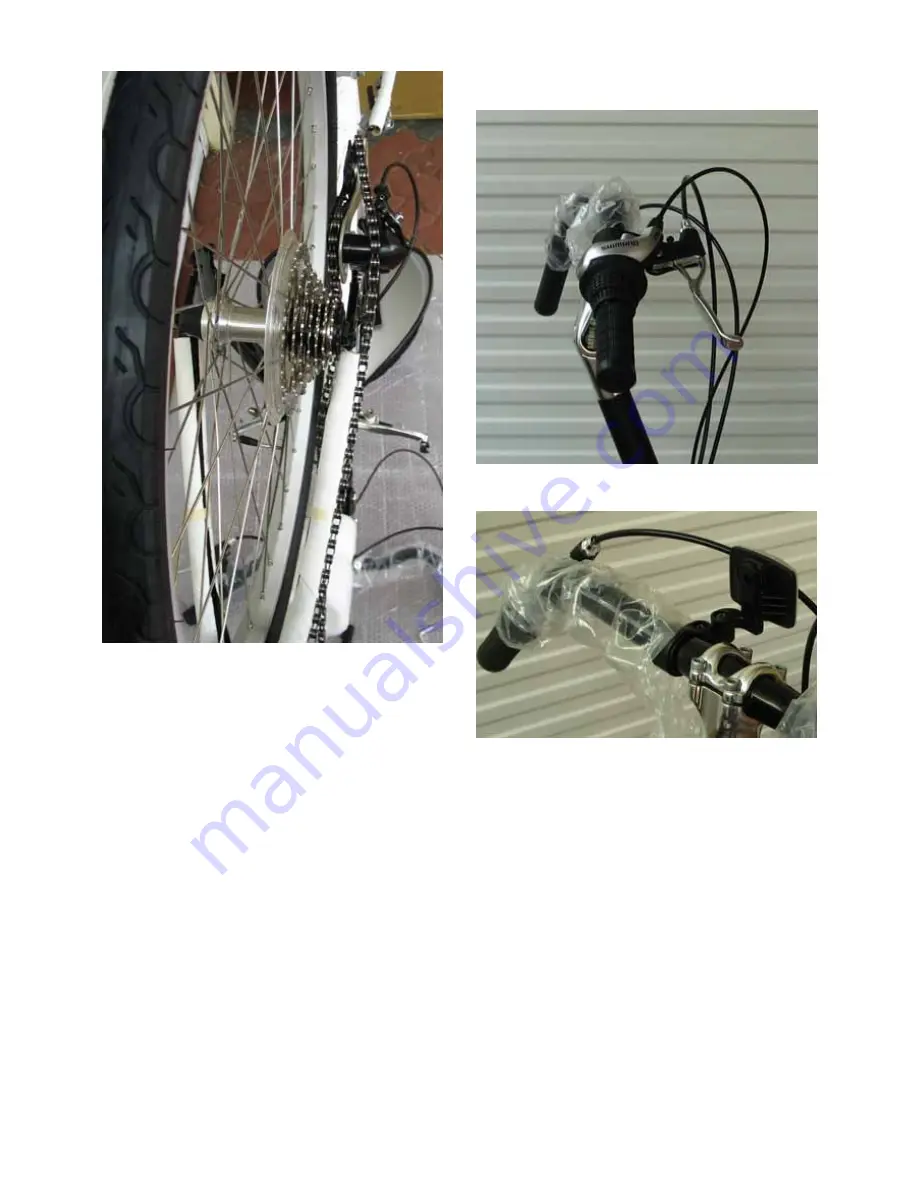
18. Take the quick release skewer from the
parts box and slide it through the axle
from the non-deraileur side, screw the nut
on the end till the lever requires a very
firm push to close.
19. Take the yellow wheel reflectors from the
parts box and fit one to each wheel,
opposite the valve.
20. Stand the bike on its wheels and
kickstand to finish the handlebar
adjustments. (Turn the handlebars to the
right, about 120 degrees and the bike will
rest well on the kickstand. Block the wheel
with a brick or similar if you need to while
you work with the front triangle facing
forward.) Loosen the handlebar clamp
and rotate the bar so the grips point down
(when viewed from the side). Retighten
the handlebar clamp bolts. Loosen the
brake lever clamps (5mm Allen key) and
the twist grip gear changer (3mm Allen,
accessed from underneath) and rotate the
controls so that the levers are pointing
forwards.
21. While sitting on the bike, check that the
controls and grips fall naturally to hand.
22. Fit the front reflector as shown, using the
spacing ring provided.
23. That completes the Cruzbike-specific
assembly instructions.
24. Once you have the bike assembled, take
it to your dealer or local bike shop to have
them check it over and to adjust the
brakes and gears. If you are an
experienced bicycle mechanic, there is
information provided in Section 8 for
adjusting brakes and gears, and there is
additional information provided in the
standard bicycle manual that you will find
in the parts box. Please also refer to the
next section on the correct setting of the
Telescopic Front Tube Safety Bolt.


