Crestron
IM-RX1 & IM-RX3
iMedia Receiver/Processor
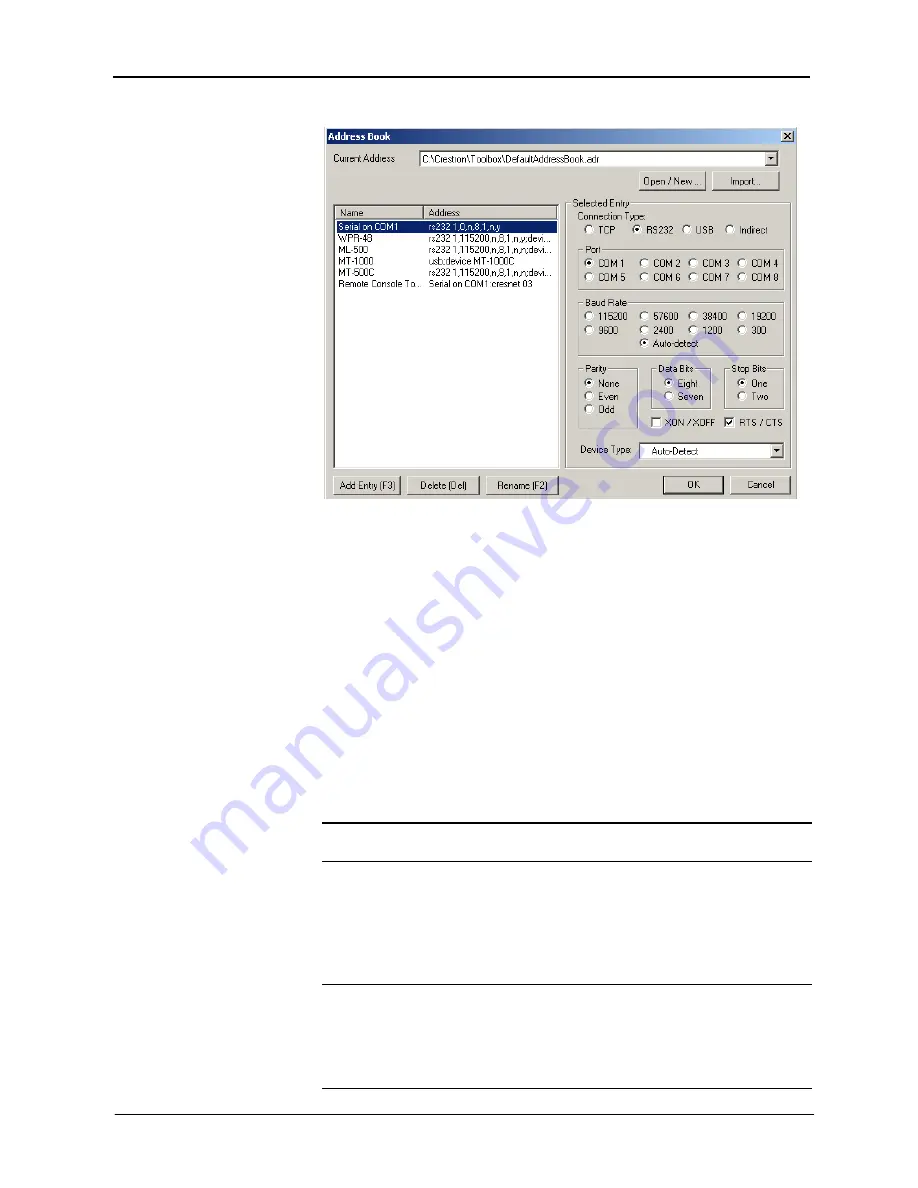
“Address Book” Window
To open an existing Address Book, click the
Communication Settings
button
and select the desired .adr file from the
Current Address
list.
To create a new Address Book, click the
Communication Settings
button on
the “Finish” window. Click
Open/New
and type a name for the new Address
Book (you can also browse to the directory where you want to save the .adr file)
and click
Open
.
To import an Address Book, with the current address book open, click the
Import
button. Locate the .adr file you want to import and click
Open
. This will
import the entries into the current address book.
Set IP Information…
If you intend to communicate with the IM-RX receiver via Ethernet you have to
configure the processor's IP information.
Because this device has a default IP address (192.168.0.99), you can connect
directly using a crossover cable then configure the IP settings of the IM-RX1 or
IM-RX3 for subsequent connections over Ethernet.
NOTE:
If more than one IM receiver is on the network, you must change the IP
address to avoid a conflict.
Click the
Communication Settings…
button on the Finish screen, then choose
the
Set IP Information
command. The “Ethernet Addressing” window appears.
Select the
Enable Ethernet
check box to enable the Ethernet card and view the
available IP settings. If you clear (de-select) this check box, the dialog will be
grayed out.
NOTE:
The IM-RX1 and IM-RX3 are preset with the following IP address
information.
●
IP Address: 192.168.0.99
●
IP Mask: 255.255.255.0
●
Default Router: 0.0.0.0
Operations & Installation Guide – DOC. 6384
iMedia Receiver/Processor: IM-RX1 & IM-RX3
•
25


