IMedia Receiver/Processor
Crestron
IM-RX1 & IM-RX3
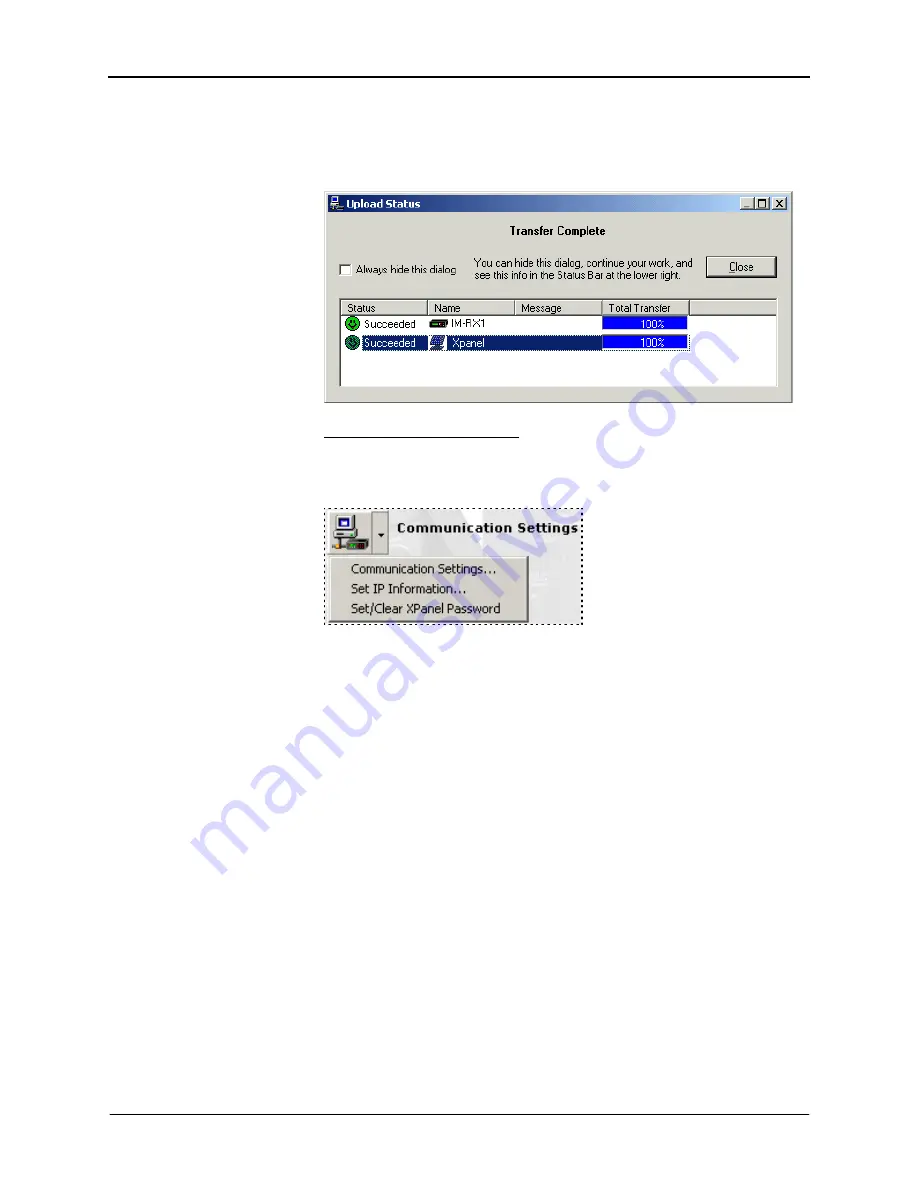
The Wizard will then begin the file transfer. A progress bar will be displayed as
the files are transferred. After transfer the Wizard will display information about
each file, including the filename and transfer status.
“Upload Status” Window
Communication Settings
The
Communications Settings
button on the “Finish” window provides access
to three additional adjustments areas, Communication Settings, Set IP
Information, and Set/Clear XPanel Password.
Communication Settings…
You must establish a valid connection to the IM-RX receiver before you can
upload configuration files or XPanel projects. This is accomplished using either
a serial (RS-232) or TCP/IP connection.
For RS-232 communication, use a DB9 straight-through serial cable to connect
the COMPUTER port on the IM-RX to one of the COM ports on the PC.
For a TCP/IP connection, use Ethernet straight-through cables to connect the PC
and the IM-RX1/IM-RX3 to the Ethernet network.
Once your connection is in place, you can click the
Communication Settings…
button on the “Finish” window to open the Address Book and start a session
with the IM-RX.
If you have not already done so, you must first add the RS-232 address or the IP
address of the receiver to the Address Book.
The Address Book allows you to maintain a list of control systems and network
devices. The address book is saved as an .adr file, allowing you to easily share
address files with other programmers, edit or remove addresses, and import
addresses into an existing Address Book.
You can establish a session with any or all of the devices in the Address Book
(provided the PC has a valid connection to the Cresnet/Ethernet network).
24
•
iMedia Receiver/Processor: IM-RX1 & IM-RX3
Operations & Installation Guide - DOC. 6384


