4
Safety Precautions
7.
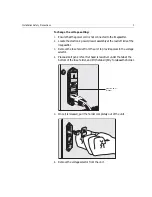
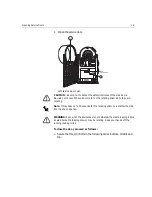
Grasp the selector and pull it straight out. Note that voltage settings
are printed on each of its four (4) posts. The appropriate voltage
setting for the imagesetter should face outward for viewing through
the fuse holder window.
8.
Rotate the voltage selector until the required voltage setting faces
outward for viewing through the fuse holder window (refer to the
table above for the correct setting).
9.
Reinsert the voltage selector into the electronic power drawer
assembly.
10.
Push the selector slightly to ensure that it is completely inserted.
11.
Replace the fuse holder in the unit. When properly seated, the holder
will snap into place with only slight finger pressure.
12.
Verify that the appropriate voltage setting appears in the window.
Selecting the Power Supply Cord
The Dolev 4press V/V
2
is supplied without a power supply cord.
Ø
Select one of the following:
•
In the United States and Canada -
Use a UL-listed/CSA-certified cord set that includes a flexible cord
of type SJ, SJE, SJO, SJOO, SJT, SJTO, SJTOO, S, SE, SO, SOO, ST,
Selected
Voltage
Faces
Outward
220
120
Summary of Contents for Dolev 4press V
Page 1: ...www creo com User Guide English Dolev 4press V V2 399Z2G644D...
Page 2: ......
Page 3: ...Dolev 4press V V2 User Guide...
Page 4: ......
Page 10: ......
Page 11: ...Using this Guide This Guide Includes x Conventions Used in This Guide xi...
Page 16: ......
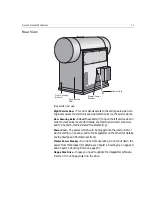
Page 28: ...12 Safety Precautions Rear side view 4...
Page 54: ......
Page 80: ......
Page 102: ......
Page 103: ...Media Related Troubleshooting General 88 Film Guide Doors 88 System Messages 90...


