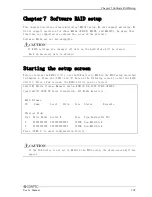
Chapter
7
Software RAID setup
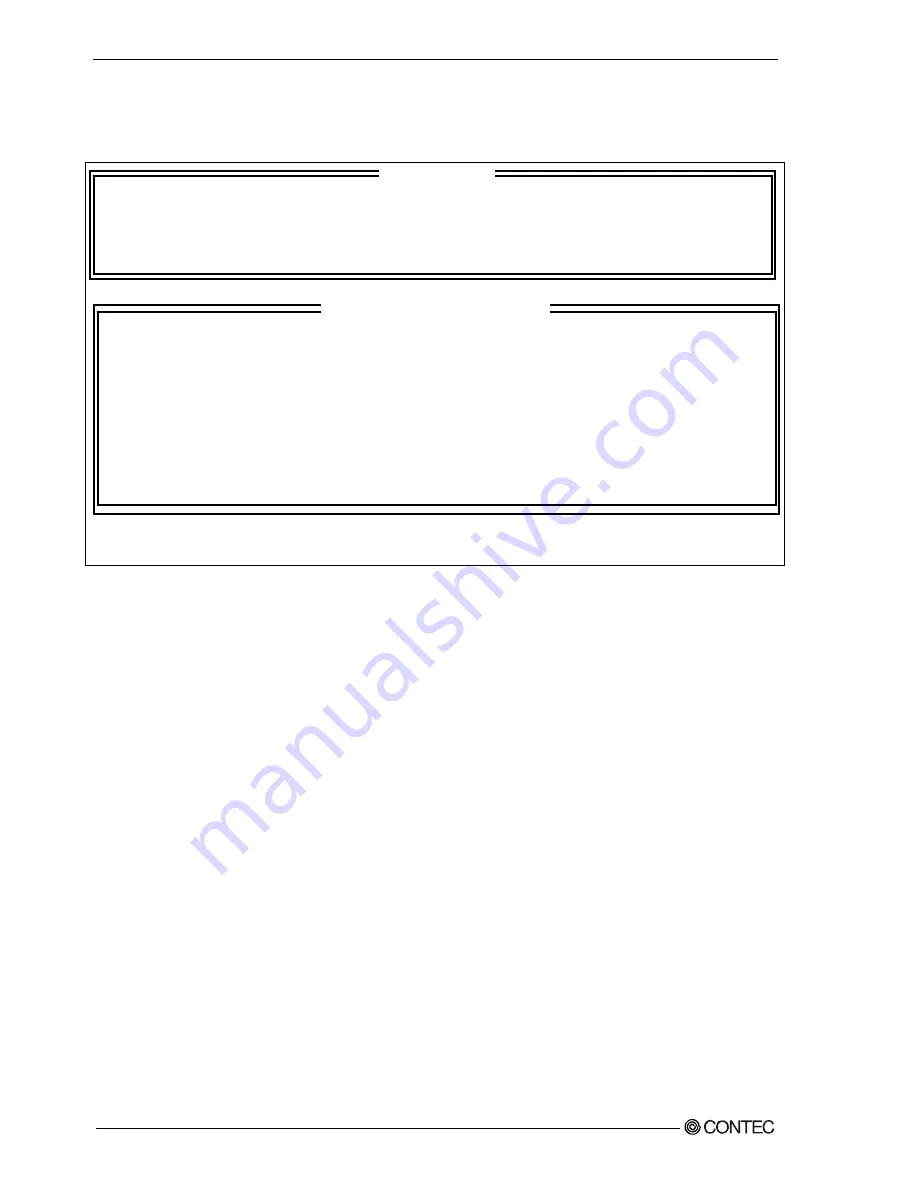
Main Window
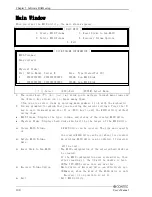
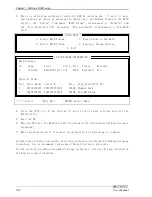
When you start the RAID utility, the main window appears.
[ MAIN MENU ]
1. Create RAID Volume 3. Reset Disks to Non-RAID
2. Delete RAID Volume 4. Recovery Volume Options
5. Exit
[ DISK/VOLUME INFORMATION ]
RAID Volumes:
None defined.
Physical Disks:
Port Drive Model Serial # Size Type/Status(Vol ID)
* *********** ************* ***GB Non-RAID Disk
* *********** ************* ***GB Non-RAID Disk
[↑↓]-Select [ESC]-Exit [ENTER]-Select Menu
[ MAIN MENU ]
[ DISK/VOLUME INFORMATION ]
1.
The cursor keys <
↑
>, <
↓
>, <
→
>, <
←
> allow you to navigate through menu items and
the <Enter> key allows you to choose among them.
(You can also select items by entering menu numbers 1 to 4 with the keyboard.)
2.
You are prompted to confirm that you are saving the current settings. Press the <Y>
key to save them and press the <N> or <ESC> key to exit the RAID utility without
saving them.
•
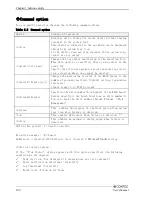
RAID Volume:Displays the type, volume, and status of the created RAID drive.
•
Physical Disks:Displays hard disks which will be the target of the RAID drive.
¾
Create RAID Volume
:A RAID drive can be created. The type and capacity
of
the created RAID drive can be set when it is created.
¾
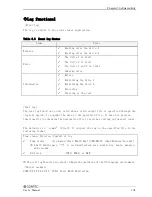
Delete RAID Volume
:An existing RAID drive can be deleted. If deleted,
data
will be lost.
¾
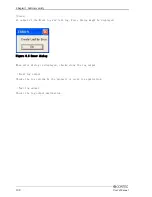
Reset Disk to Non-RAID
:The RAID configuration of the selected hard disk can
be cleared.
If the RAID configuration uses system drive, then
after clearing it, the OS will be unable to boot.
※The VPC-2000 series does not use this.
¾
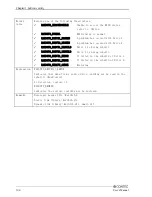
Recovery Volume Option
:Master drive or Recovery drive can effectively set.
※However, when the kind of the RAID drive is only
Recovery, it is possible to set it.
¾
Exit
:Exit RAID utility.
108
User’s Manual

