3
9.
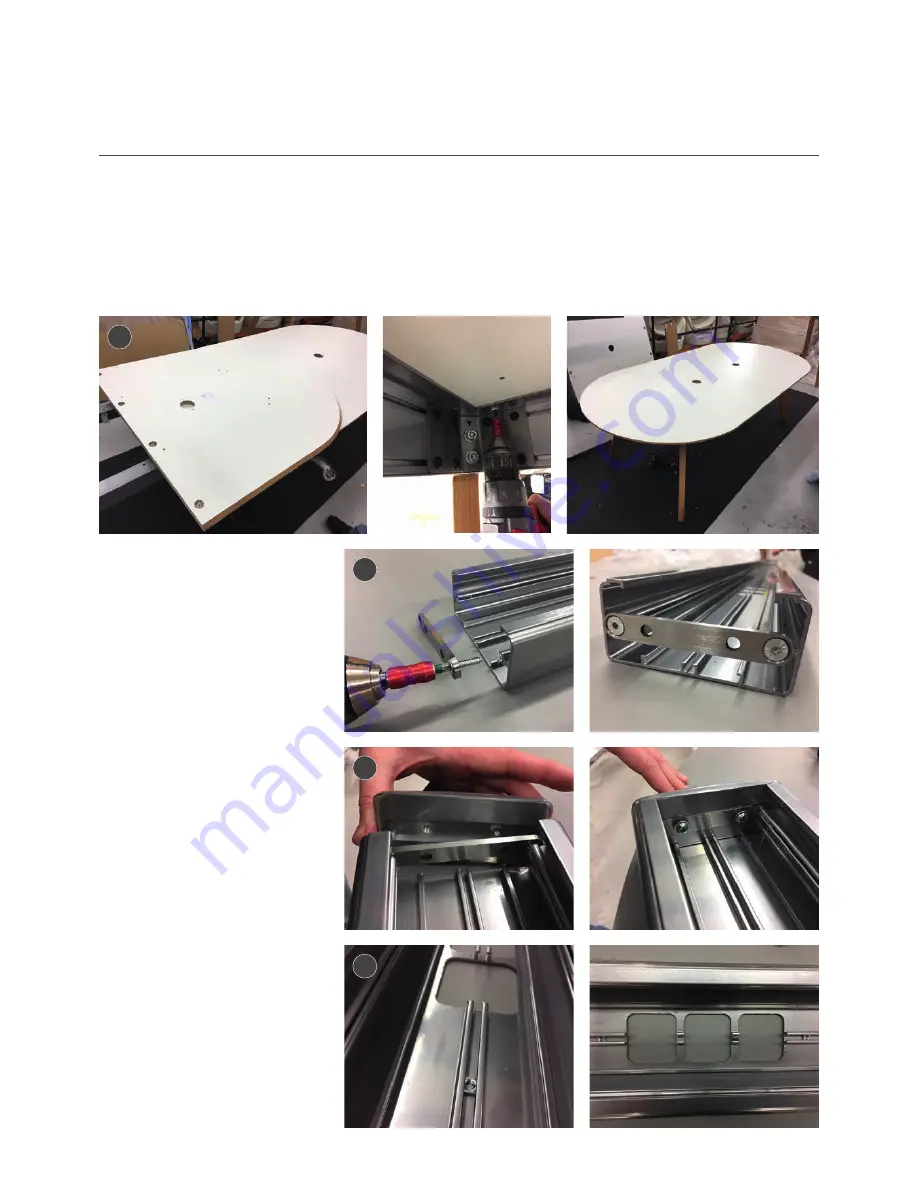
Once laminate table tops have been securely connected together, they can then be connected to the
table. Image below shows the corner positions on the underside of the table top. Position table holes
over holes on the top of under frame. Using M6x 16 furniture bolts, secure the table to the frame
Once this has been complete, the laminate table tops are now secured to the frame and structure.
Note: Assembly instructions show D-end laminate table tops. Assembly would be the same for
square end laminate tops also.
Adding the utility rail
and power
Utility rail will always need
attaching but power
instructions in step 13 and
any reference onwards would
only be applicable if power
has been specified on
Co.Table order.
Your 2,600mm table will come
with utility rail with 2 power cut
outs, 3 power holes per cut out.
10.
Preparation is needed on
utility rail before connecting
to table. Screw utility rail end
cap bracket to either end of
the utility rail using 2x 12 x 1”
pozi self-tap CSK screws
11.
Face both utility rail end
caps over the utility rail end
cap brackets and secure in
with M6 x 8 button head
12.
Slide 2x small square M4
square nuts into the track of
the utility rail. This allows for
the power to be connected
to the rail. Ensure that there
is an M4 square nut on either
side of the 3 power cut outs
9
10
11
12
Assembly Instructions
Co.Table


